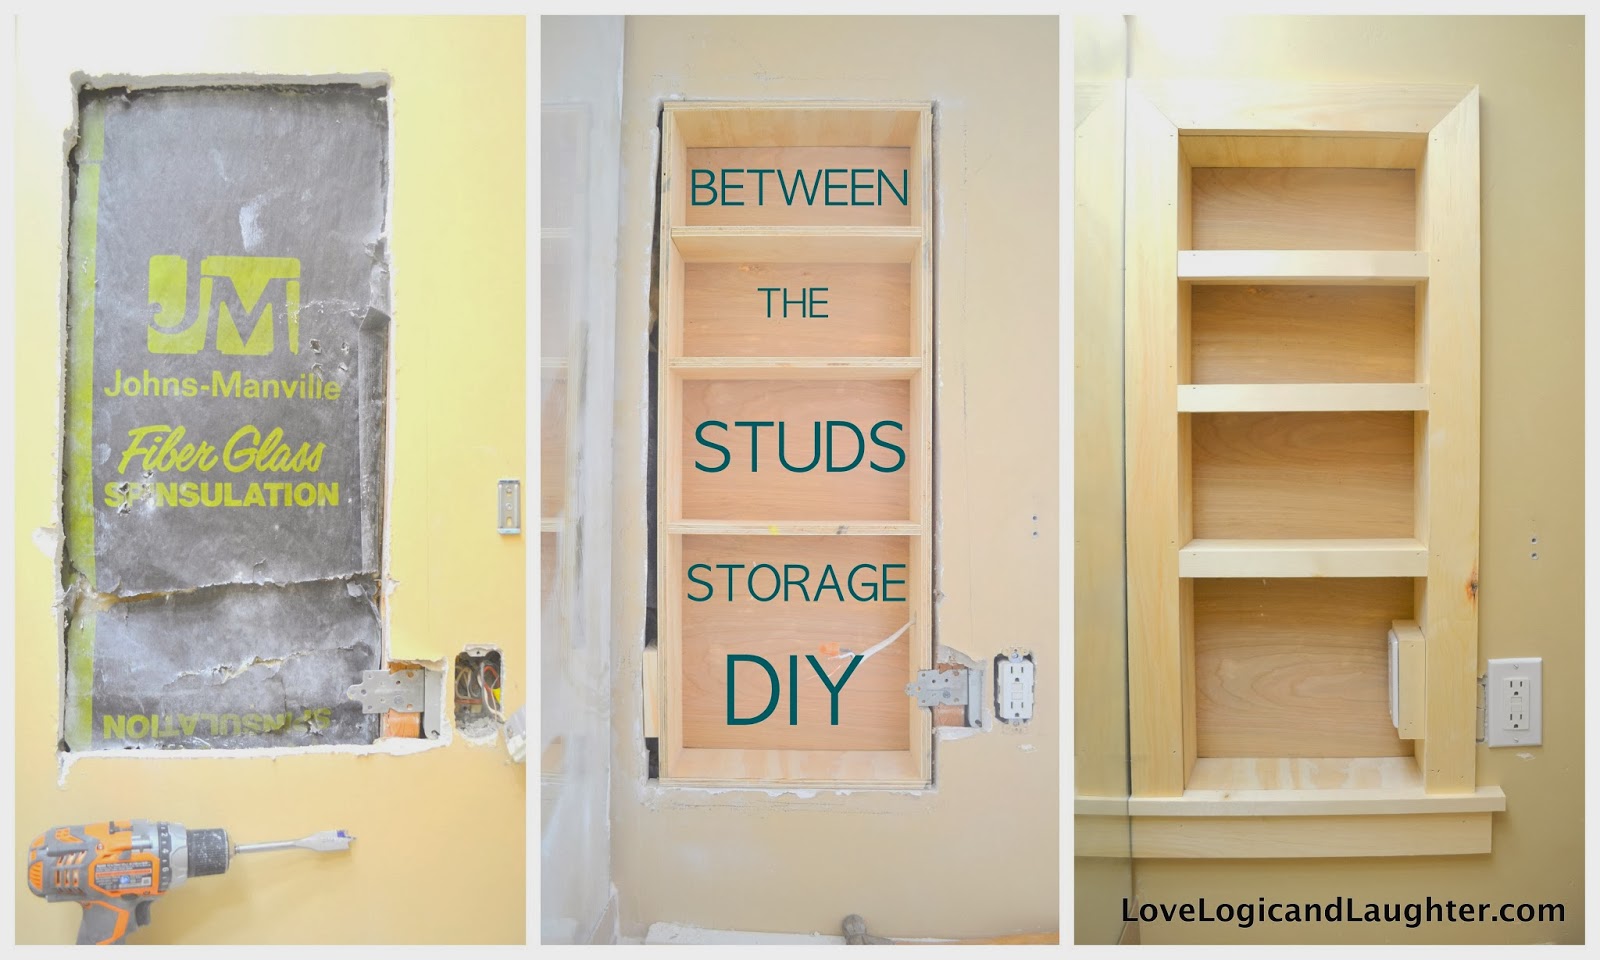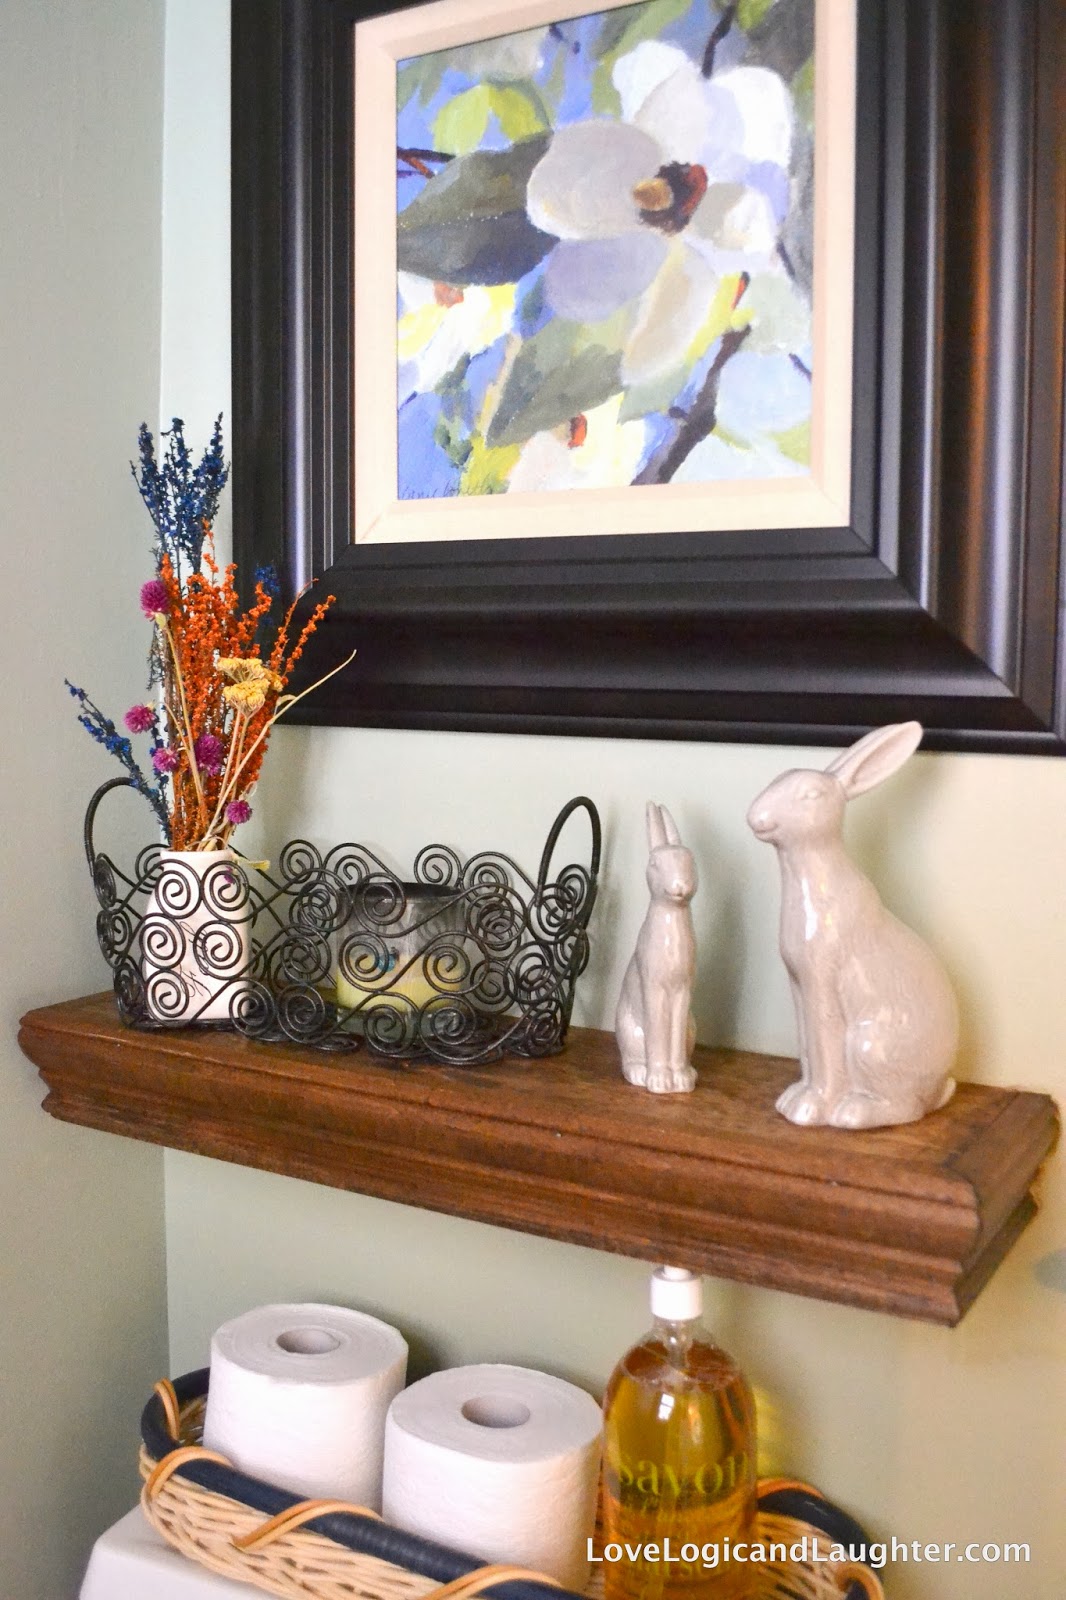
Recently I have really been on a shelf kick. I built the chunky floating “spa” shelves in our master bathroom. Followed by the ledge shelves for our books in the playroom. And now I just finished a floating shelf in our downstairs powder room. If you are sick of reading about shelving units I don’t blame you and you can just ignore the “read more” link below 🙂
Does anyone else get on these type of kicks? I’m not sure what it is, but I think it has something to do with how easy these are to build! I built this shelf yesterday during the second half of Eliana’s nap. Then I sanded it, stained it, and wrote this post during her nap today. Fast, easy, quick results that transform a space! The best part about this shelf? I didn’t have to buy ANY supplies for it – I used all leftover wood/nails/screws from previous projects! Woohoo!
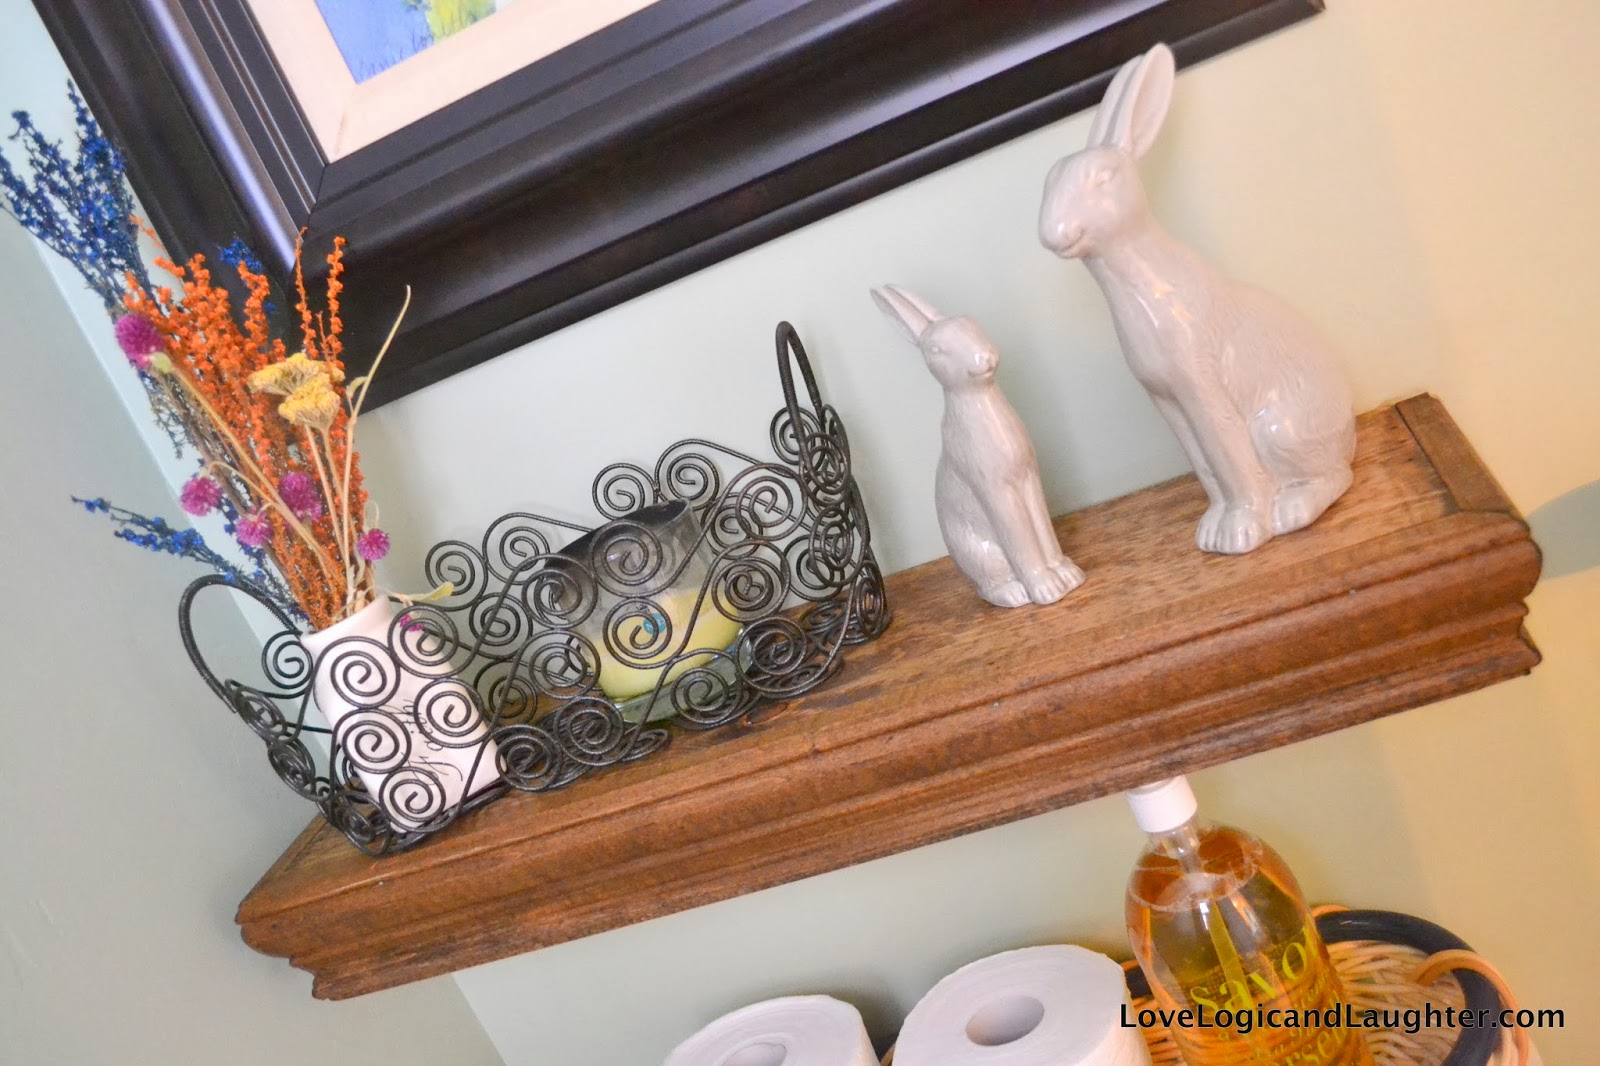
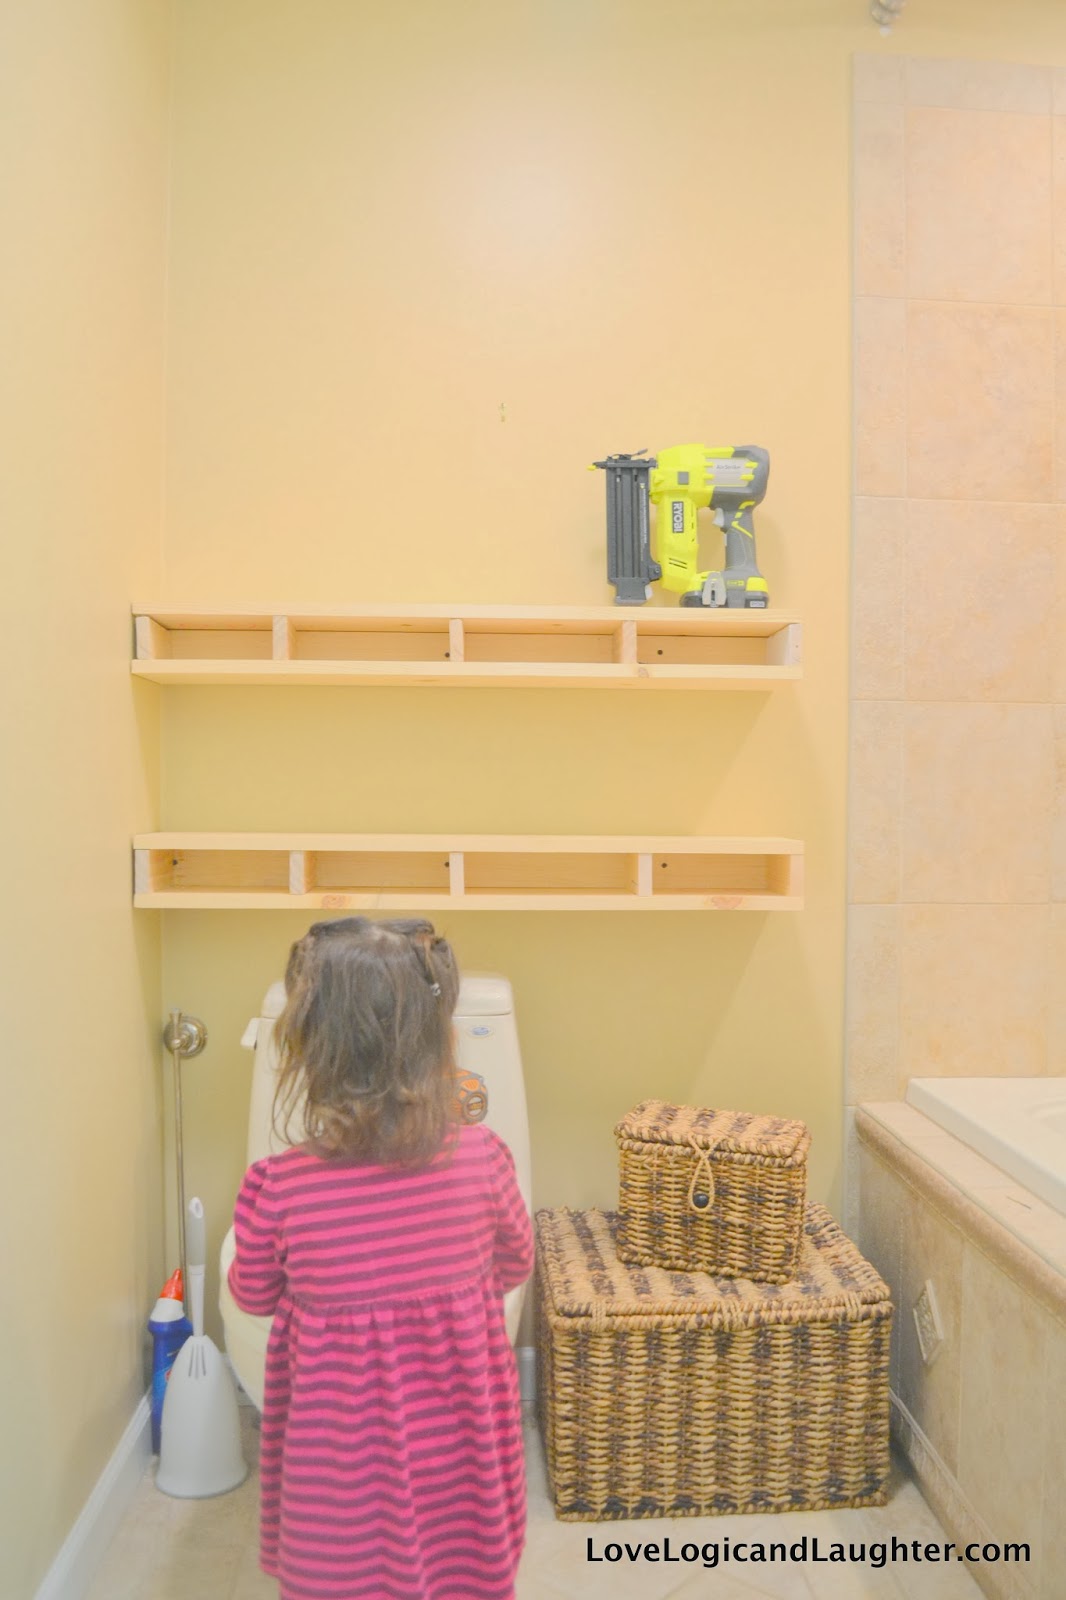
These shelves were built in a very similar fashion as the chunky floating shelves in our bathroom. There are just a few differences.
1. I didn’t add a bottom to the support:
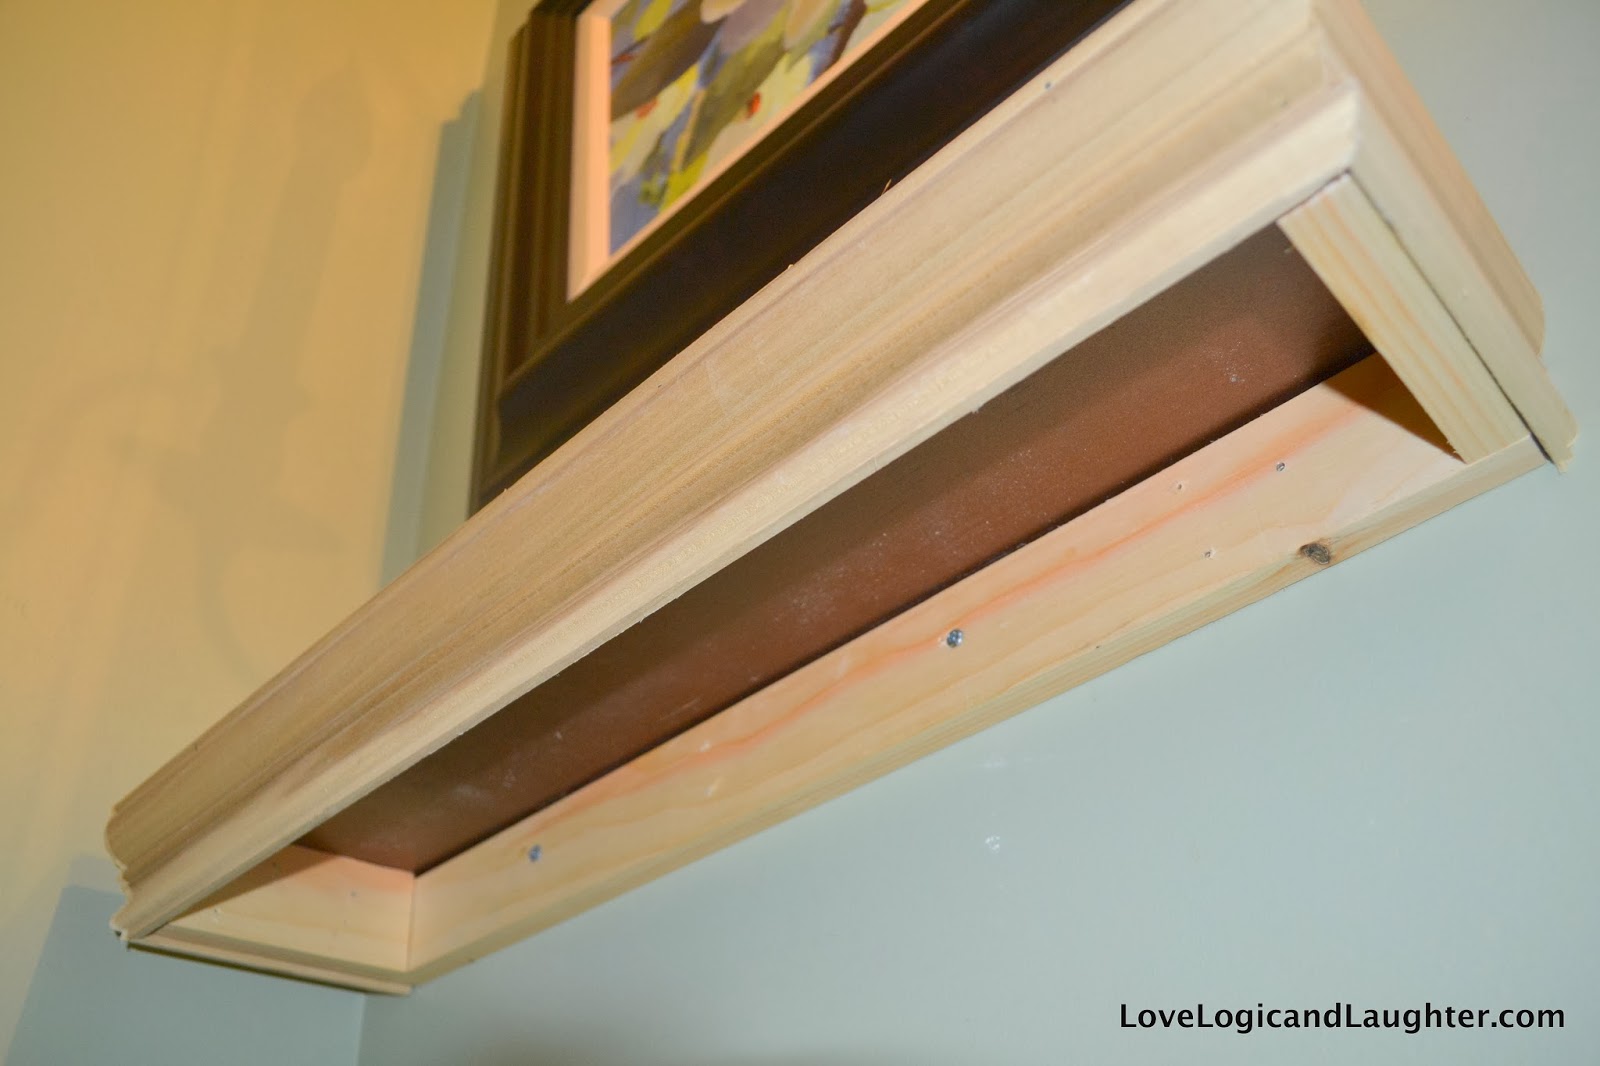 Check out the underside of the shelf above. I used the same type of support bracket system used in the floating shelves in our bathroom.
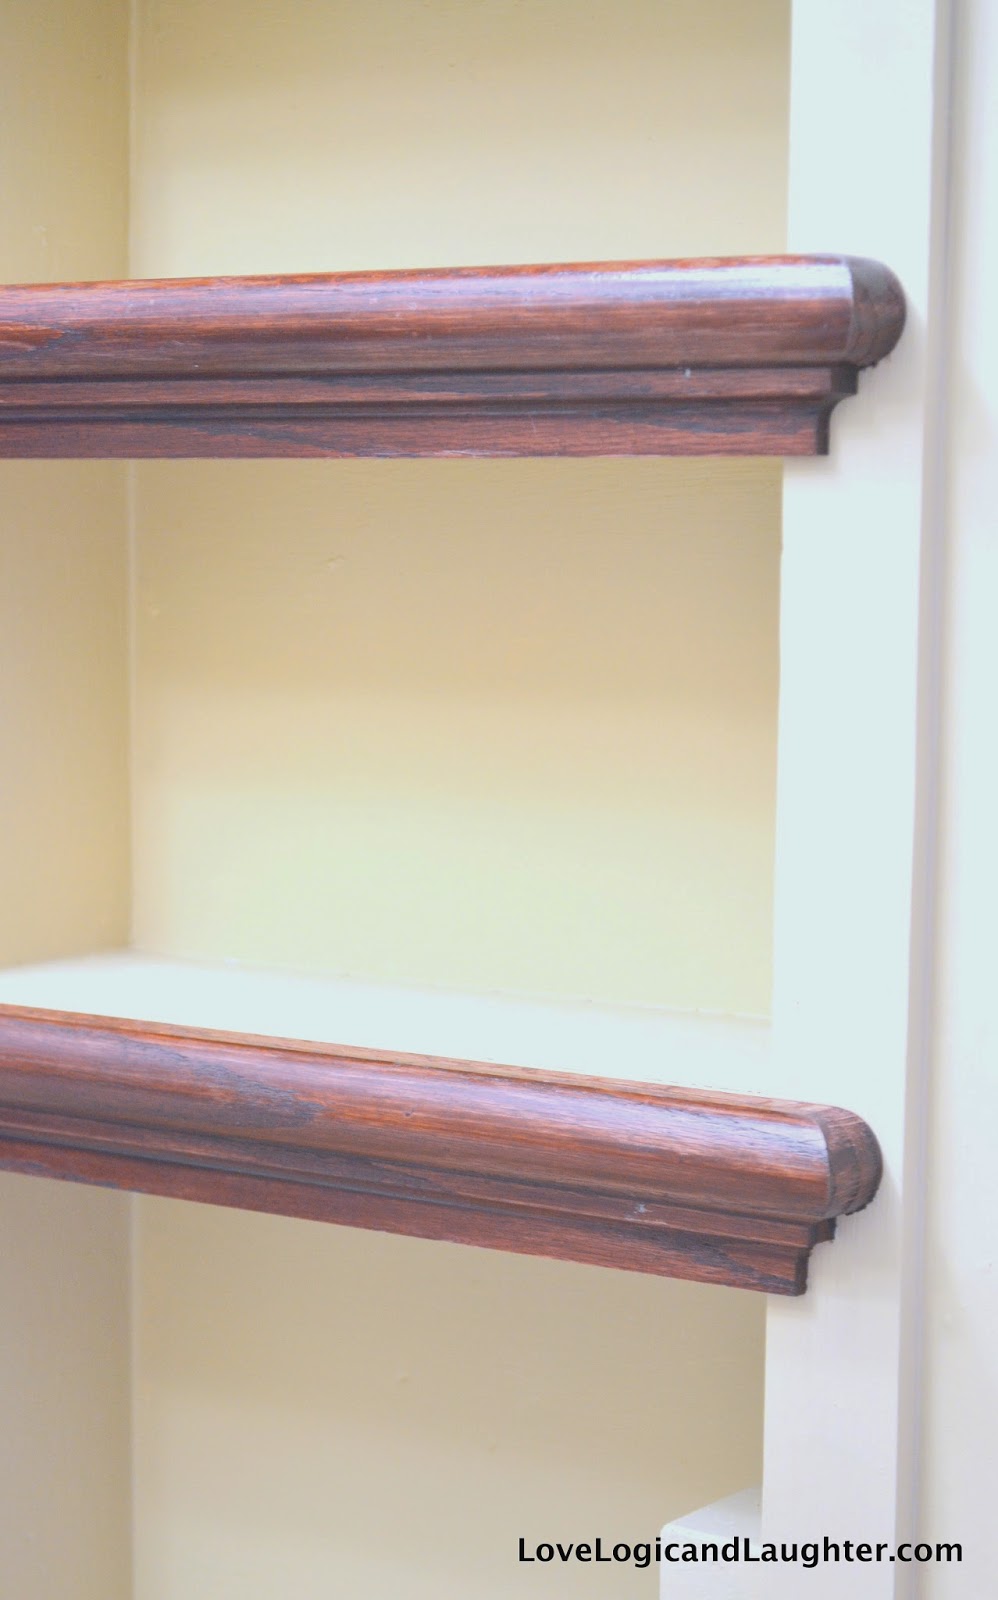
2. I used decorative molding and mitered the corners:
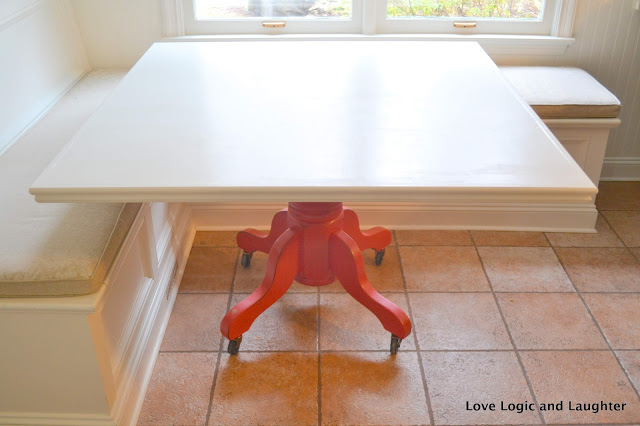
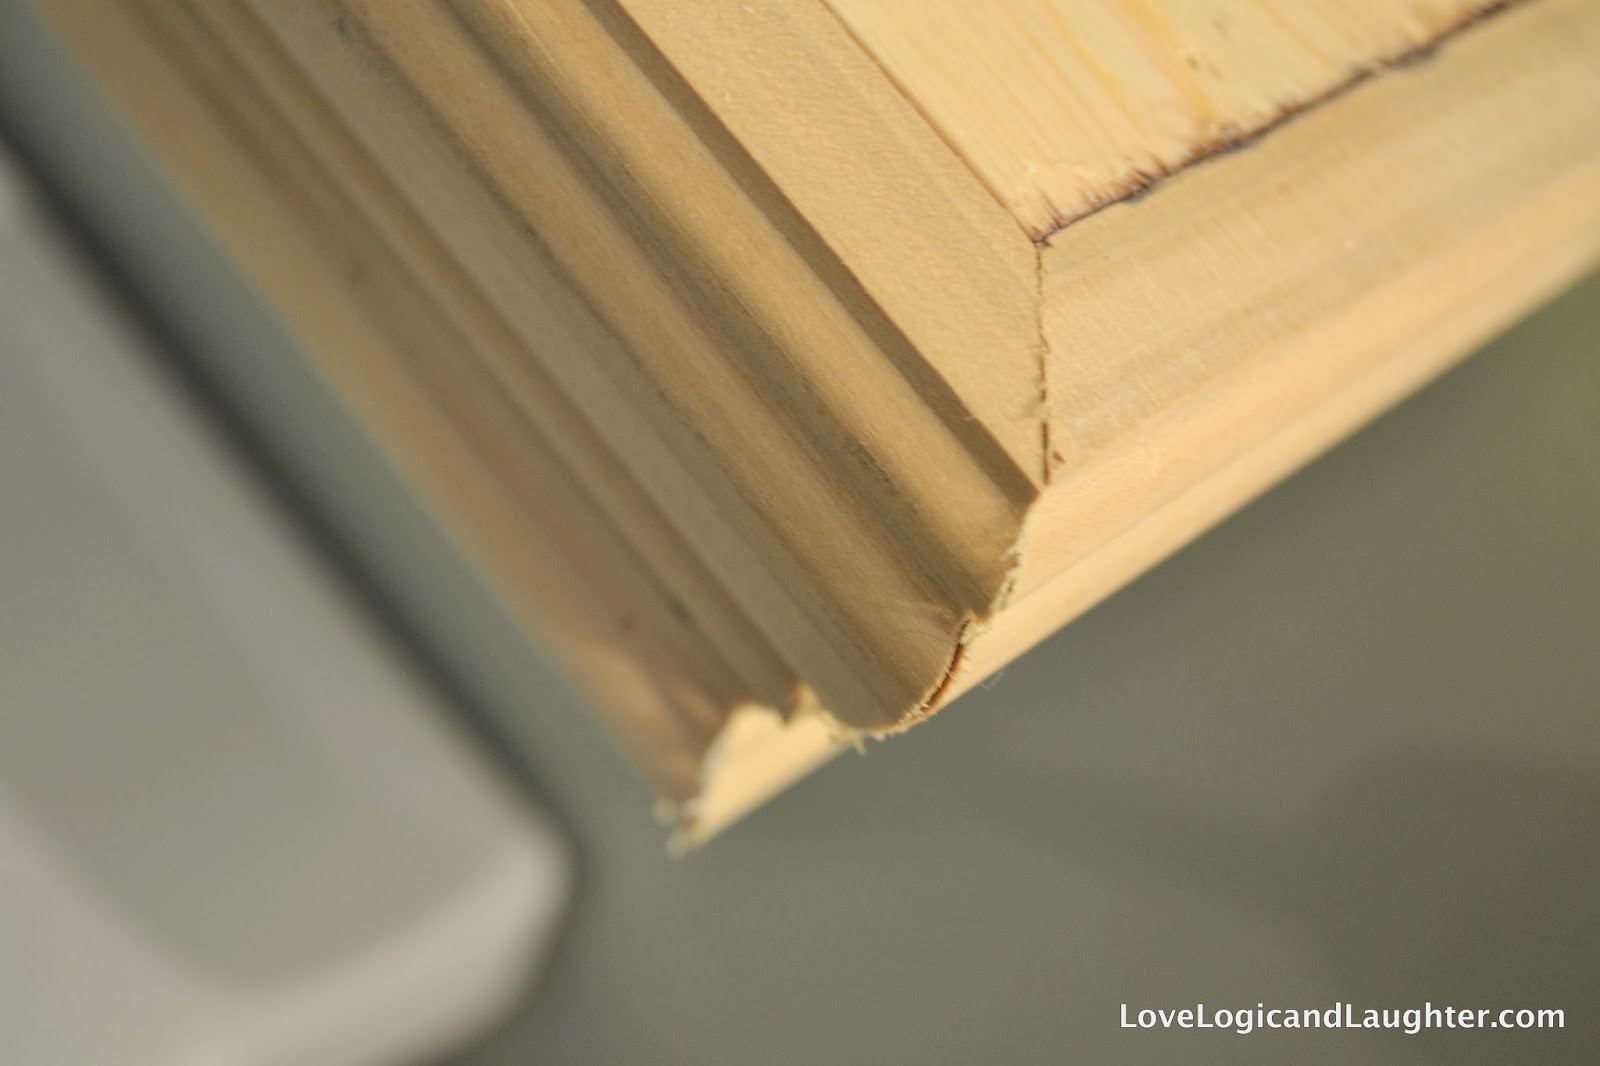 I used my mitre saw to cut the trim so that the corners would match up. You can also cut the wood this way with a simple mitre box and hand saw if you don’t have a power saw or don’t feel comfortable using one. I did the same type of mitered corners for our kitchen tabletop.
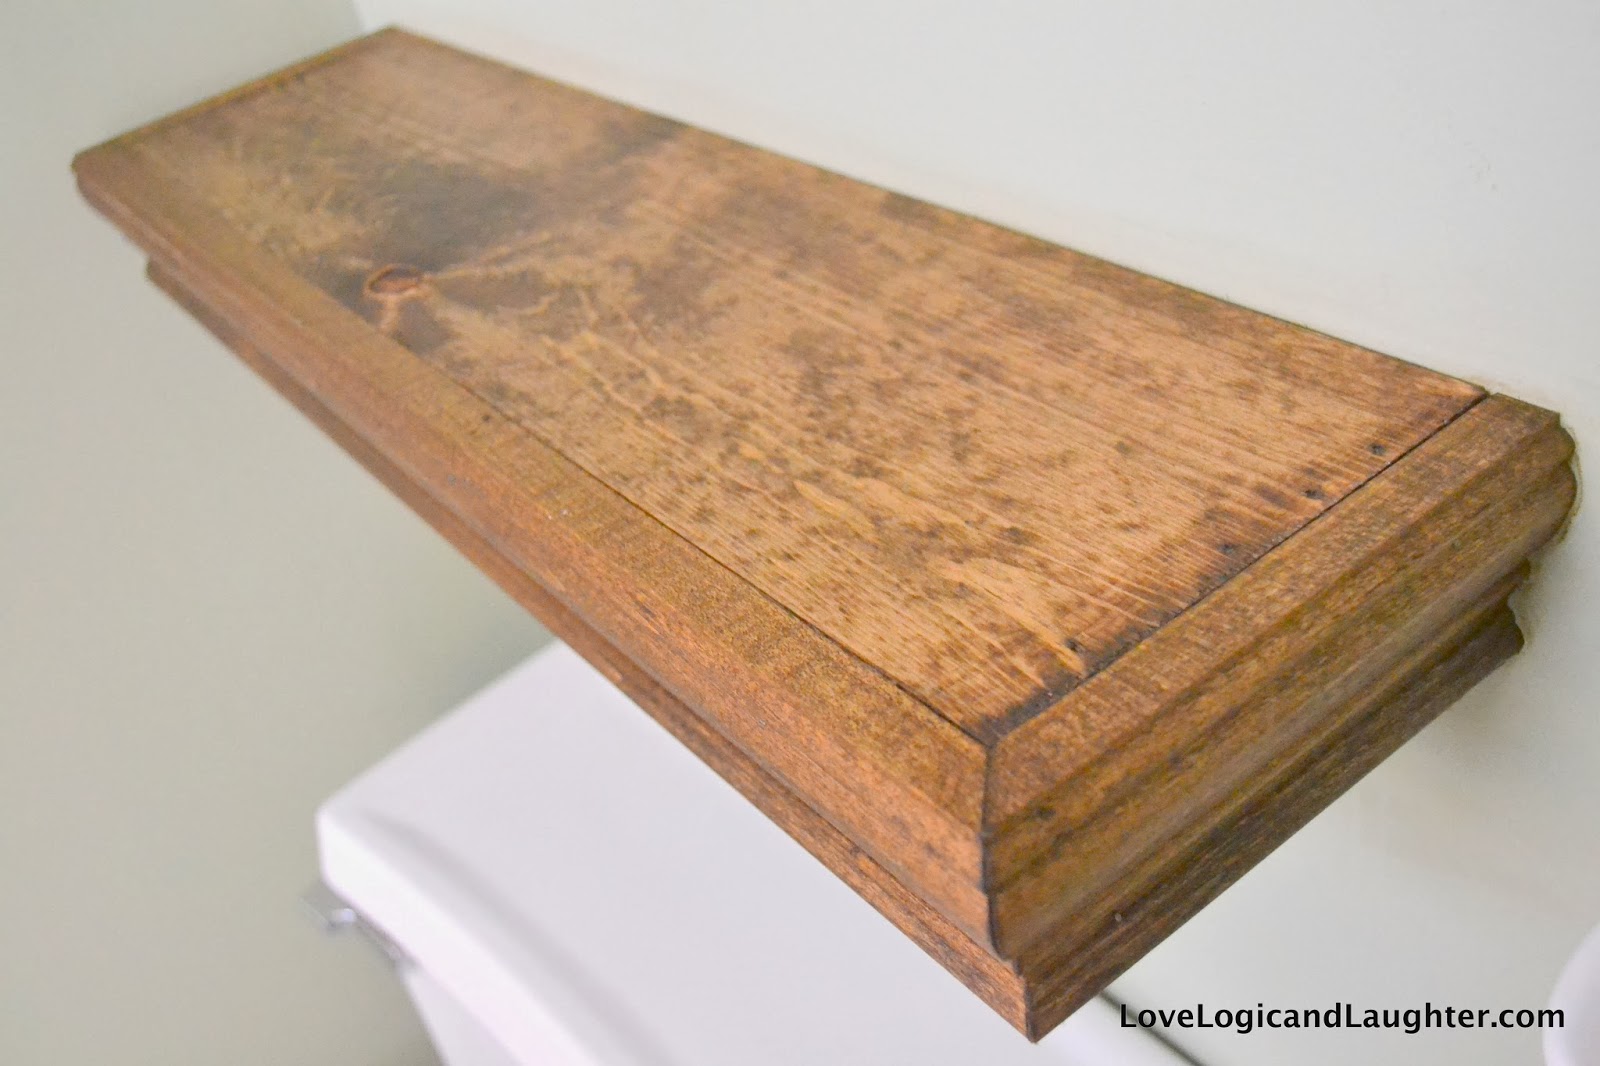
Our Powder Room really needed a little something special. It could still use a facelife (i.e. I hate the linoleum floor – it is the last room that needs to be tiled), but this helps. I used one of my favorite colored stains on this project – Rustoleum English Chestnut.
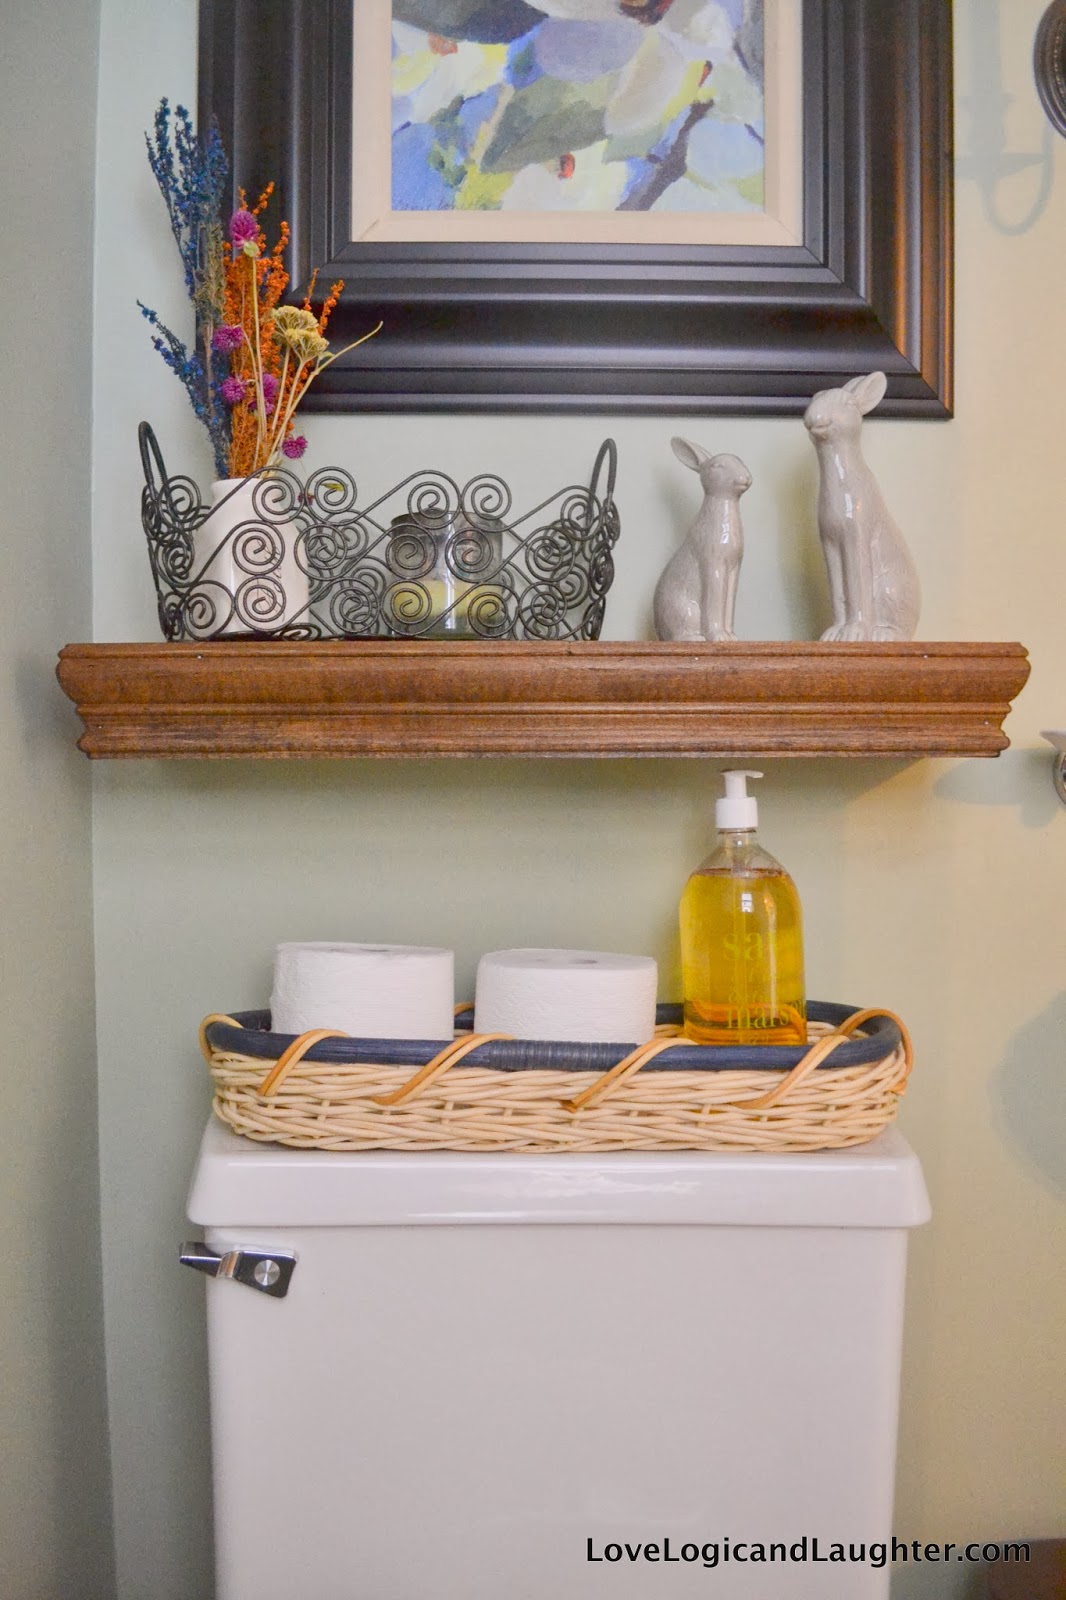
And just for fun, here is a before and after of this powder room: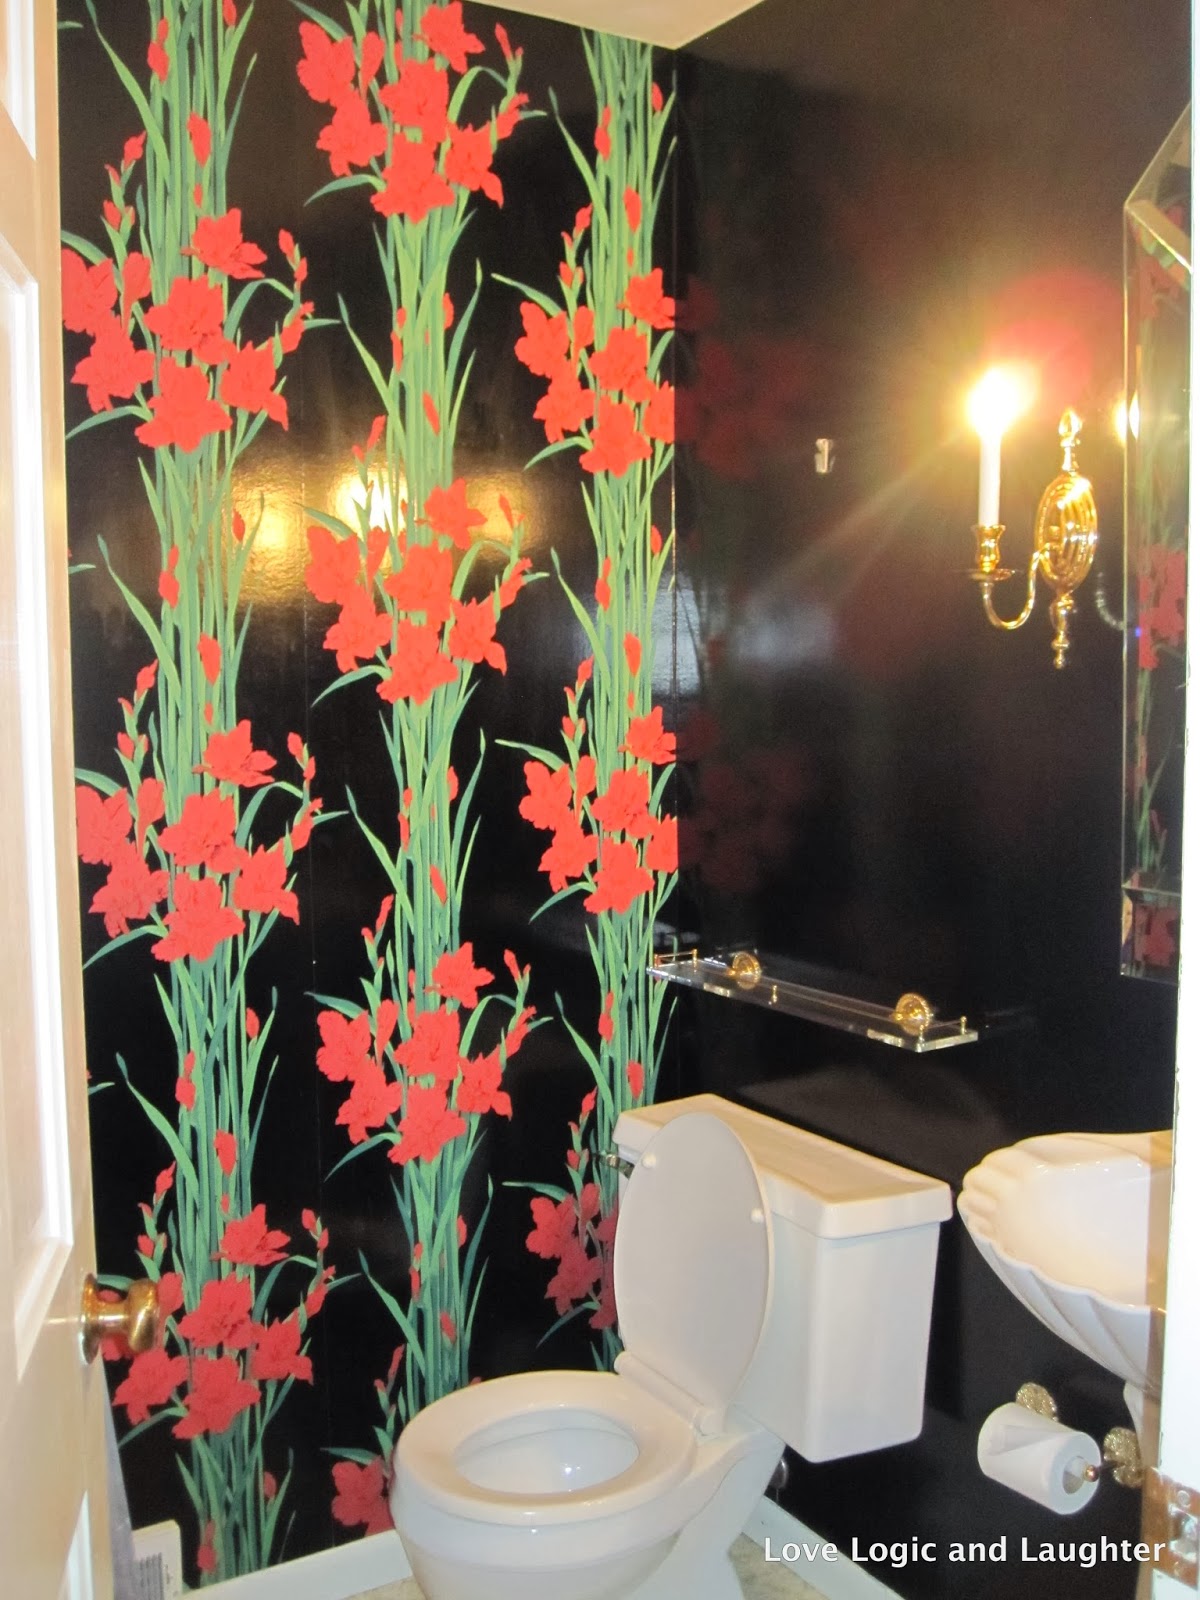
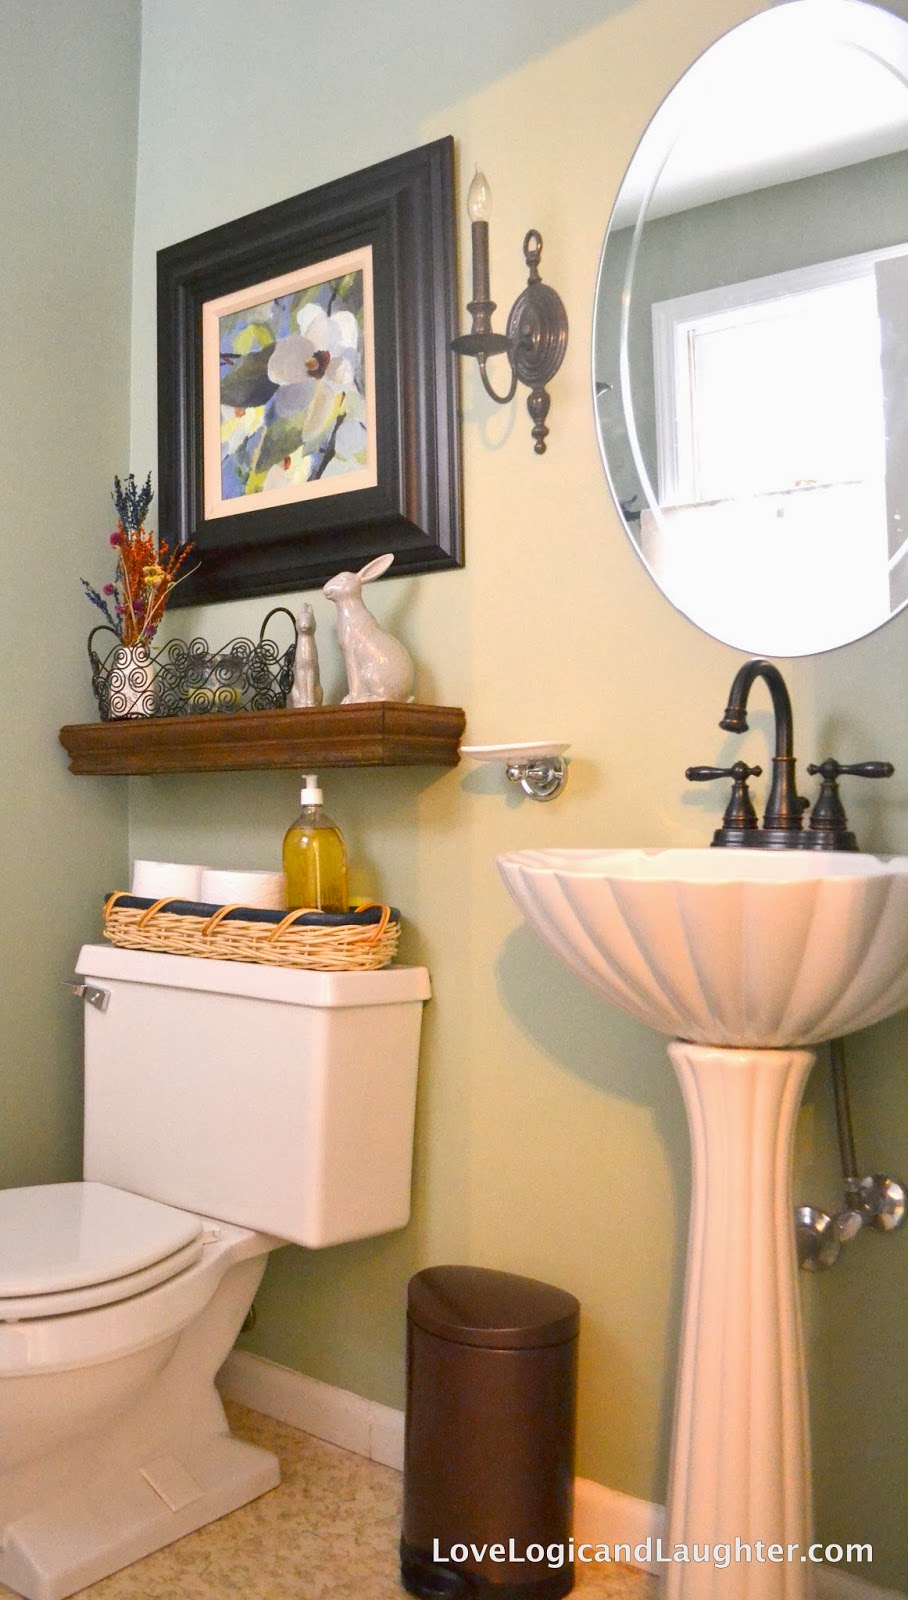
I have to remind myself that even though it still needs a new floor it has come a long way! These before and after shots make me smile! 🙂
Do you have any before and after projects that make you smile? Have a great day everyone!
XOXO,
