Free Sewing Tutorial – DIY Hooded Poncho
Ok so here goes… my first sewing tutorial… be patient with me and please please please ask questions if anything is not clear.
There are 3 pattern pieces. Easy Easy Easy.
A Front.
A Back.
A Hood. (make sure to cut a left and right side).
Pattern Pieces:
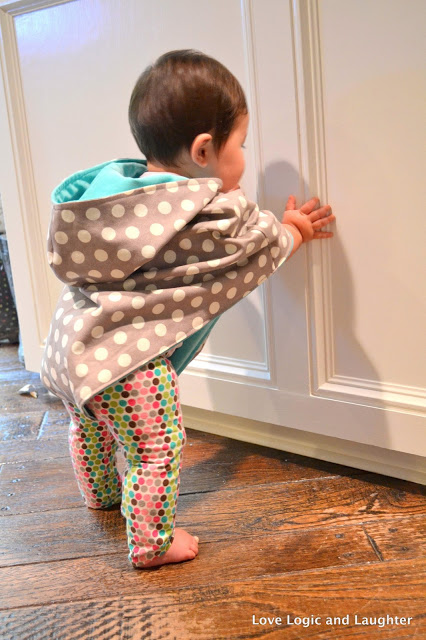
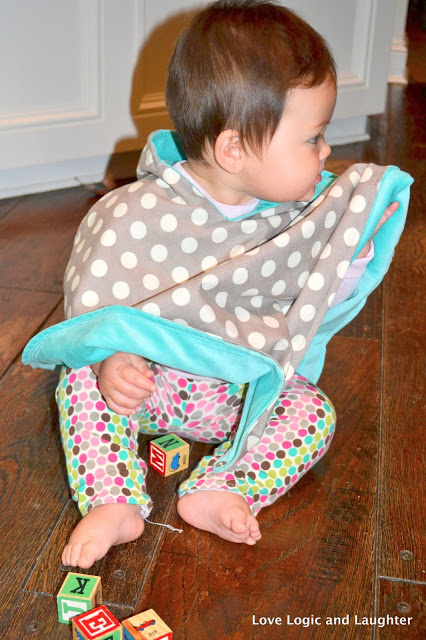
18 Month Reversible Hooded Poncho:
These are the pattern pieces I made for my 9 month old. It is probably a 12-18 month size because my daughter tends to be a bit big for her age. Piece the pattern pieces together using tape lining up the letters: A – A, B – B, and so on. The Front and Back pieces are the same with the exception of the neckline. Print out two copies of the Poncho Body (5 pages). You will cut one on the solid line all the way around (this is your back). Cut the other one along the solid line except follow the dashed line at the neckline (this will be your front).
Fabric:
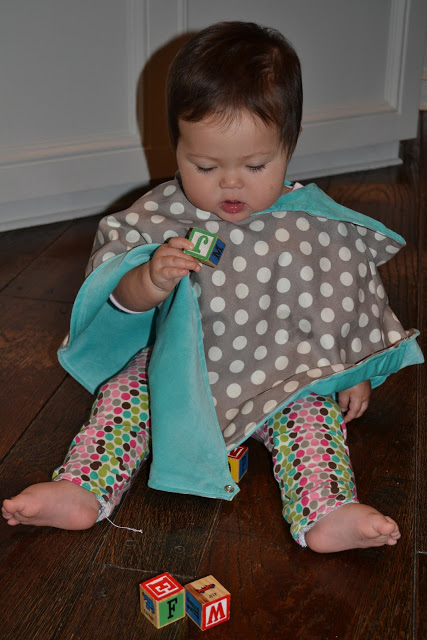
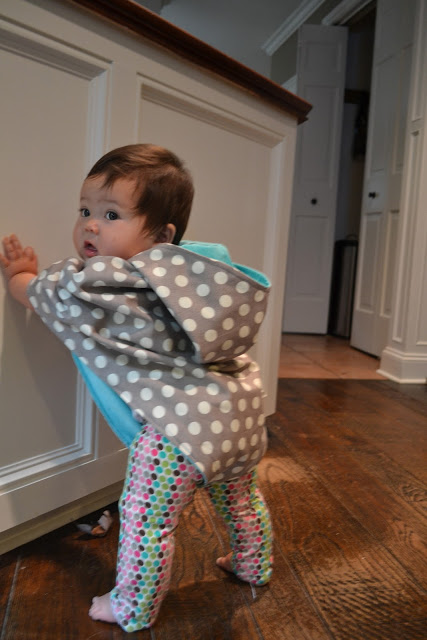
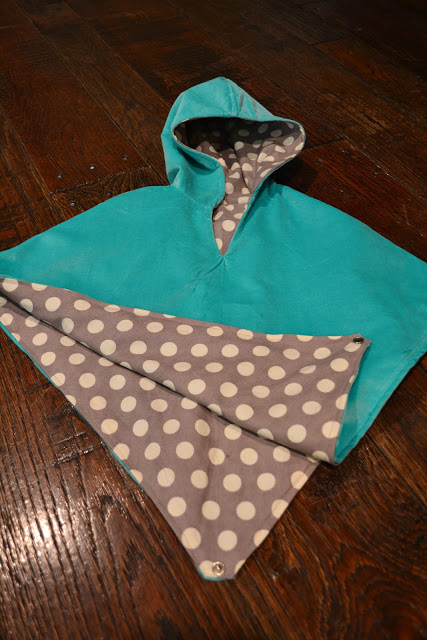
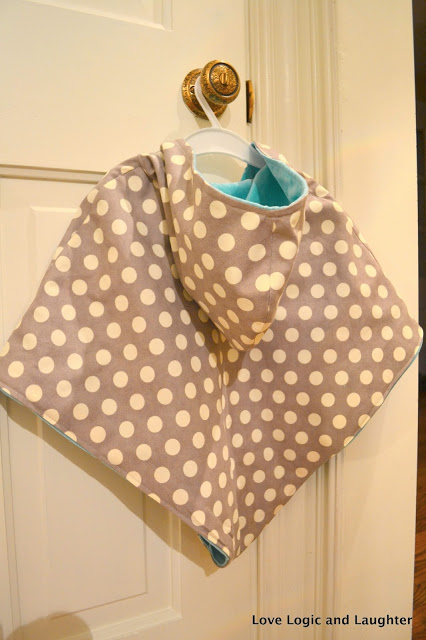
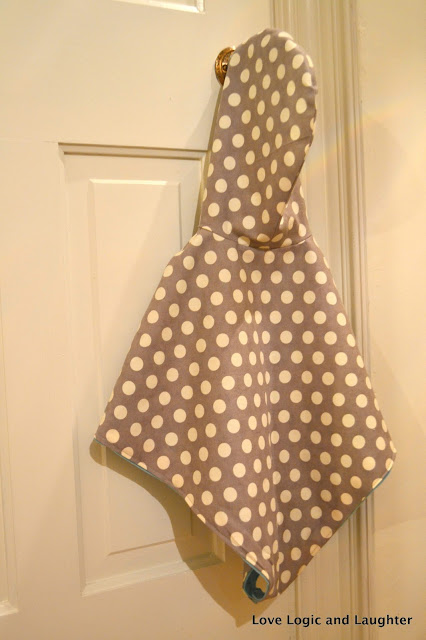
You will need about a 3/4 yard for the inside and 3/4 yard for the outside fabric. I used a grey and white polka dot for one side and a teal/aqua velour for the other side.
Cutting:
- Cut poncho front on the fold from fabric 1 and fabric 2 – you will have two fronts (one from Fabric 1 and one from Fabric 2).
- Cut poncho back on the fold from fabric 1 and fabric 2 – you will have two backs (one from Fabric 1 and one from Fabric 2).
- Cut two poncho hoods (left and right sides) NOT on the fold from fabrics 1 and 2 – you will have four hood pieces (two from Fabric 1 and two from Fabric 2).
Sewing:
- With the right sides together sew the poncho front and back together at the sides for fabric 1.
- Trim seam allowance to 1/4 inch (if using a serger skip this step).
- Repeat for Fabric 2
- With the right sides together sew the poncho hood pieces together on the curved back of the hood for fabric 1
- Trim hood seam allowance to 1/4 inch (if using a serger skip this step).
- Repeat for Fabric 2
You should now have two hoods and two shells of a poncho. One hood and poncho from fabric 1 and one hood and poncho from fabric 2.
- Pin hood and poncho from fabric 1 together with right sides together starting and ending at the center front of the neck.
- Sew the hood to the poncho with a 1/2 inch seam allowance
- Repeat for fabric 2.
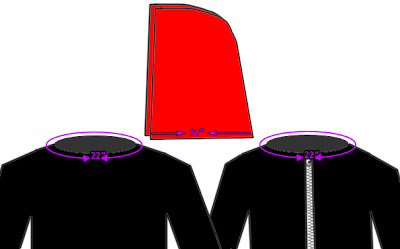
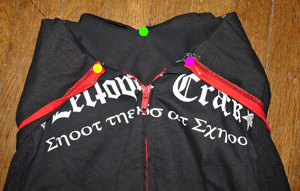
I don’t have a good picture of this, but I found a website, What The Craft, that explains with good pictures how to attach a hood to a coat. It is the same concept with starting and ending at the center front and shows good pictures on how to line the fabrics up – see two pictures above and check out the link.
Now you have two poncho shells with hoods attached. One from fabric 1 and one from fabric 2.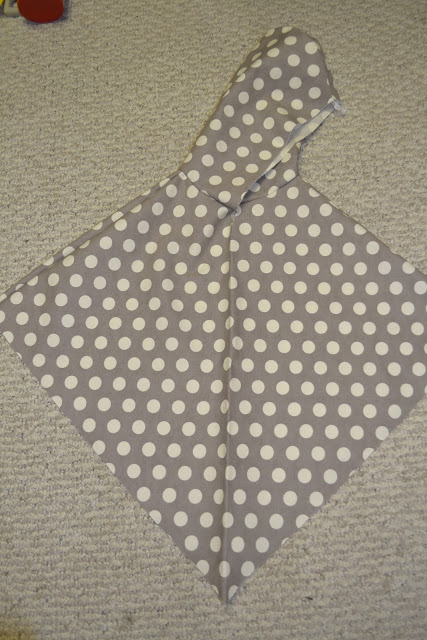
- Turn poncho fabric 2 inside out. Place poncho fabric number 1 inside poncho fabric 2 so that the right sides are together. Line up the hoods and side seams.
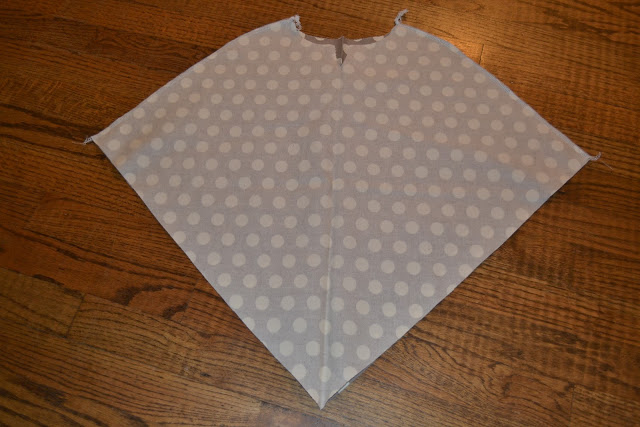
- Sew around the edge of the hood opening (the opening for the face) all the way around the neck and into the “V” on the chest. Sew around the “v” a few times to reinforce the stitching.
- Trim the seam allowance at the “v” in the neck almost to the stitching.
- Turn the poncho right side out and iron.
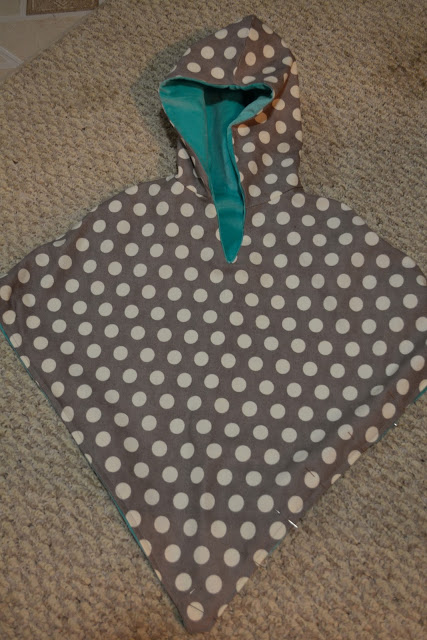 This picture was taken after it was turned right side out. You need to sew around the “face” of the poncho when the right sides are together.
Now you have one poncho with an inside and outside fabric.
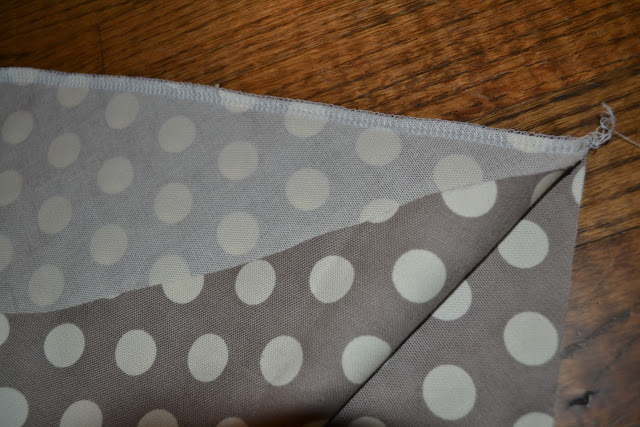
- To hem the poncho you are going to turn both bottom edges in toward each other. Pin and iron.
- Stitch 1/4 inch from the bottom along the entire bottom of the poncho.
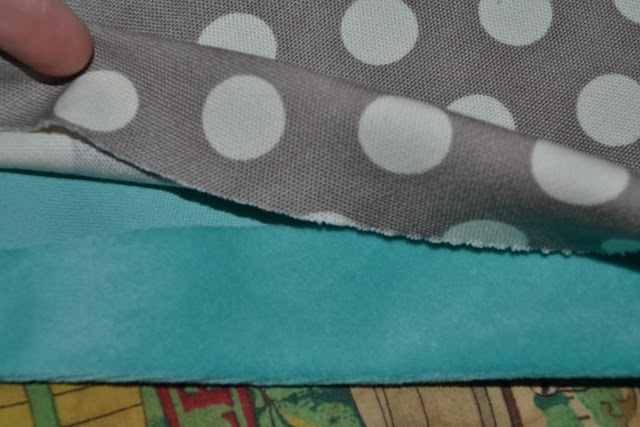 Bottom edges turned toward each other
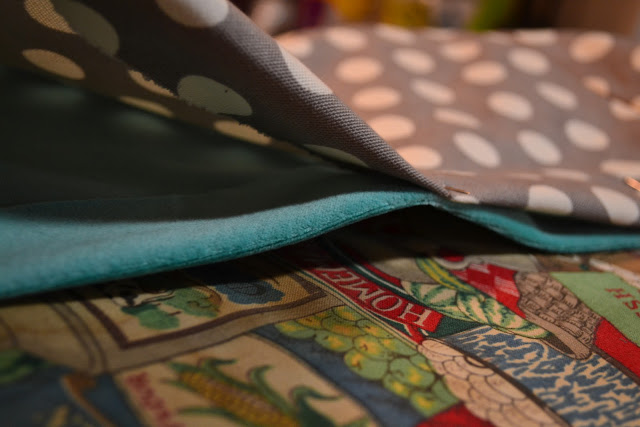 Ironing and pinning bottom hem
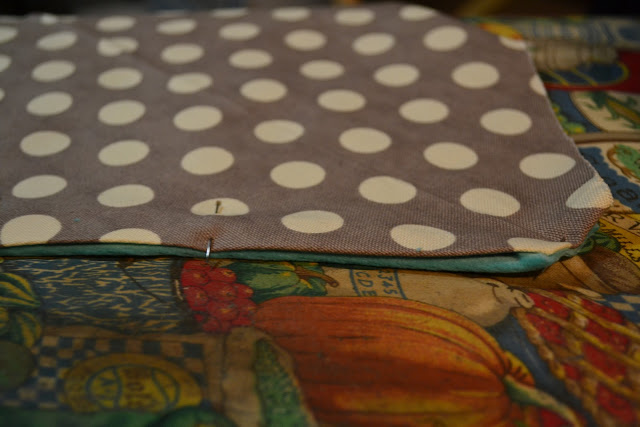 Ironed and pinned bottom hem – before it is sewn
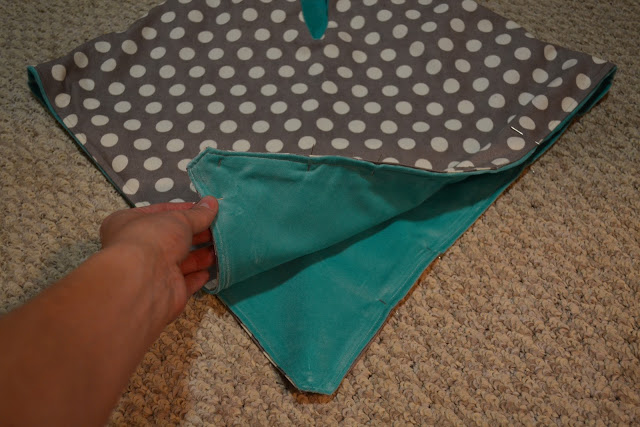 Bottom hem sewn all the way around front and back
Finishing stitches:
- Stitch along the seam on the back of the hood to keep the two layers of fabric together.
- Stitch along the side seams (arms) of the poncho to keep the two layers together.
Adding Button/Snap:
- Add a snap (or button) to the crotch of the poncho. This is where the hem comes down to a “v” in the front and back.
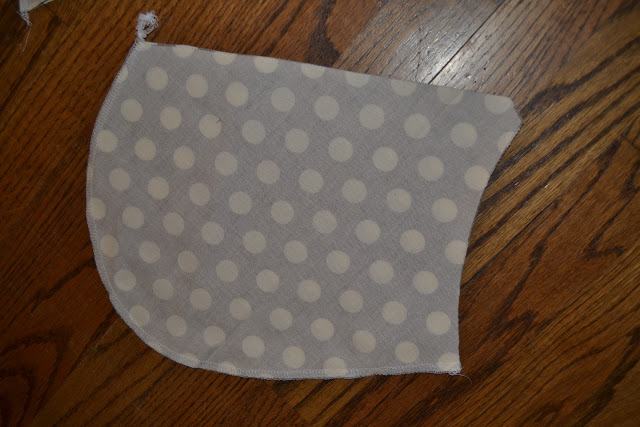
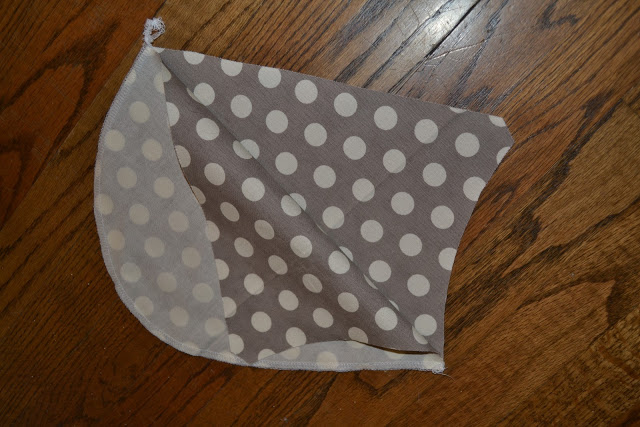
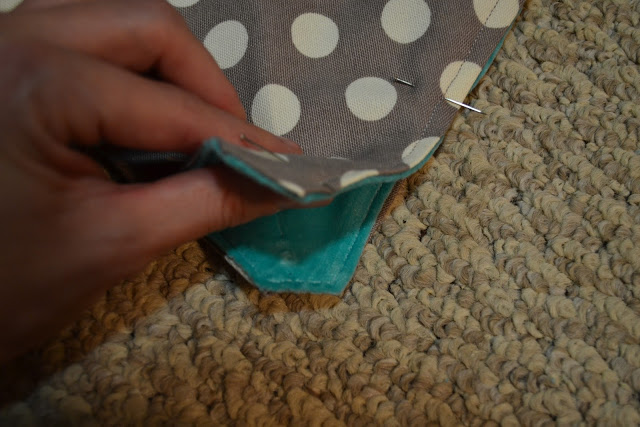 Hem comes to a point (a “V”) in the front and the back.
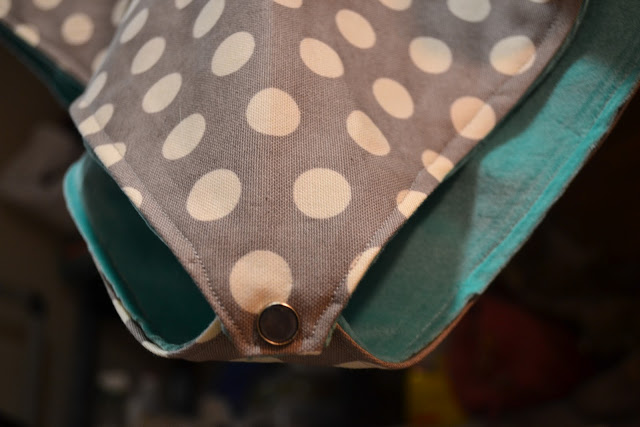 Snap added – I love these pearlized looking snaps
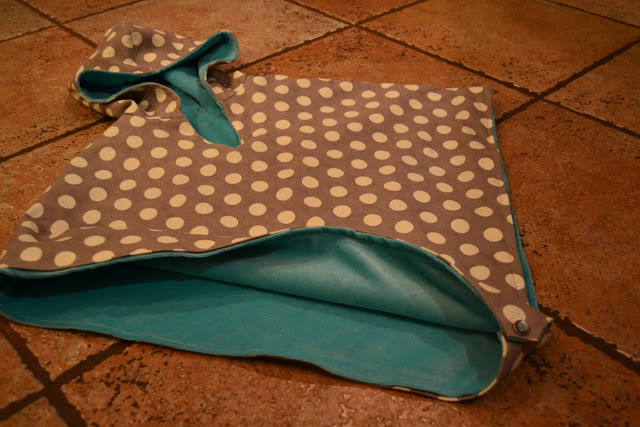
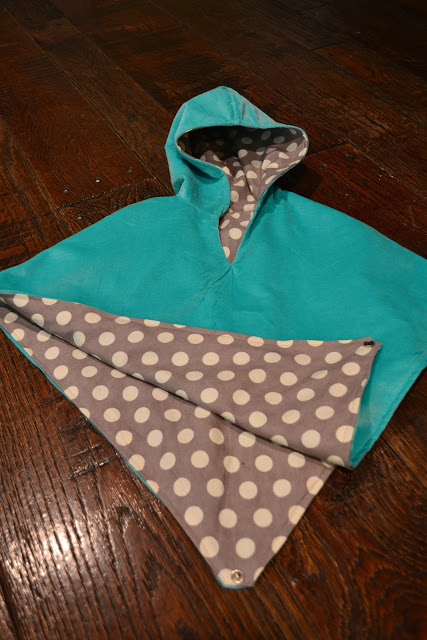
Is there some way that you can give the dimensions without the pattern? I don’t have a reliable printer and they look like basically square/rectangular pieces that really don’t need a printed pattern.
When I print the pattern, will it be the correct size? Or what is the scale for the pattern?
I love the idea of adding a snap for the little ones!
I love your pattern and description. My grand daughter is fitting in 2T so I guess I can increase the pattern size for her. The real question I have is what do you recommend for fabric? I live in Washington State and winters can be brutal. Most patterns I found use Fleece for warmth. I would like to use fleece and flannel. Will that work? I am open to suggestions
OMG I GAVE YOU THE WRONG EMAIL SEE MY CORRECTION AND NOTE THE CHANGE
Please give us some dimensions of the pattern pieces and what size do these correspond to?
After printing ‘actual size’ patterns I sewed the hood pieces and poncho pieces. However when I tried to pin them together the hood is about 3.5 inches too small. Any idea what the problem may be? All seam allowances are as directed.
Hi there to every body, it’s my first visit of this web site; this website includes amazing and truly fine information for readers.