
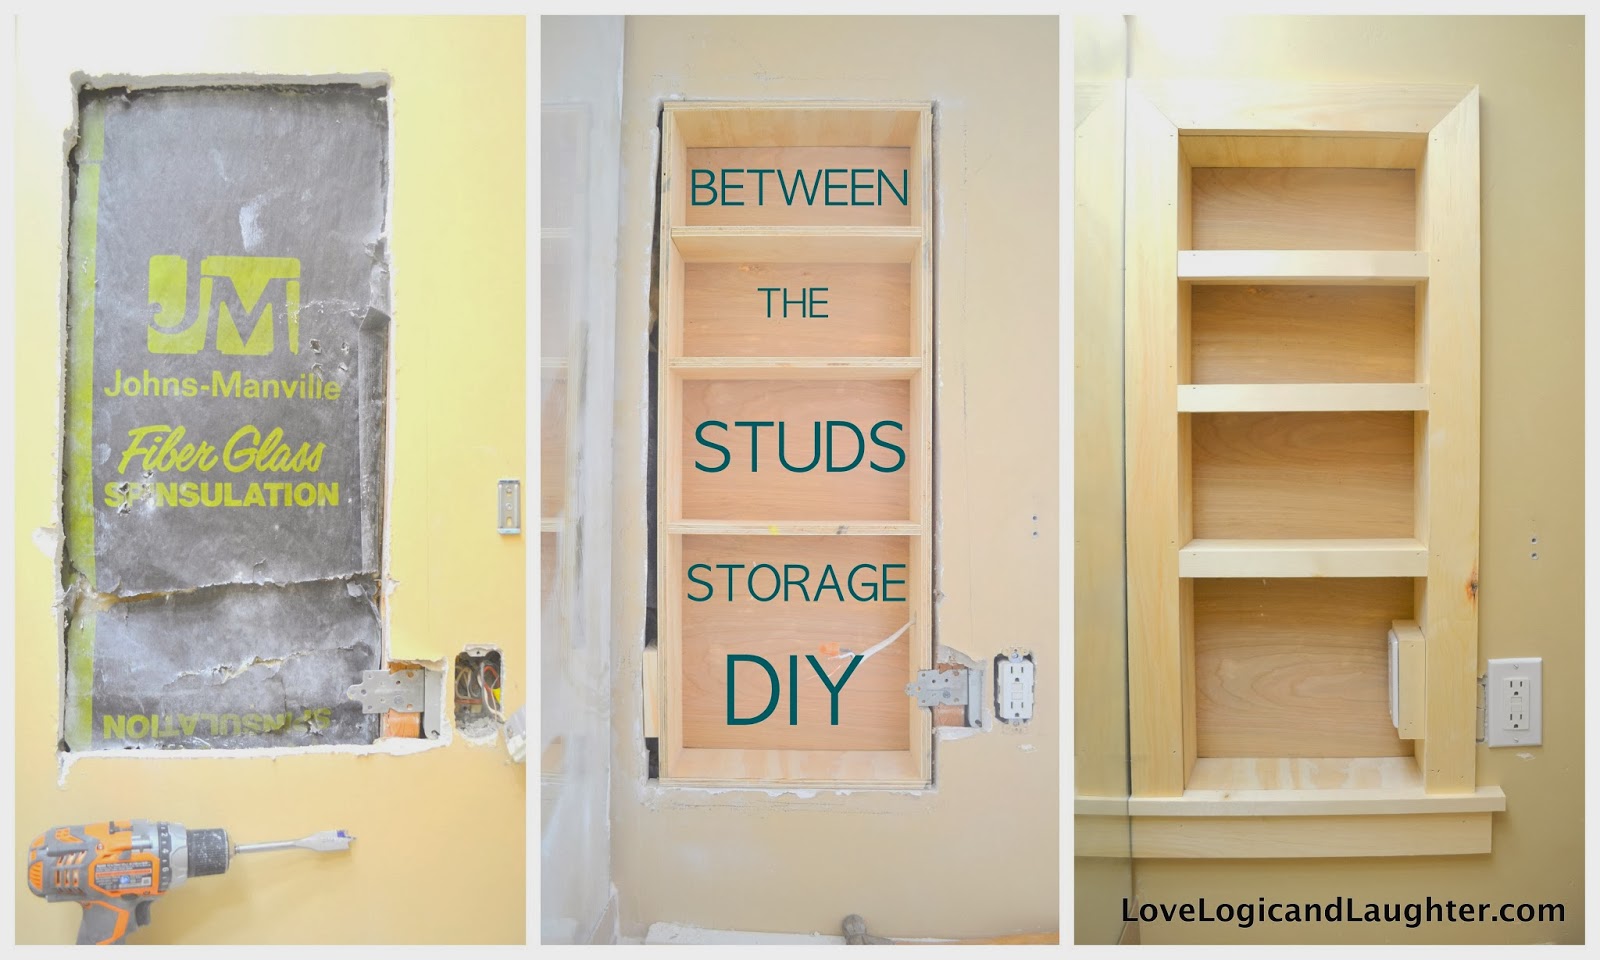
I was so excited about the “DIY – Between the Studs Storage” until it was finished and I didn’t love the end product… there was something missing in the trimwork. I couldn’t decide on wood trim, wood accents, white trim or painted trim to match the room…
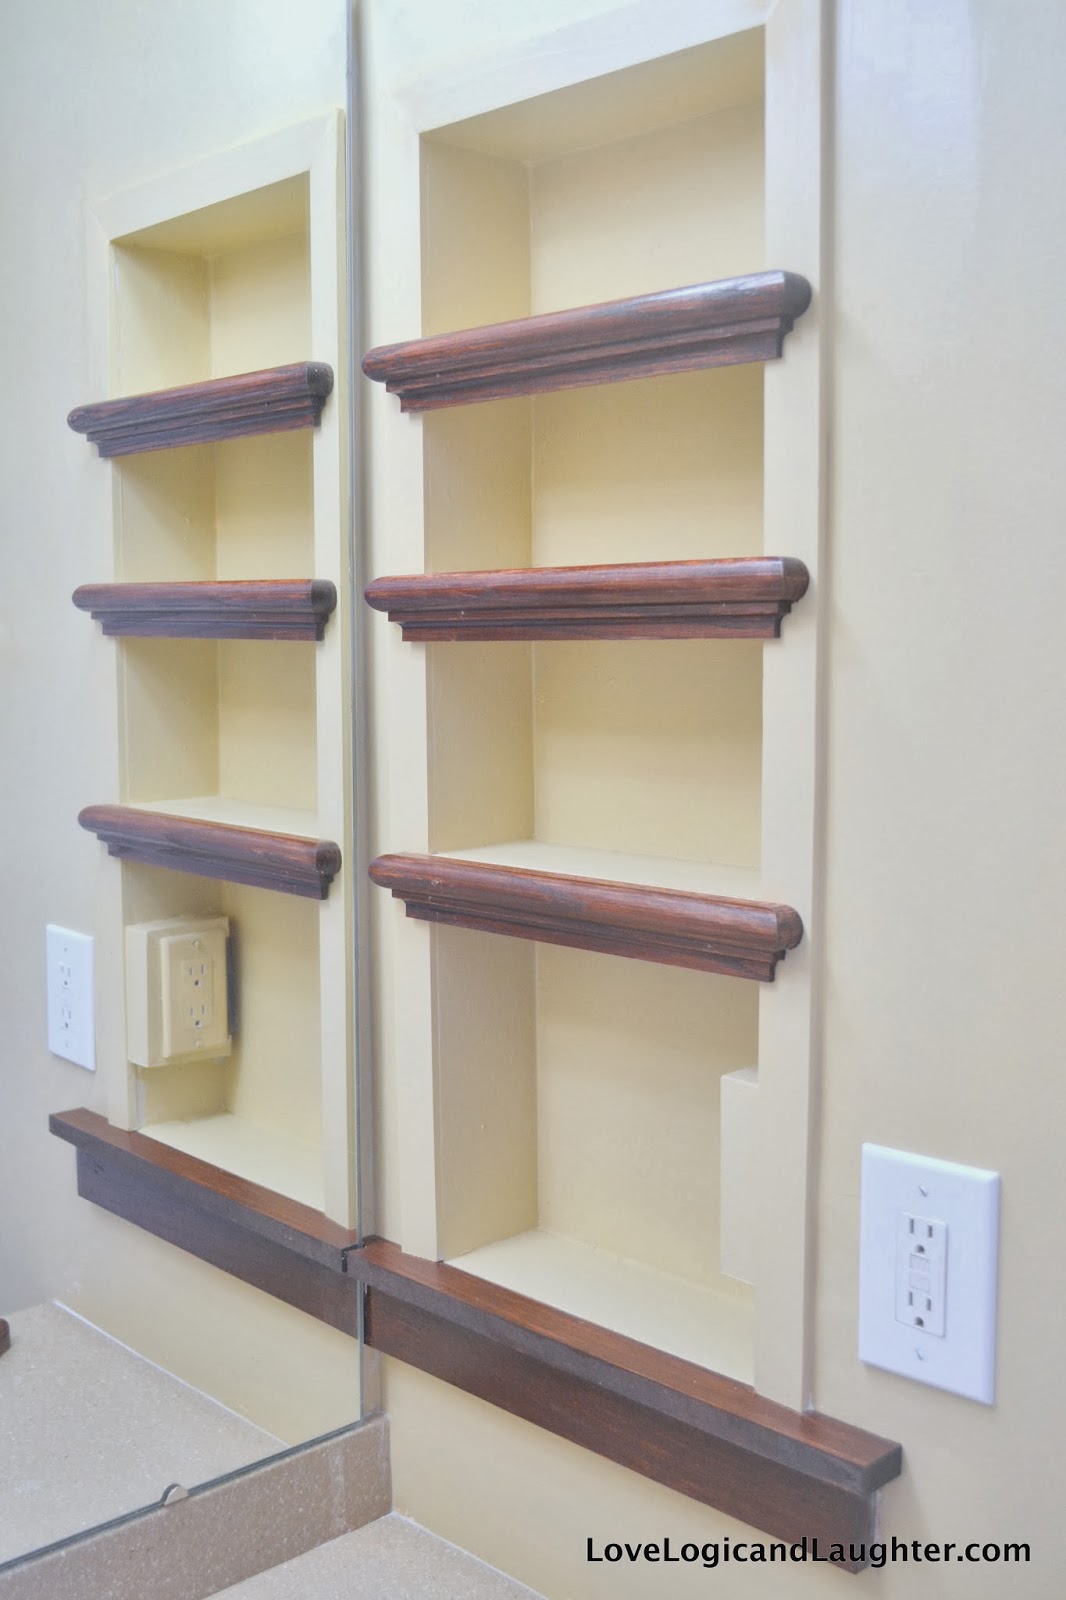
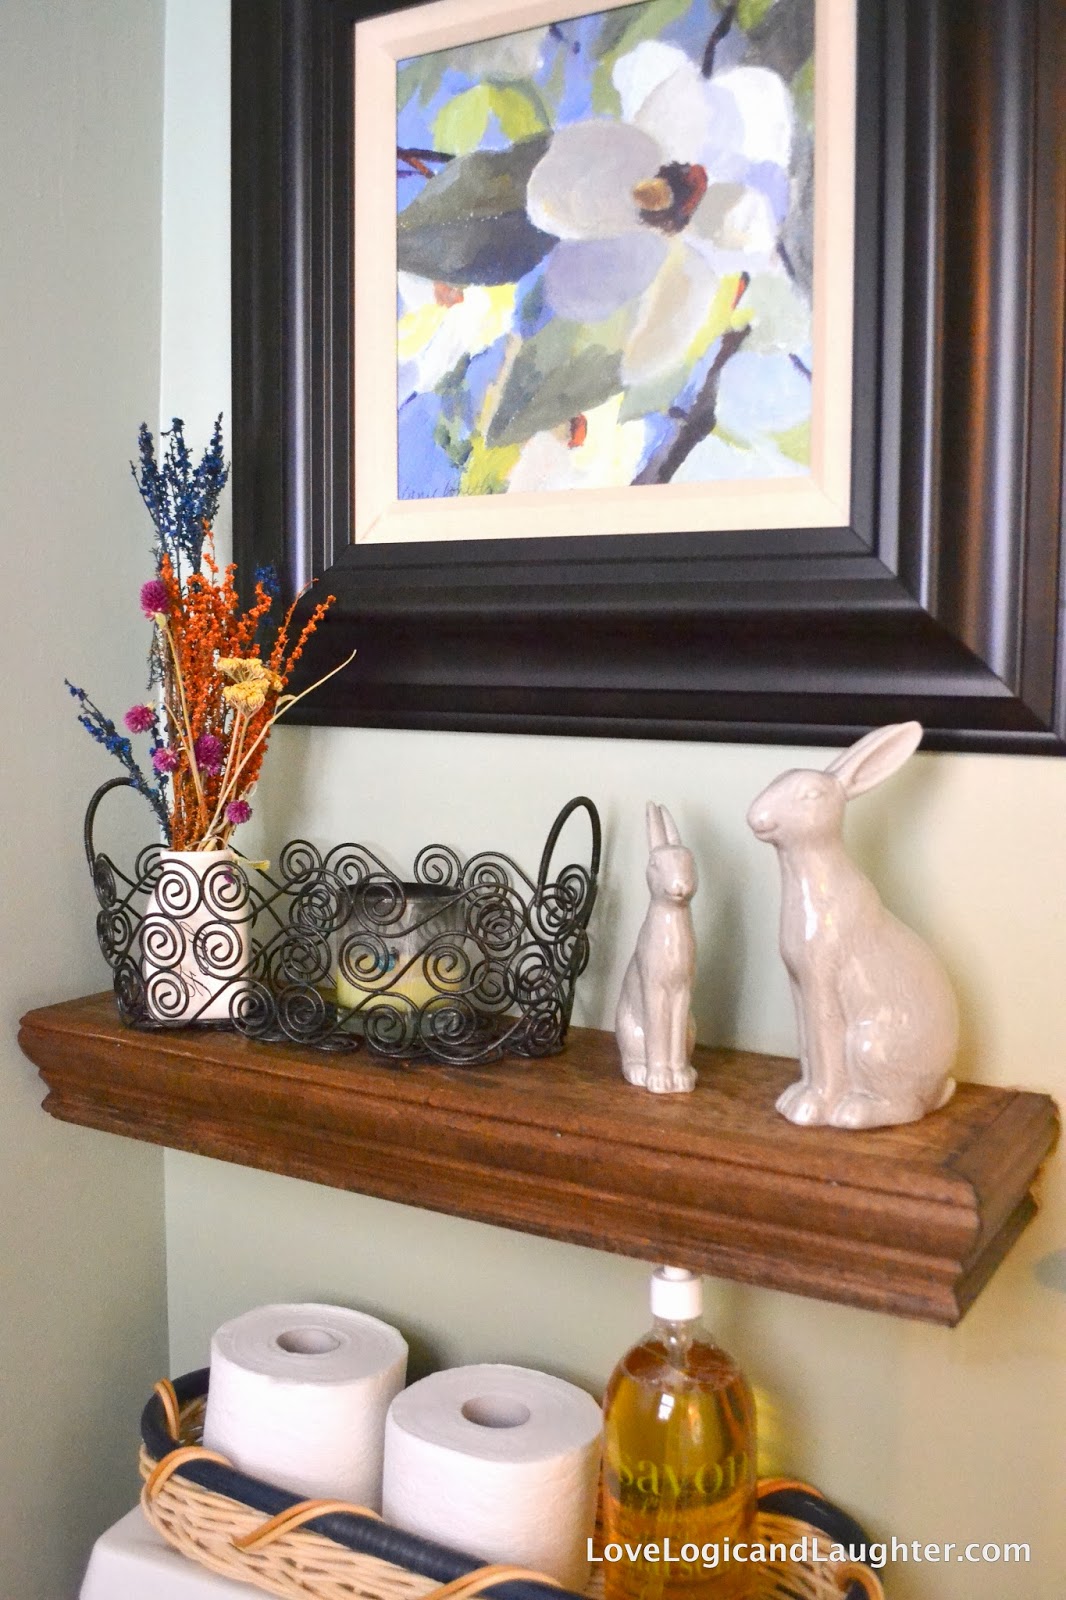
While perusing through the trim isle at Lowe’s for inspiration, I came across stair treads. I decided to give them a try. The wood boards from the above photo came off and the stair treads were stained and put on as seen in the photos below.
BEFORE STAIR TREAD NOSING ADDED: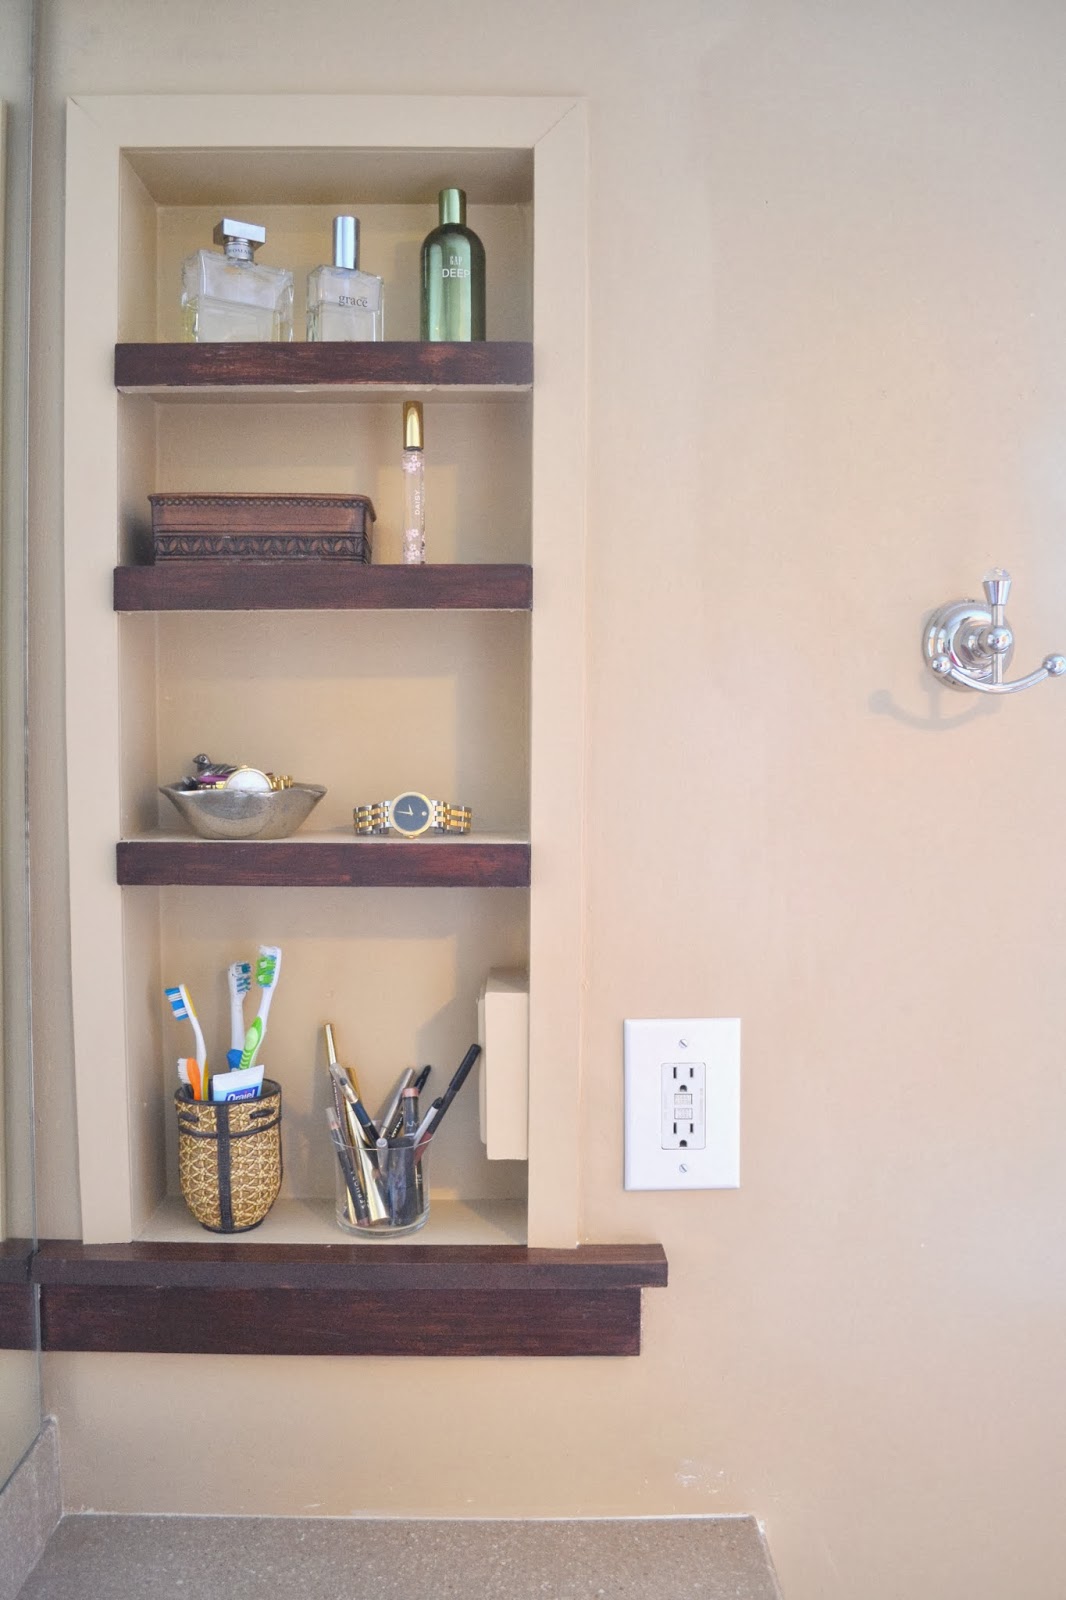
AFTER STAIR TREAD NOSING ATTACHED: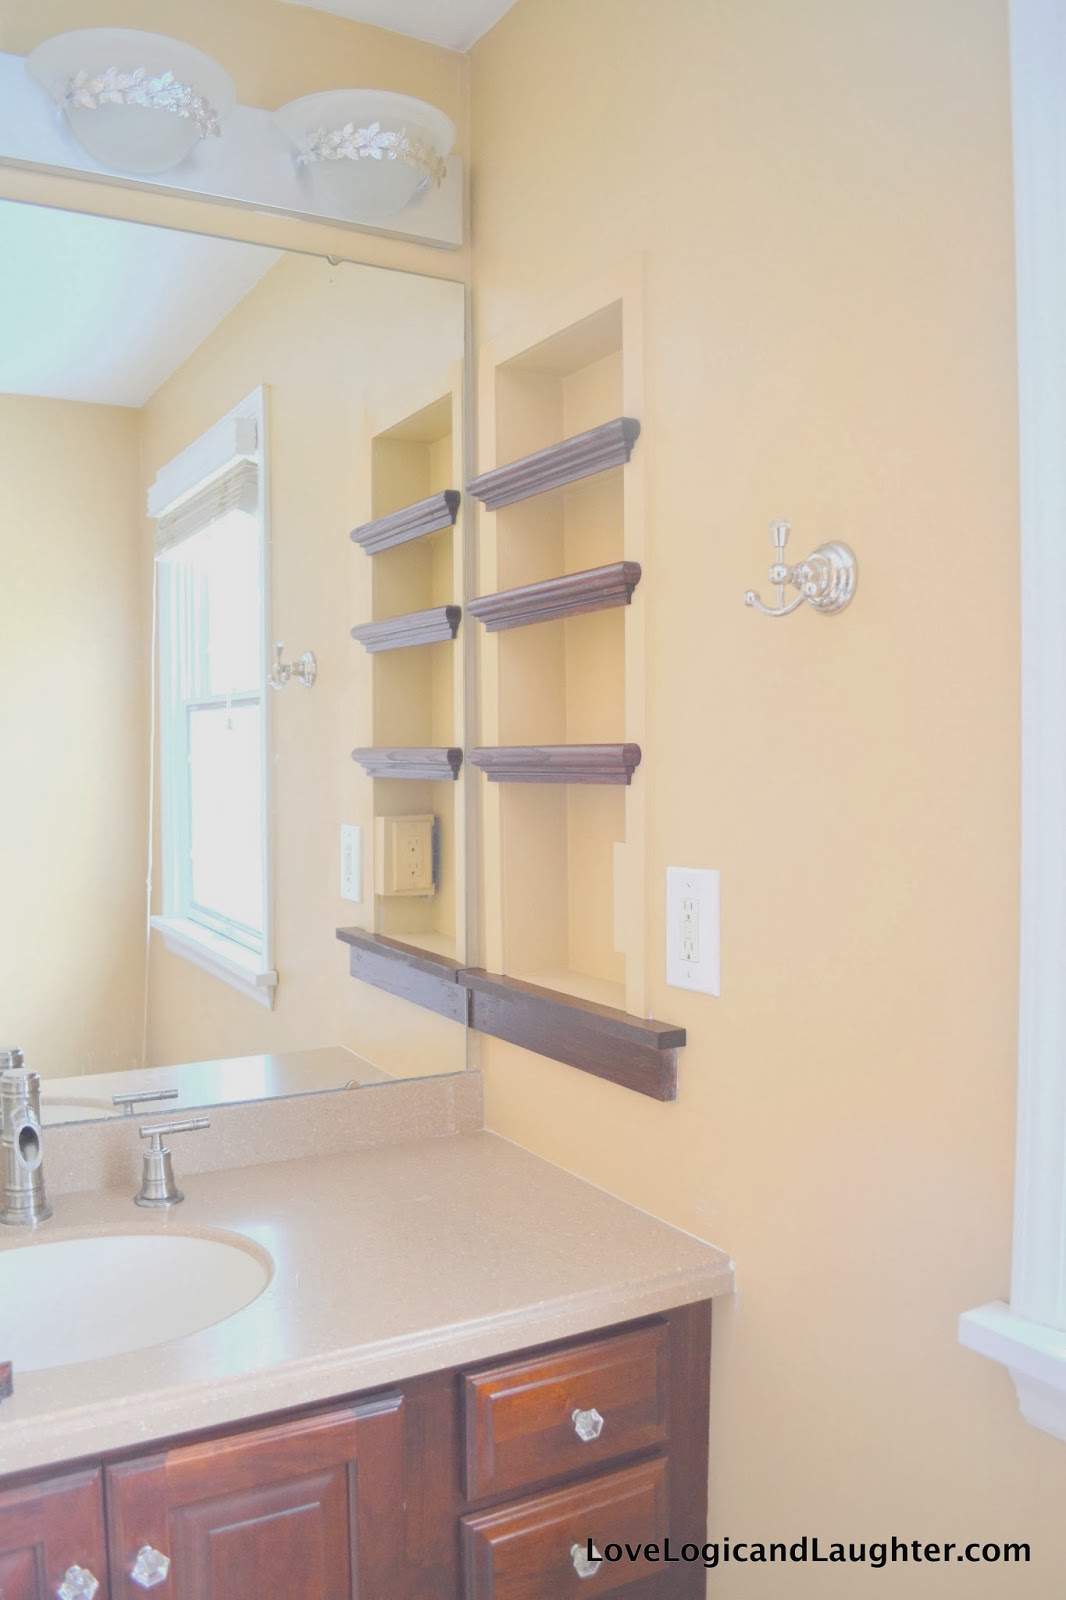
It coordinates well with the sink base cabinet below without becoming an overpowering brown hole in the wall. I like it now… I still don’t LOVE it…
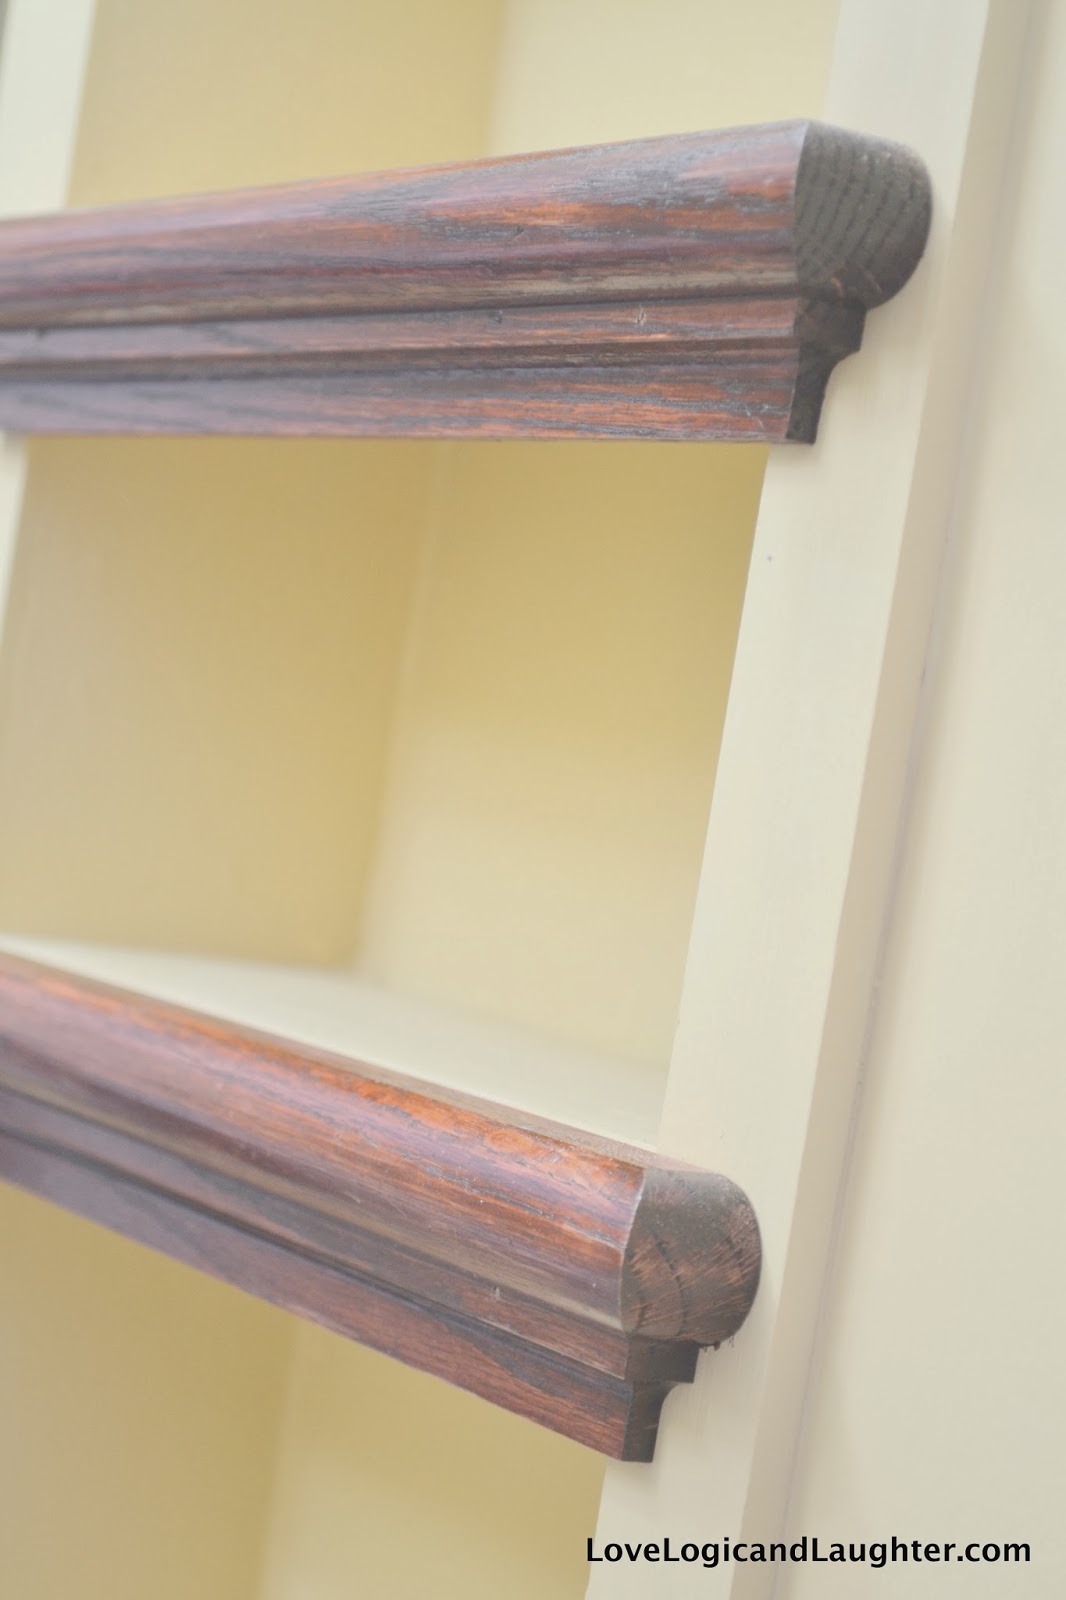
The stair treads were purchased at Lowe’s for about $6/piece:
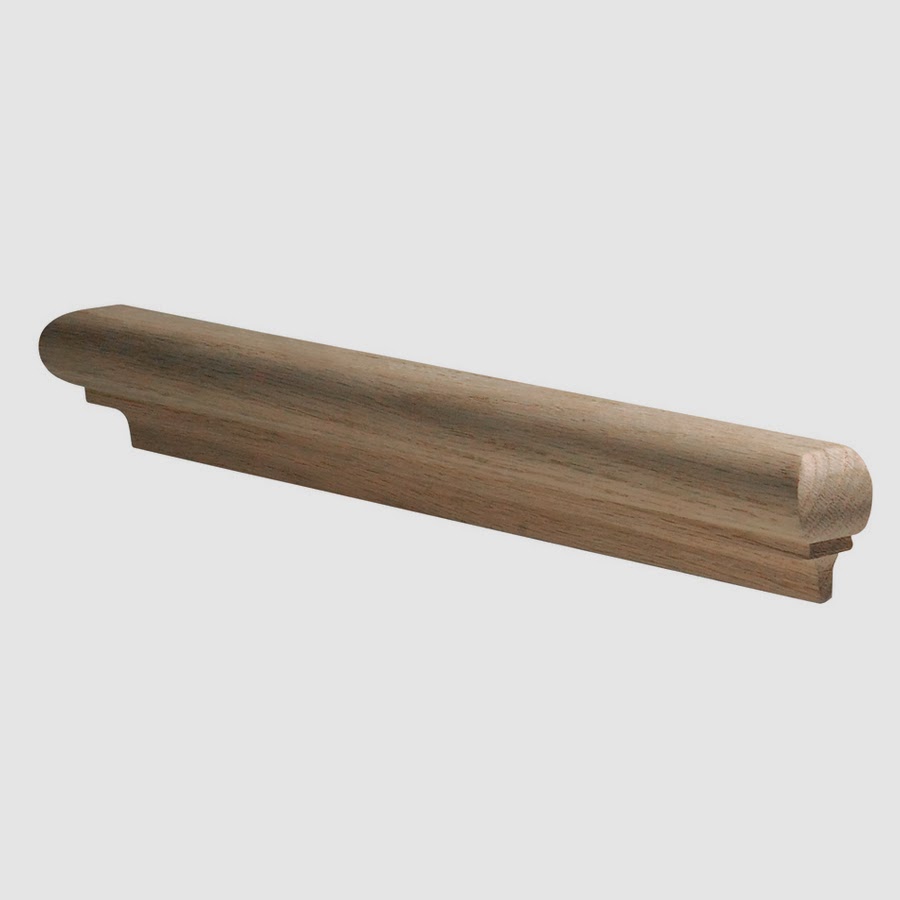
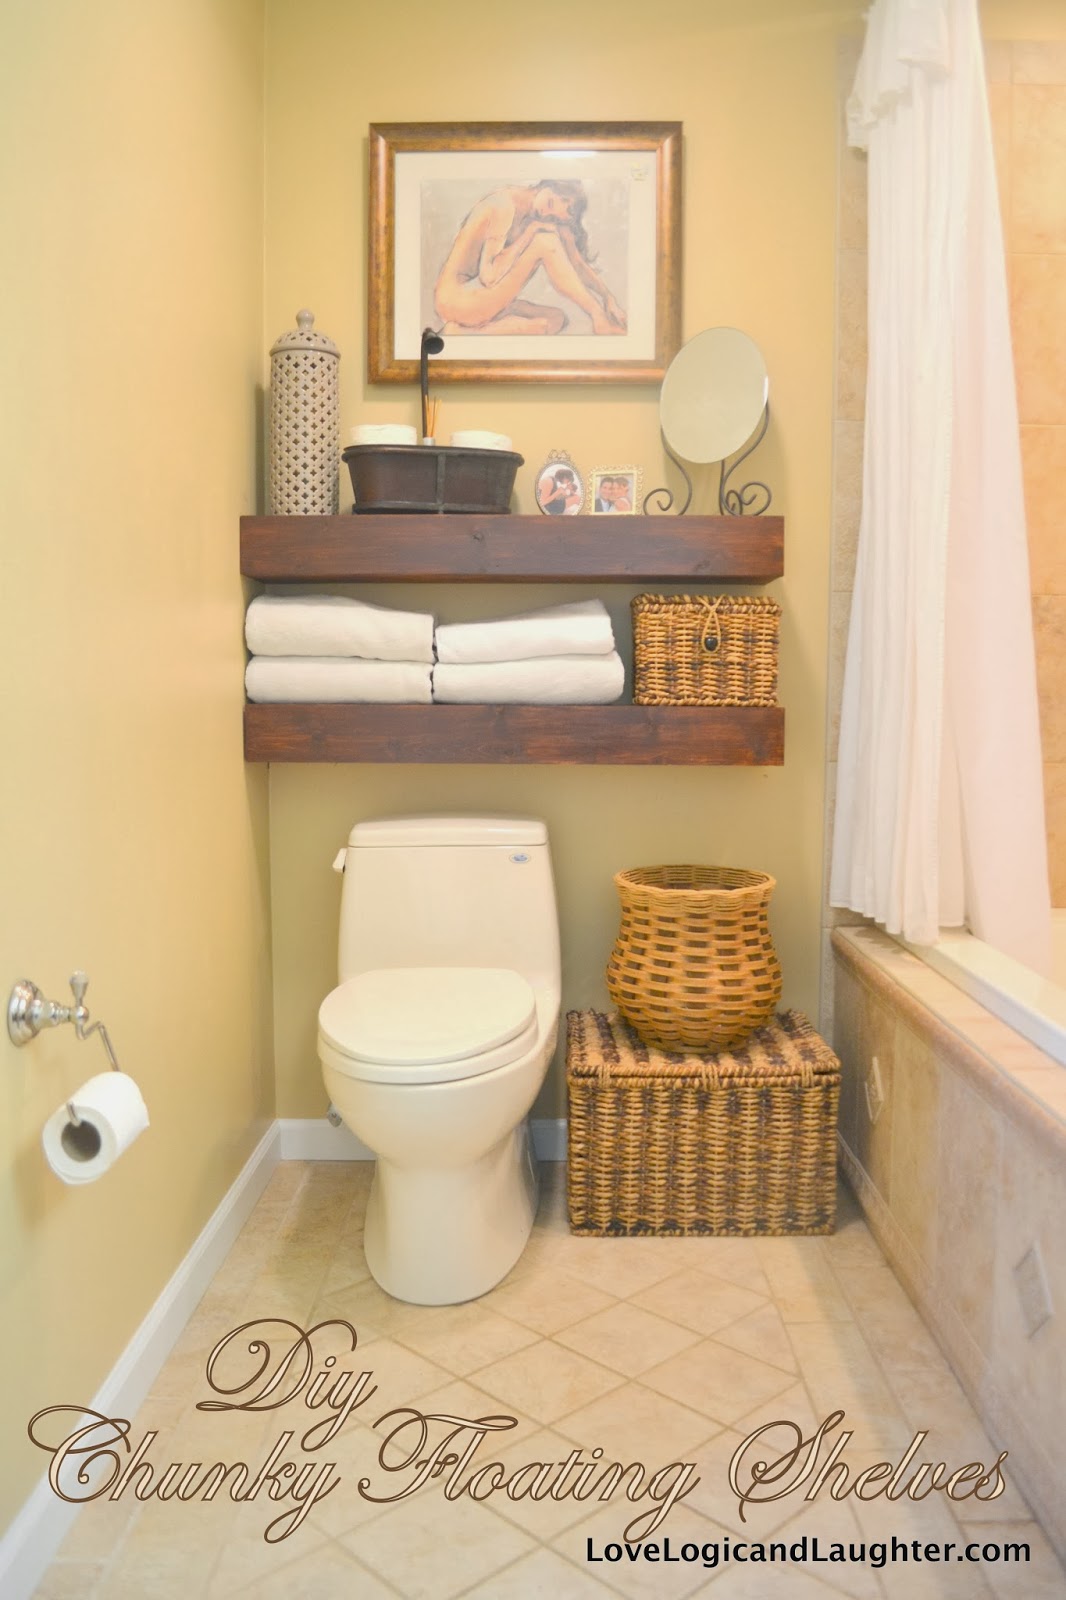
I finished them the same I way I finished our Chunky Floating Shelves:
I stained them with Red Mahogany Rust-Oleum stain in satin first. And then I put a layer of PolyShades over them to darken them a bit more and tone down the wood grain a bit while also polyurethaning them.
While waiting for the stain and Polyshades to dry I took down the light hanging above the sink and spray painted it “Chrome” to attempt to match the other metals in the bathroom. I will post before and after photos of the light fixture soon, but you can see parts of the finished light fixture in the photos above.
Oops. Just saw the stair treads. Sorry, I liked it before you did the stair tread nosing change.
I liked the before pics better… the stair tread nosing is nice but just looks unfinished to me. I’m not knocking it, it’s still nice, but for my taste I prefer the wood be flat against the surface. And I think would look better with the chunky floating shelves that are awesome! Hope you are enjoying it, it is a quick simple way to get a different look. Thanks for sharing!
Love this idea!! Great job, and thanks for sharing!