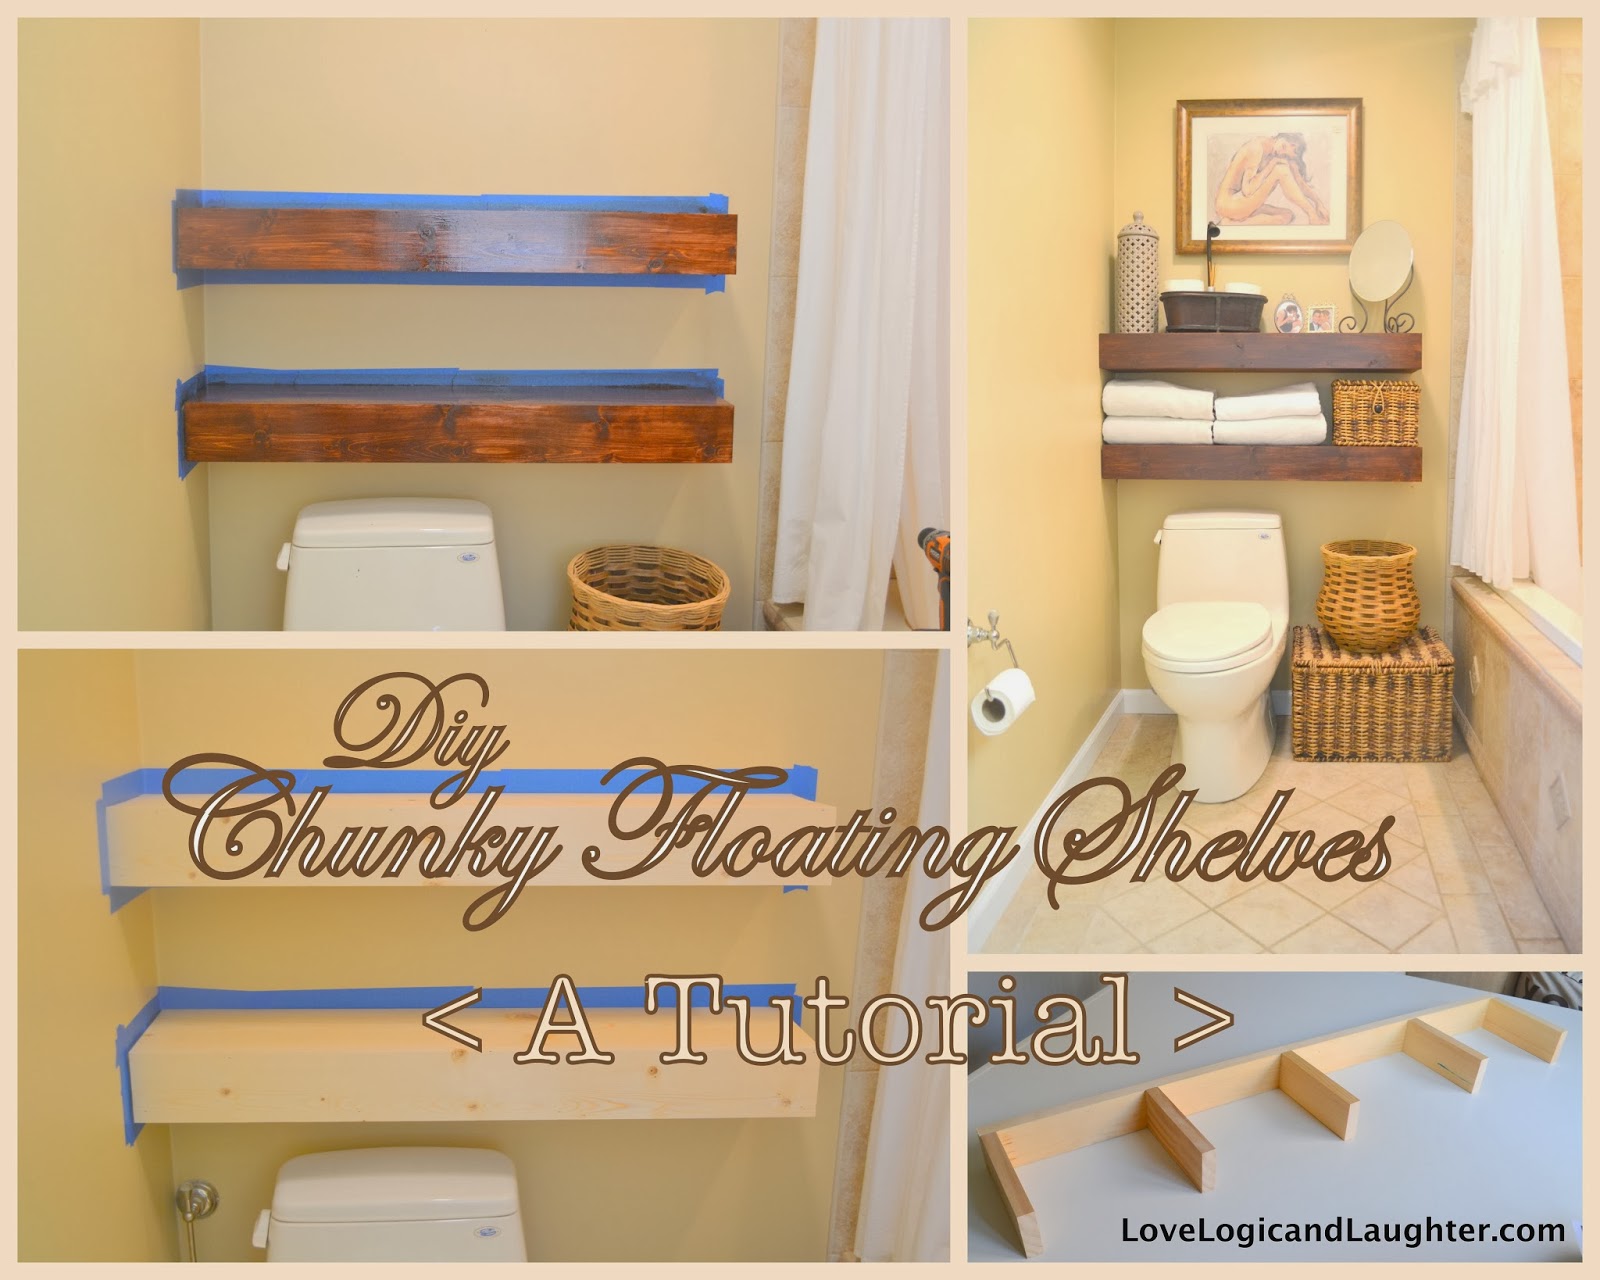
To start building the shelves you need to measure your space and first figure out how long you would like the finished shelves. That is what makes DIY projects the best – they can be built to suit your exact needs! The shelves in our bathroom are 38″ long. I will provide the measurements I used to build these shelves that are a finished size of 38″ long by 4″ chunky (wide) by ~10″ deep.
Materials for 1 shelf:
- 1 – 4′ 1×6
- 1 – 8′ 1×10
- 1 – 6′ 1×3
- Countersink Drill Bit
- 2″ Flat Head Screws
- Finish Nails
Tools:
- Drill
- Table Saw (or have the store cut the 1×6 for you)
- Mitre Saw (or have the store cut the boards for you)
- Stud Finder
- Hammer
- Level
Building the Brace:
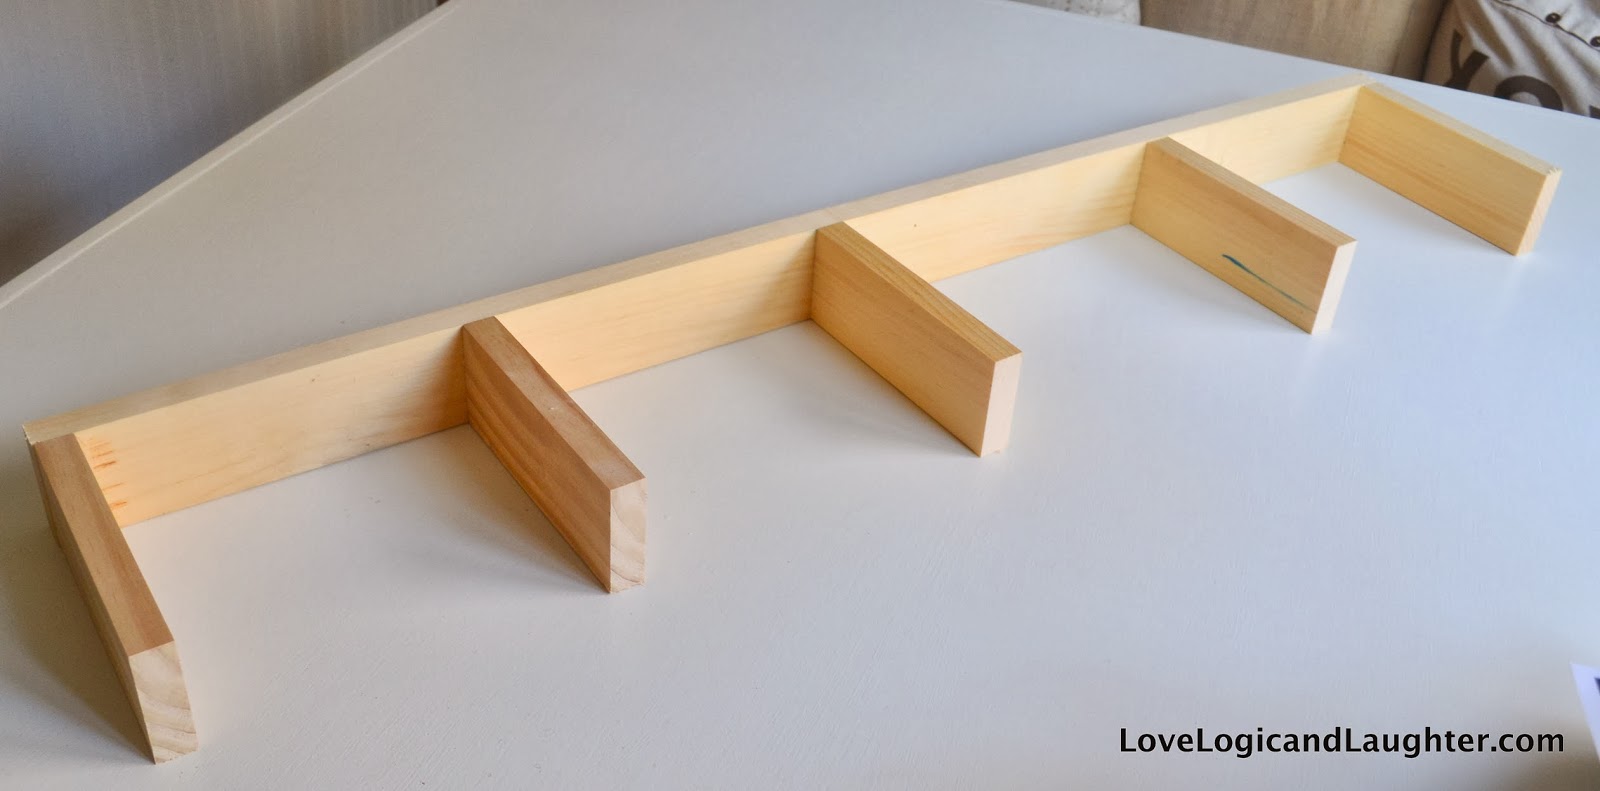
The brace is built from the 1×3 board. First cut the 1×3 to your desired shelf length – this will be your brace body (38″ for this tutorial). Next cut your “legs”. There are 5 legs for our brace (see photo above) each 6 1/2″ long. Screw each of your legs into the 1×3 board you cut to 38″ (your body) using a countersink drill bit.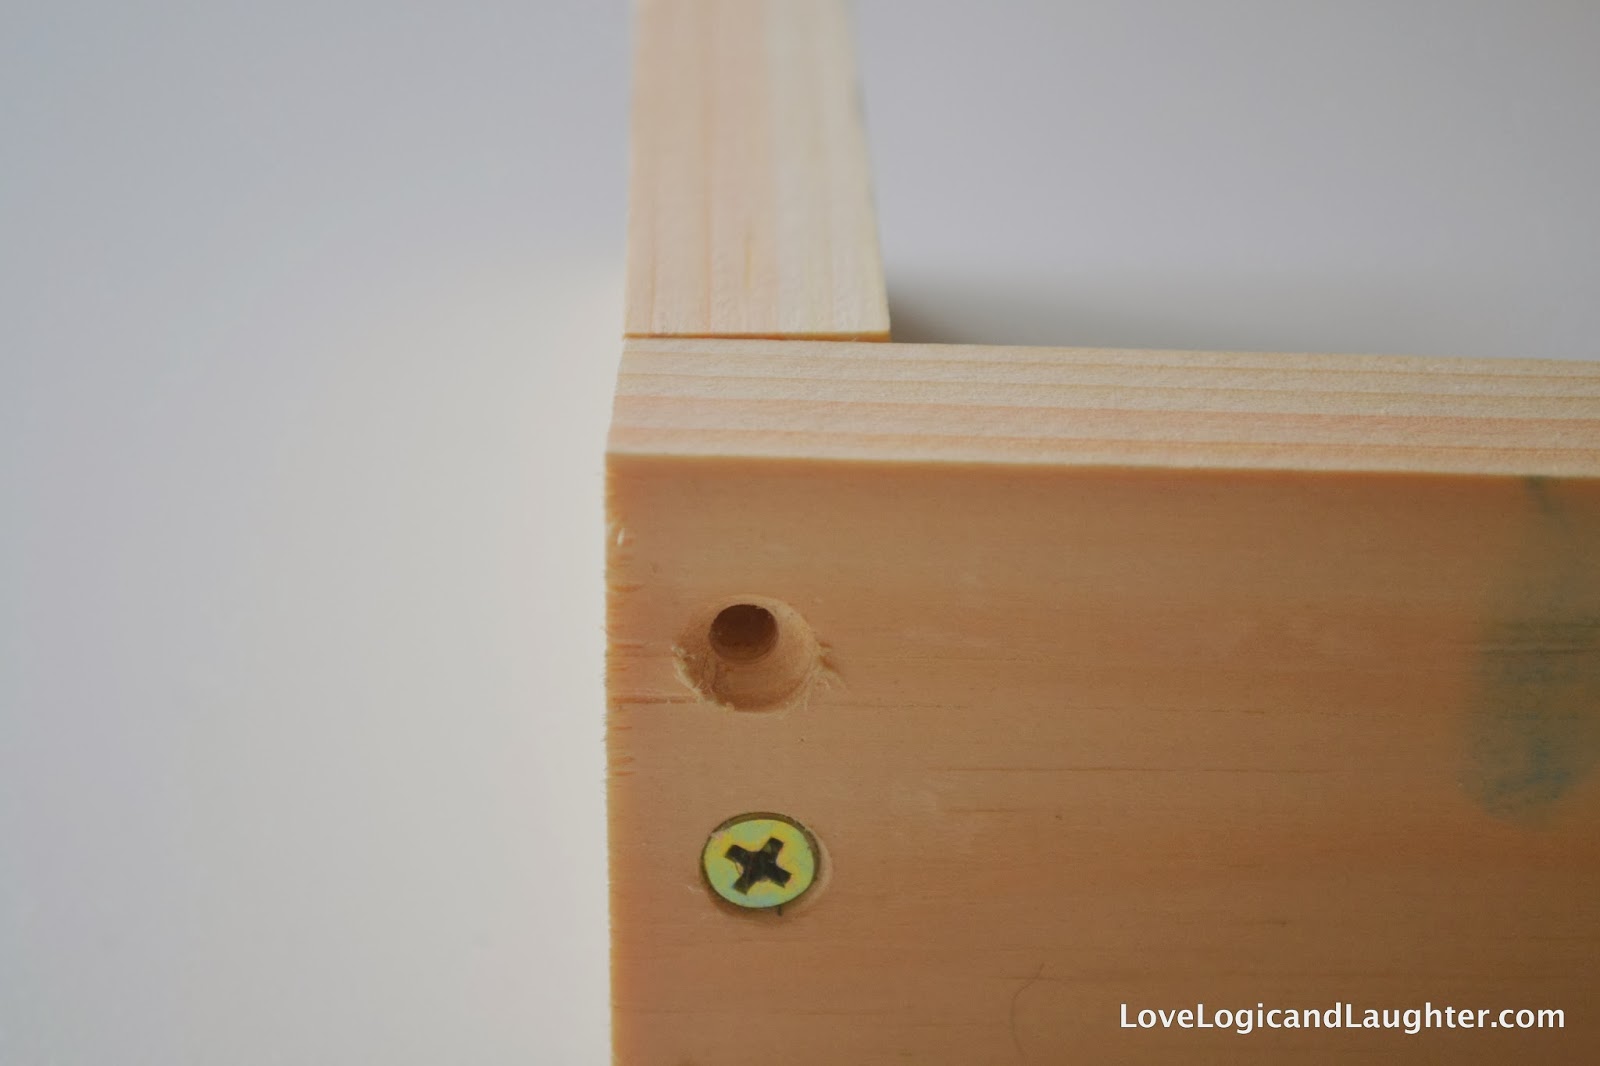
The countersink drill bit will drill a pilot hole into the wood and create a larger hole near the entrance so that the screw head sits inside the board. If you look at the photo above, you can see the top hole has been drilled and the bottom hole has been drilled and the screw has been attached. The screw head is sitting into the wood. This is an important step because this brace needs to sit flat against the wall. If the screw head is sitting away from the board then the brace will not be stable. (Hint: If you don’t have a countersink drill bit then you can drill into the wood with a larger drill bit (just make sure you don’t drill too far – only enough so that the head of the screw can fit into it) and then finish drilling the rest of your pilot hole with a smaller drill bit).
Hint: When attaching the legs to the back brace it is helpful to use 90 degree braces. It is not necessary, but helpful.
Building the Shell and Attaching to the Wall:
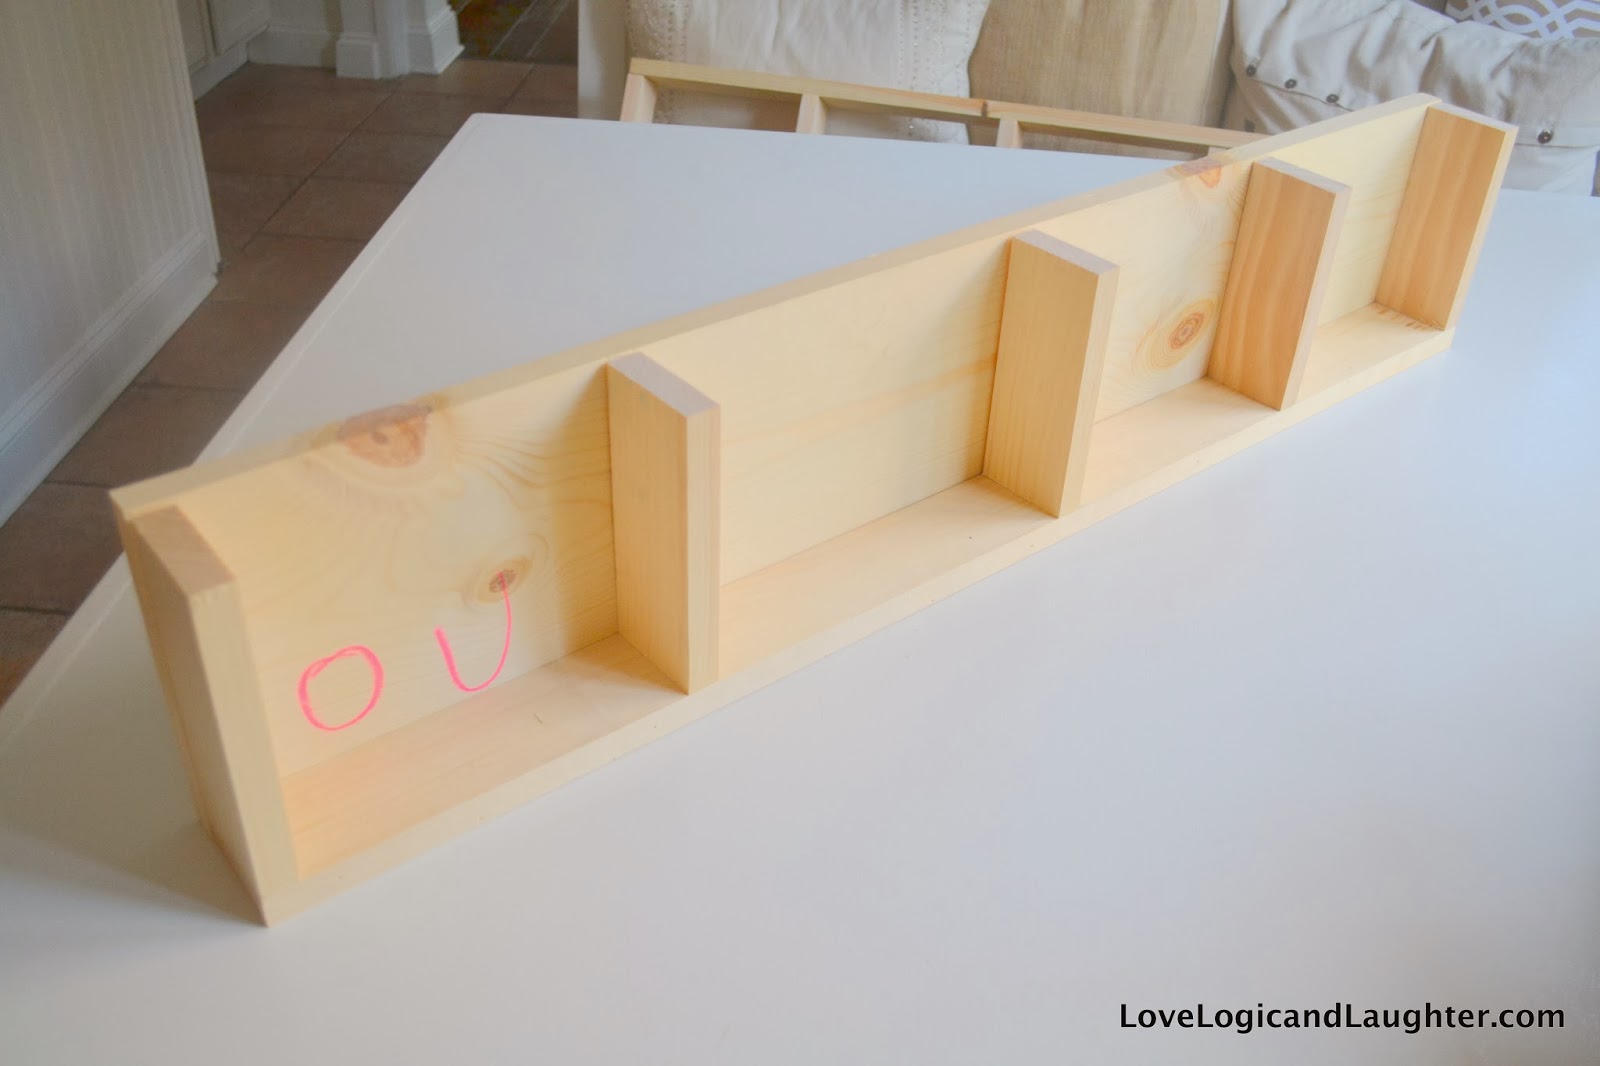
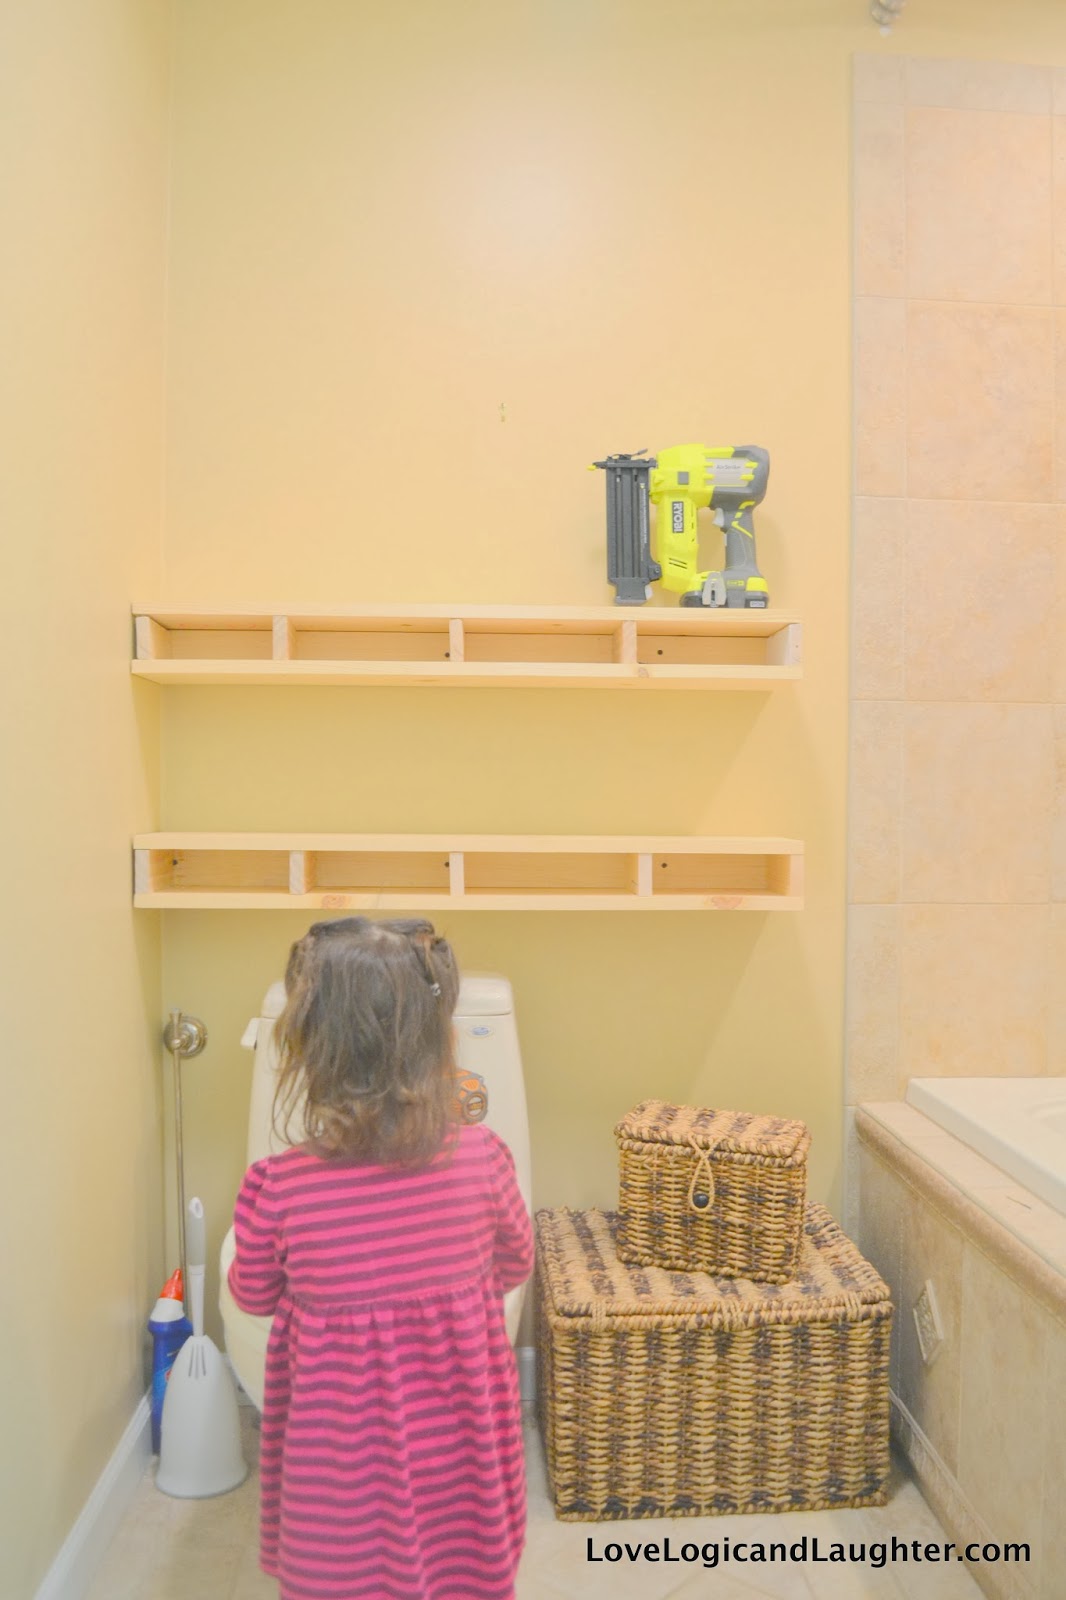
Cut your 1×10 board into two 38″ sections. These will be your top and bottom shell. Attach one of your cut 1×10 boards to the bottom of your brace with finish nails. You will nail from the bottom through the 1×10 and into the legs and body of your brace.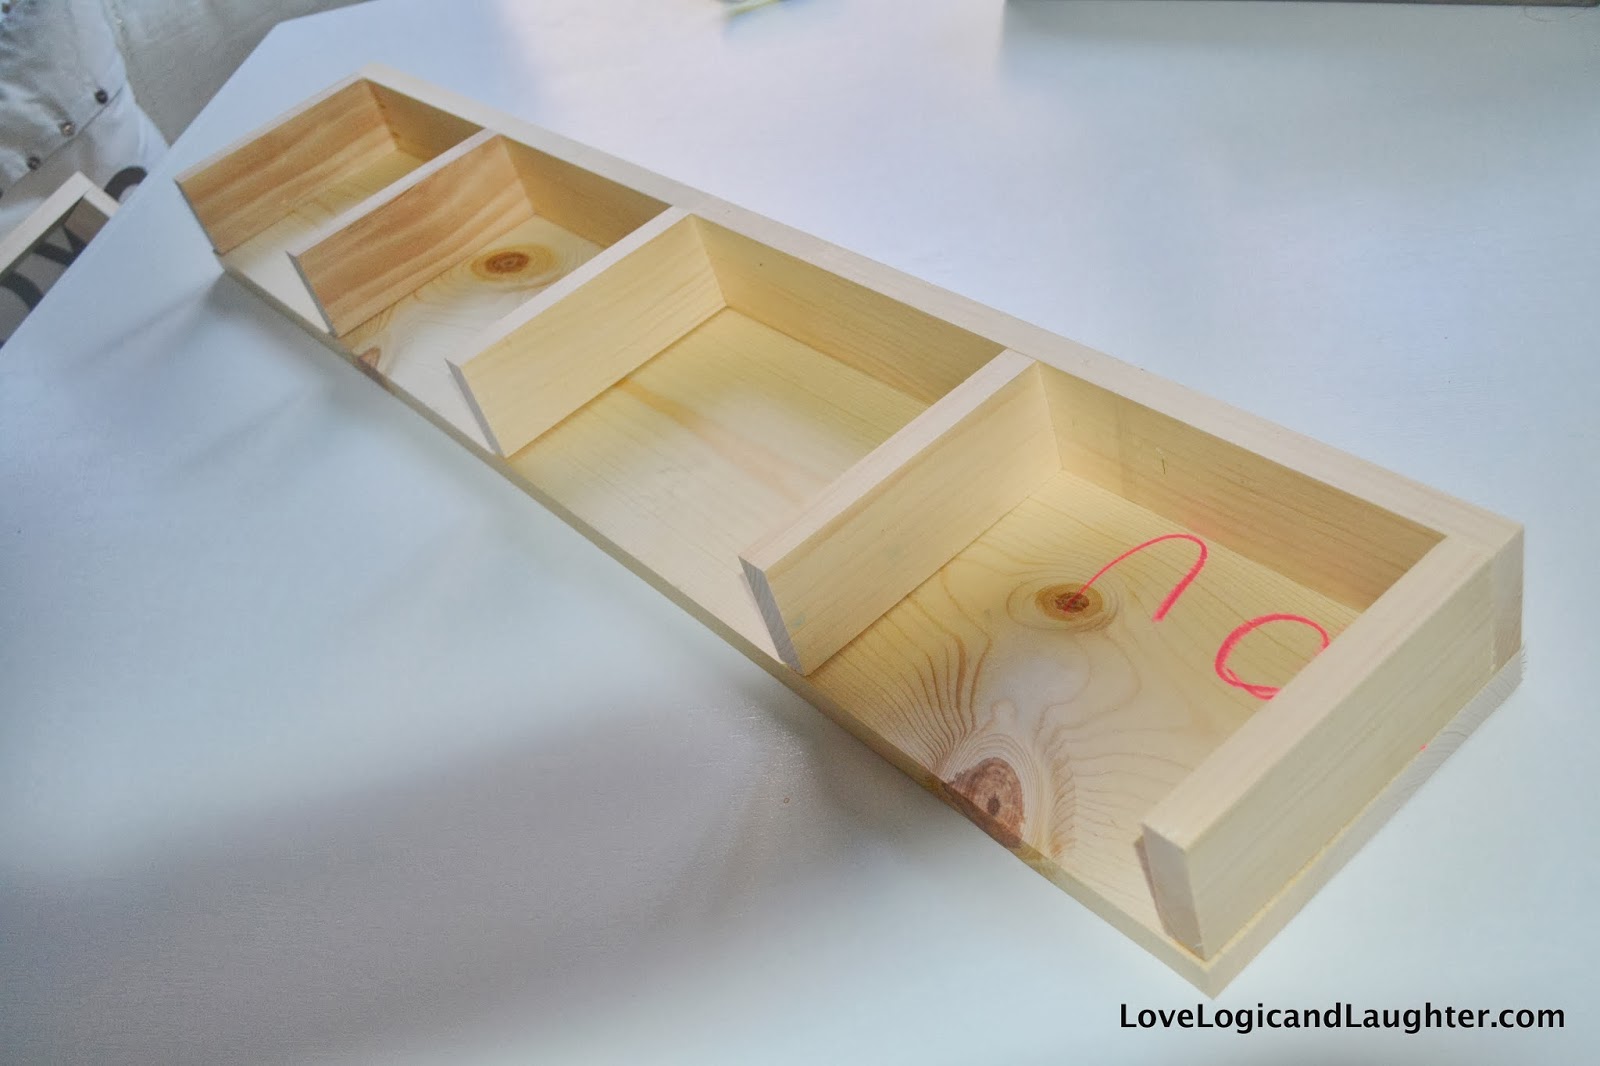
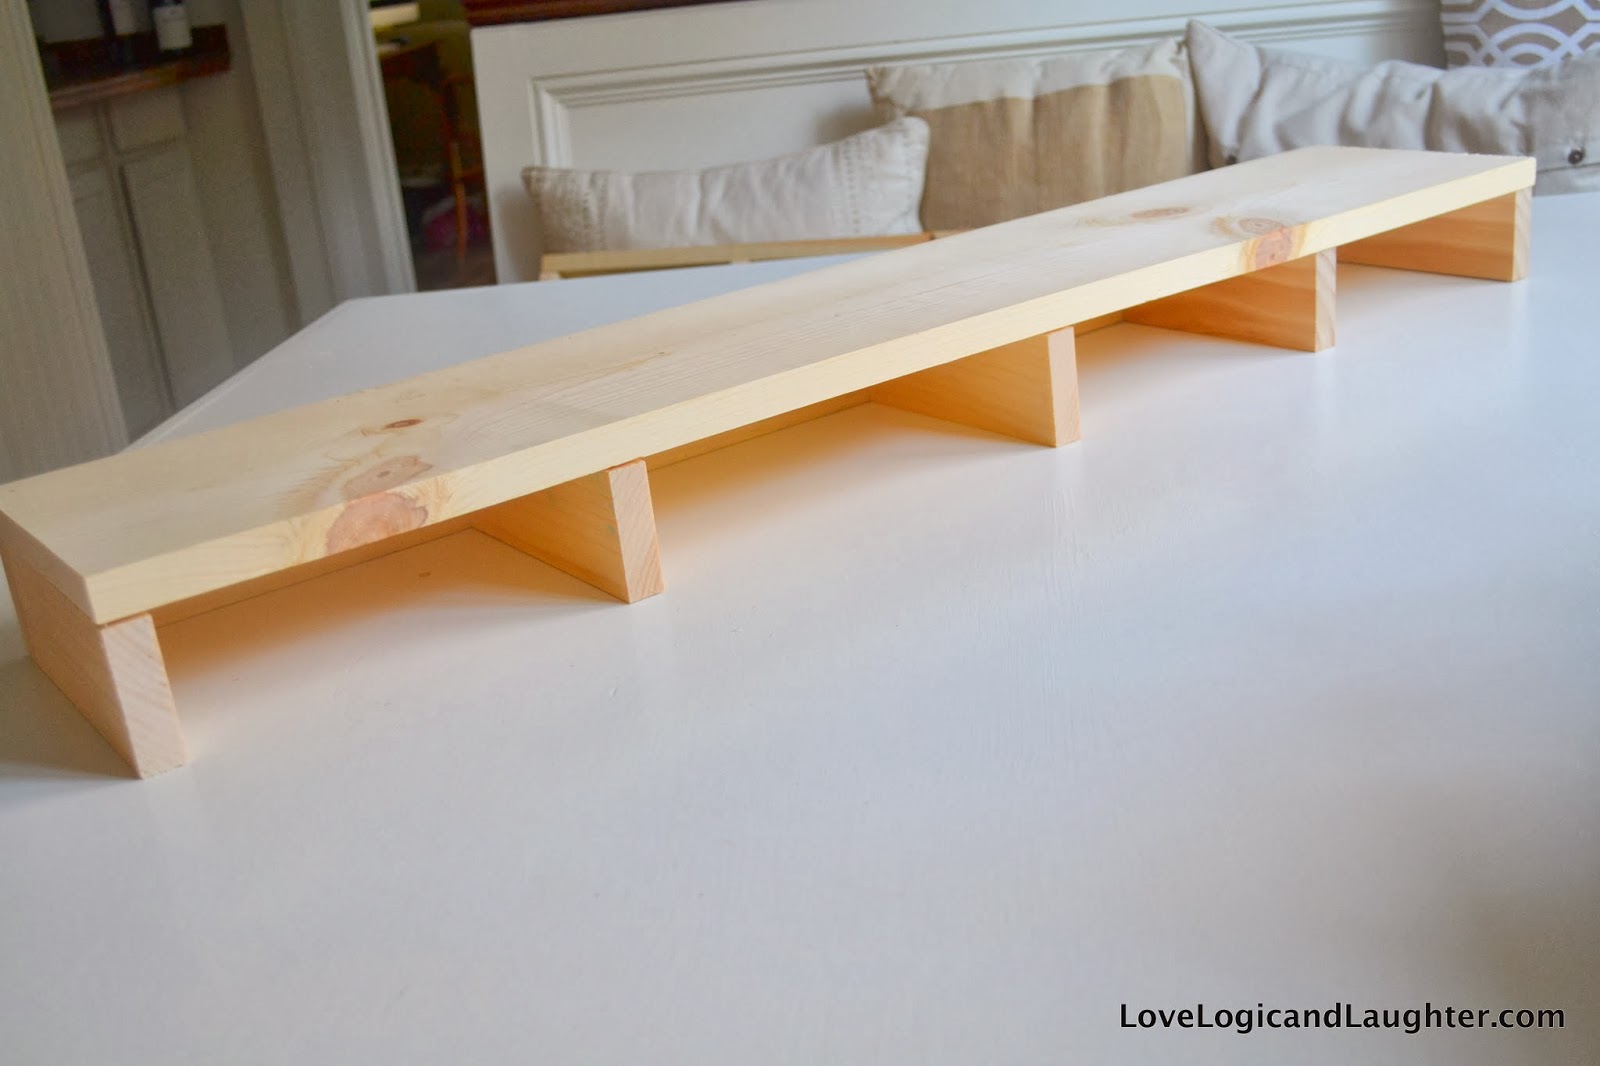
Find the studs in the wall where you would like the shelf to hang. Screw the brace into the studs. It is helpful to first screw into one stud. Then level the shelf with a level and screw the shelf into the other studs.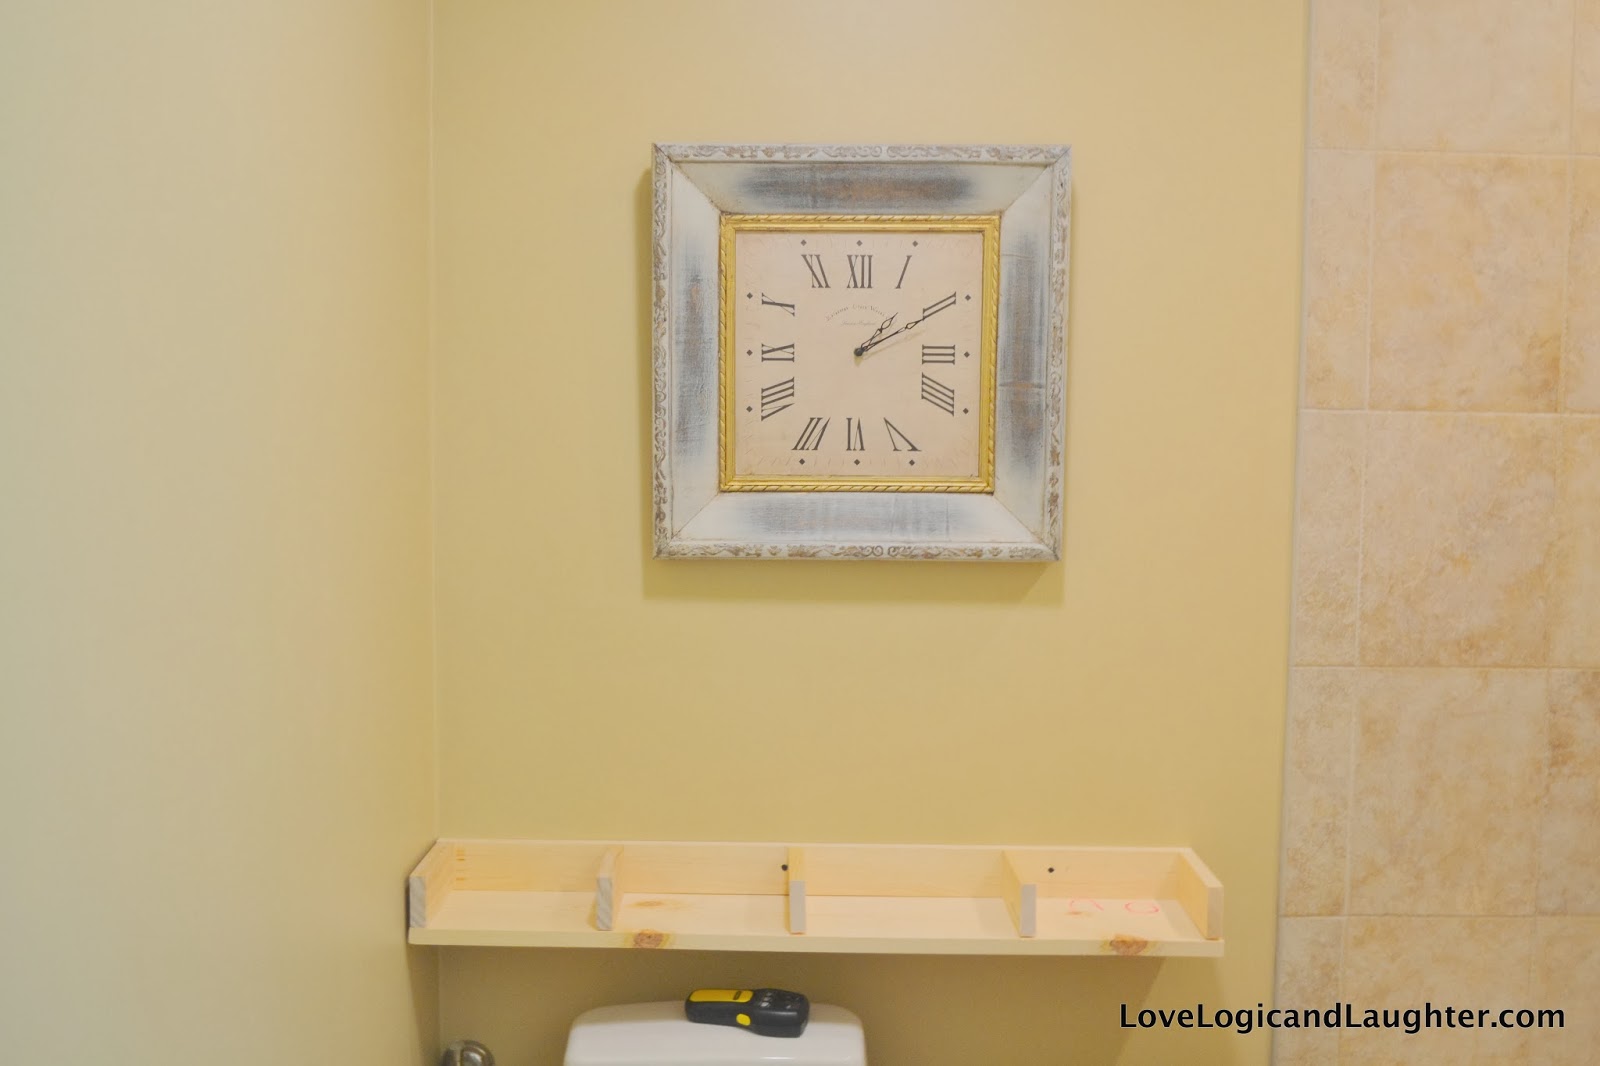
I was able to find three studs behind where the shelf would hang. I first screwed the shelf into the most center stud and then leveled the shelf and screwed into the two outer studs. You want to screw straight through the body of the brace and into the wall studs (see below photo).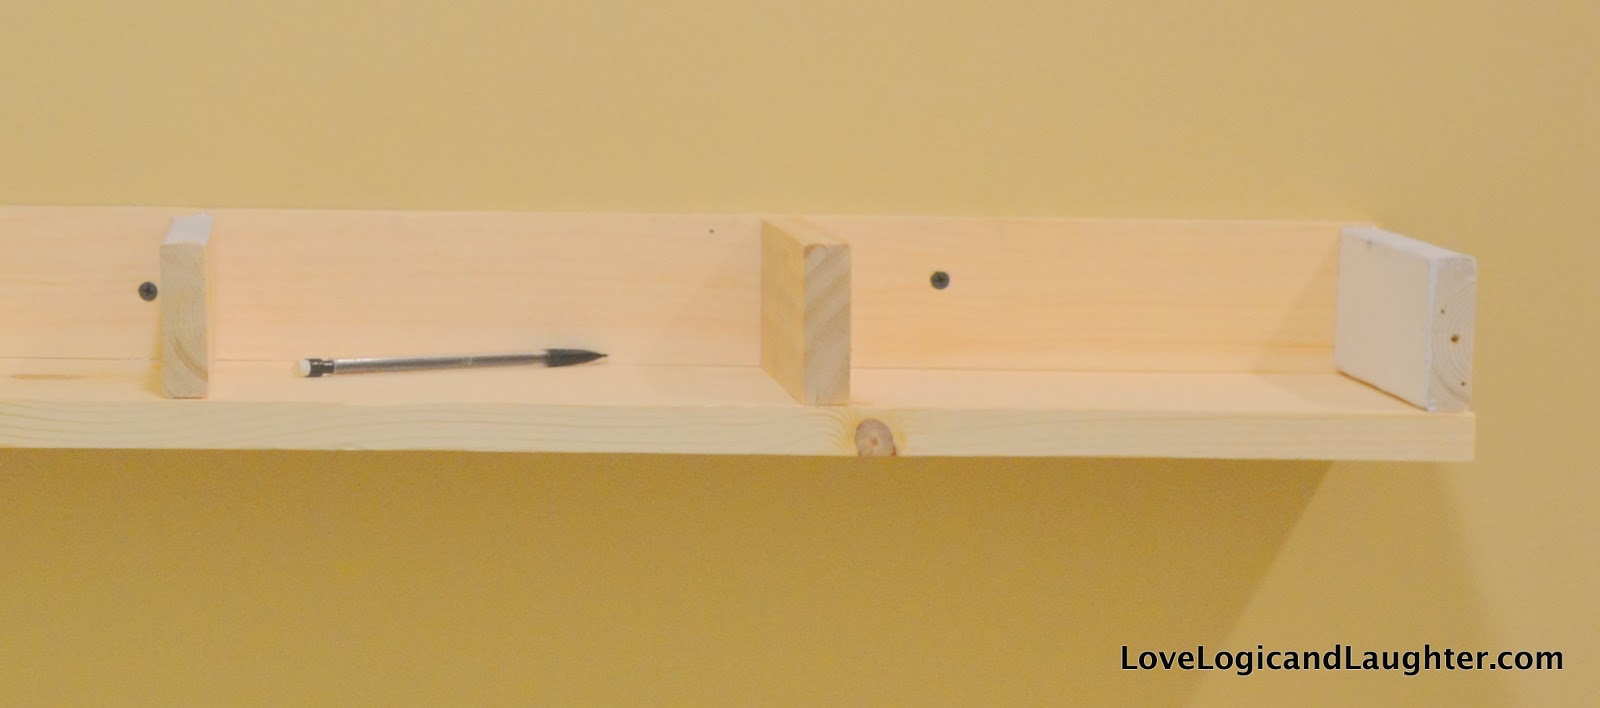
Attach the top 1×10 board. Use finish nails to nail the top board in place just as you did the bottom board.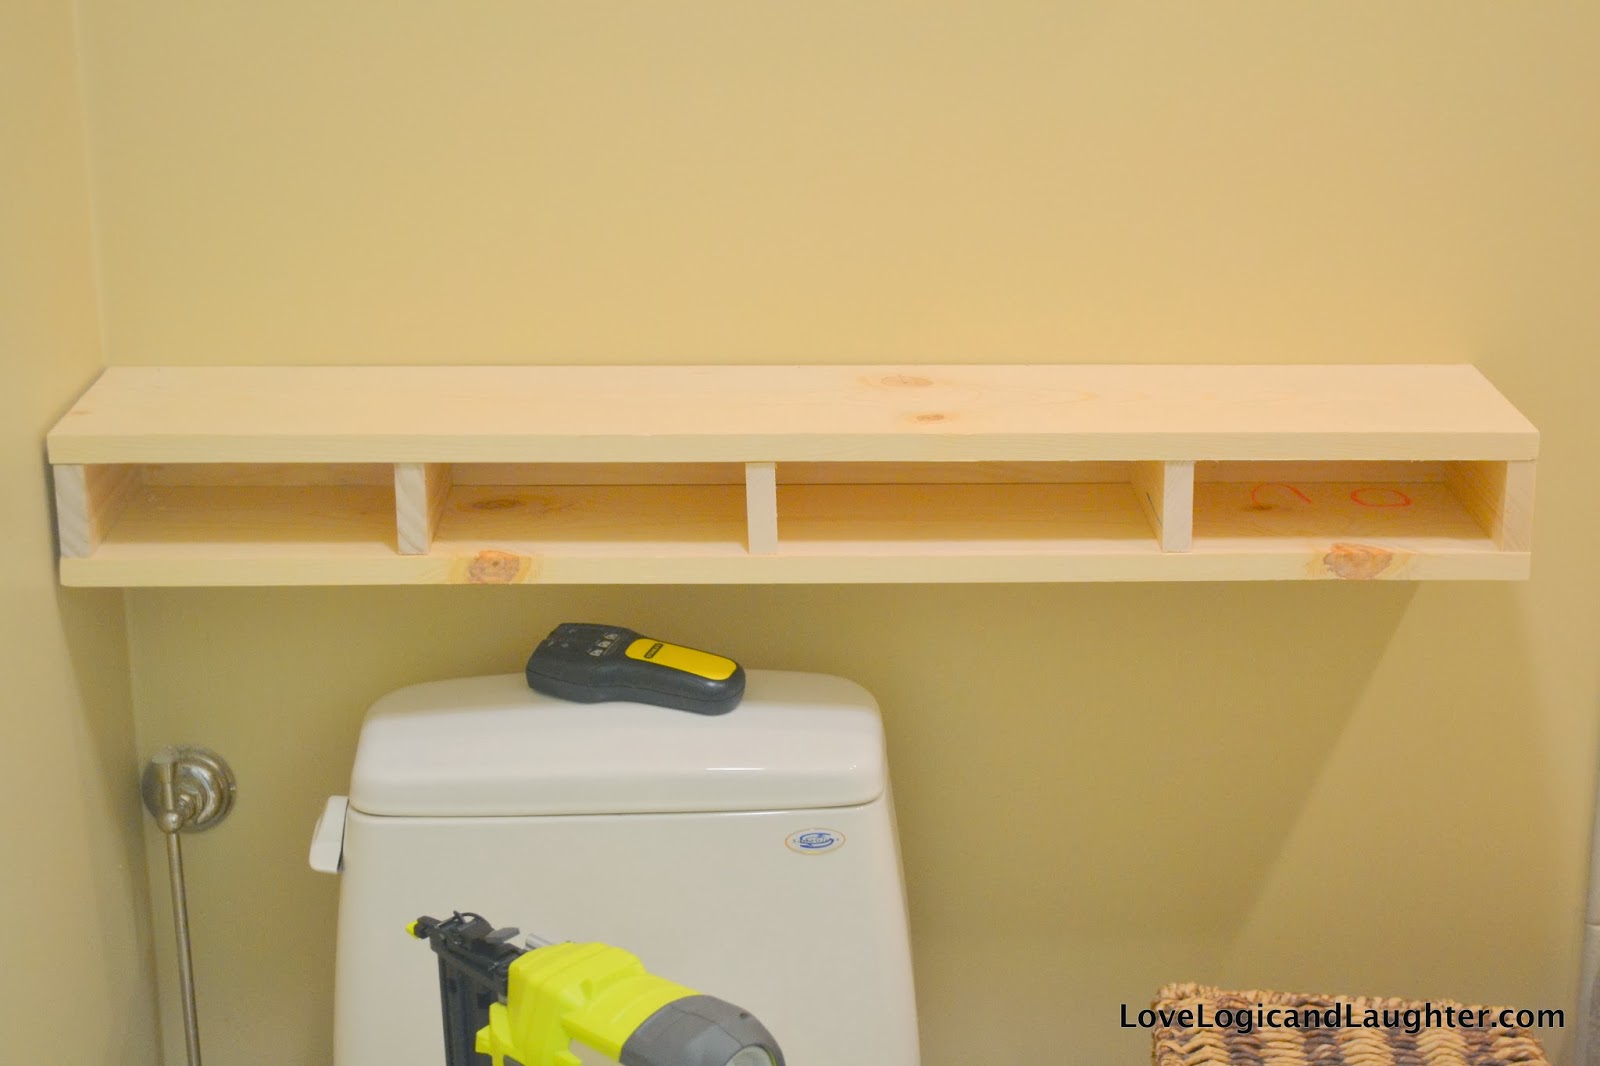
If you have a helper like I usually do, then sit back and watch them for a bit. It is fun to see what they pick up on from watching you! 🙂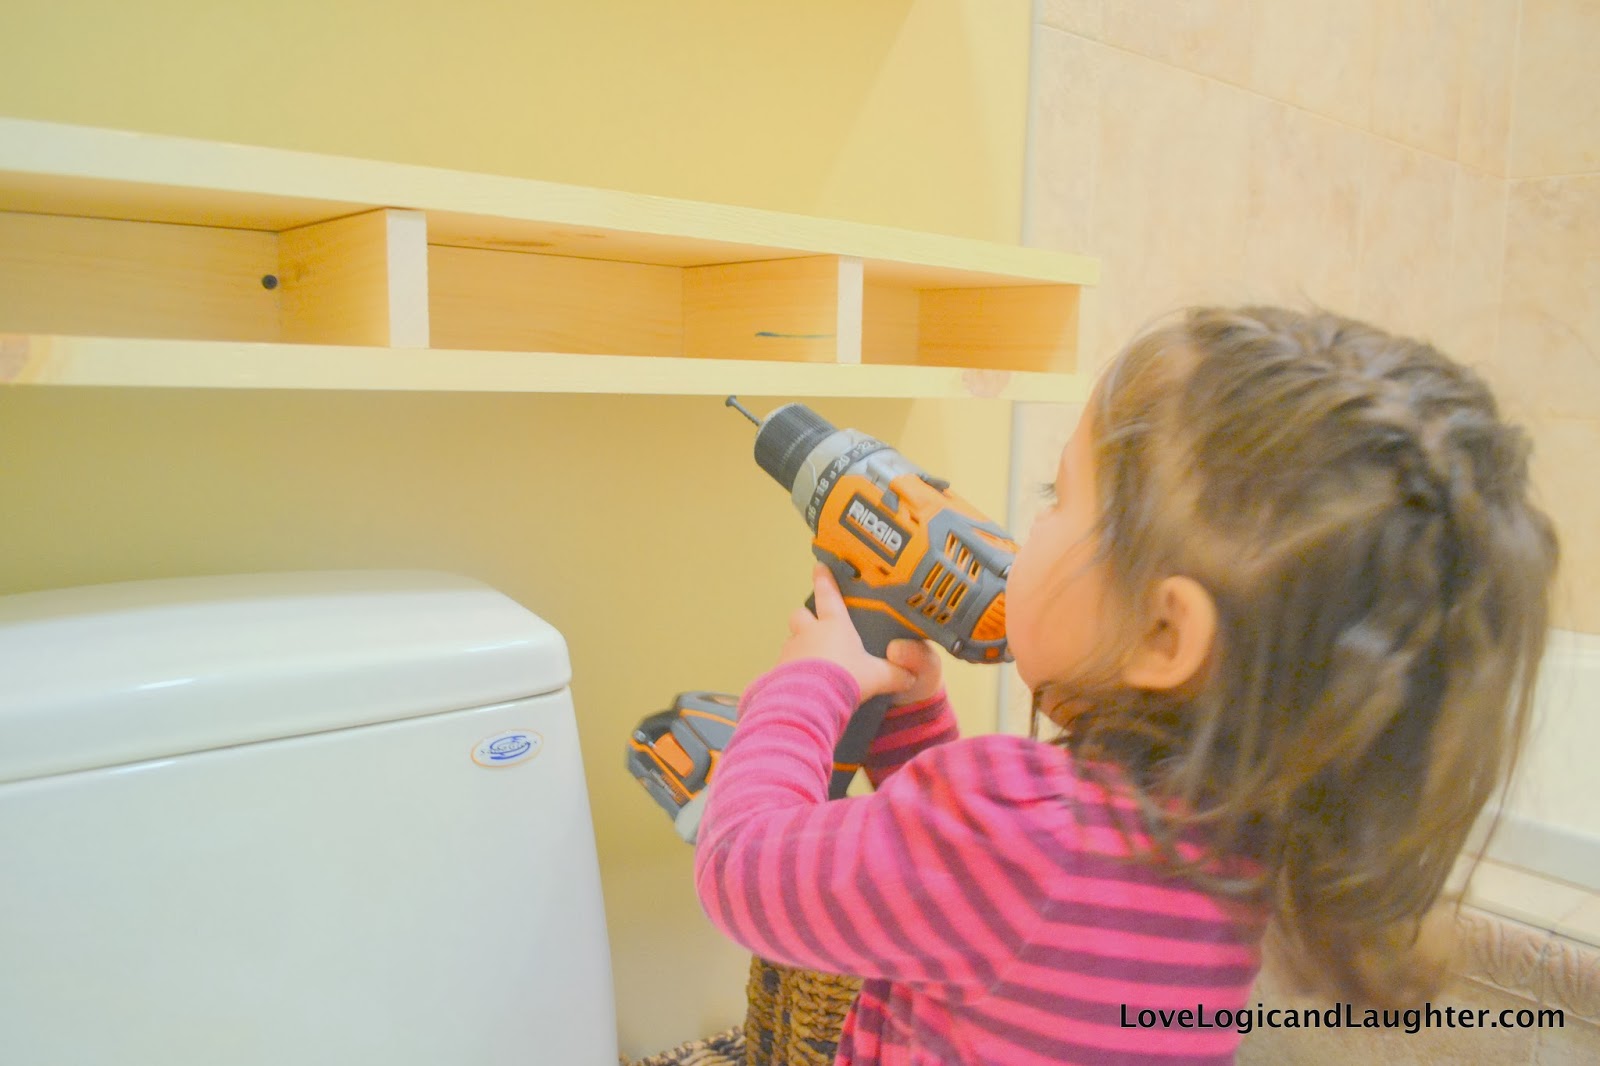
The total “chunk” or width of the shelves was almost exactly 4″. Measure your shelves and rip the 1×6 board to that width (or kindly ask the store where you bought the boards to do it for you). Cut the ripped 1×6 board (now it is exactly 4″ wide) to 38″ long. Attach this board to the front of your shelves using finish nails.
If you look closely in the photo above there are finish nail holes in the board that are minute. They almost go away once you stain and finish the piece.
Below are my two shelves ready to be finished (after of course removing the items on them). 🙂 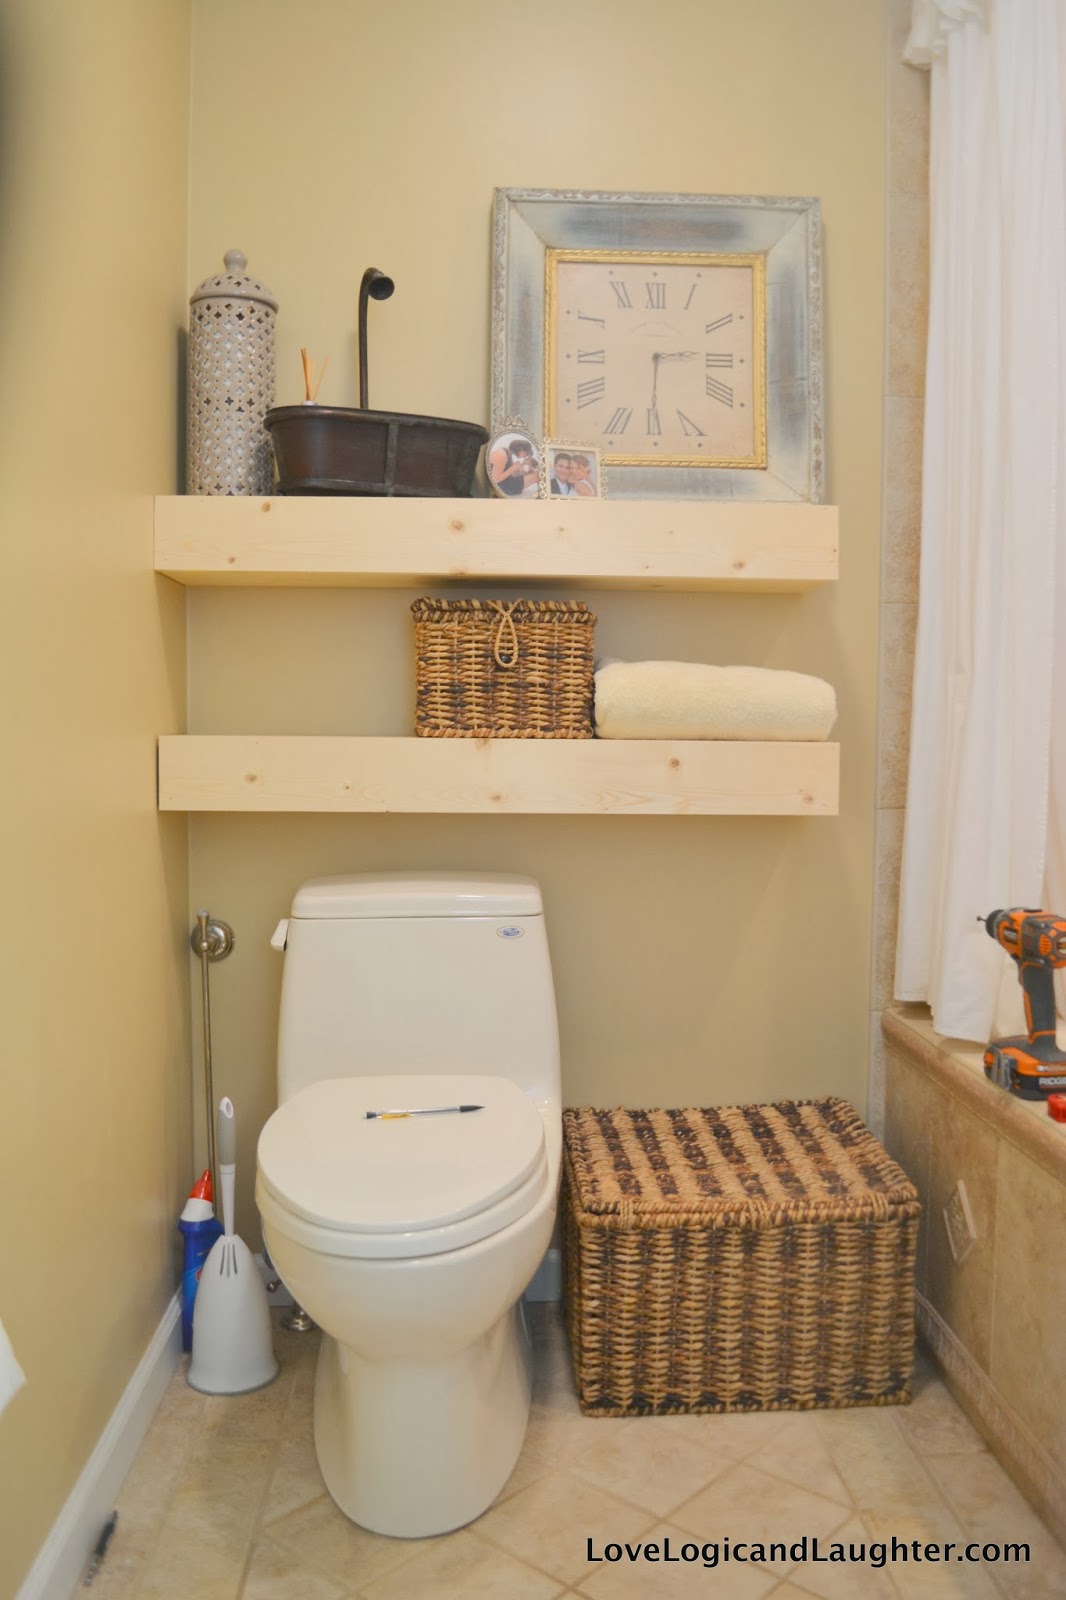
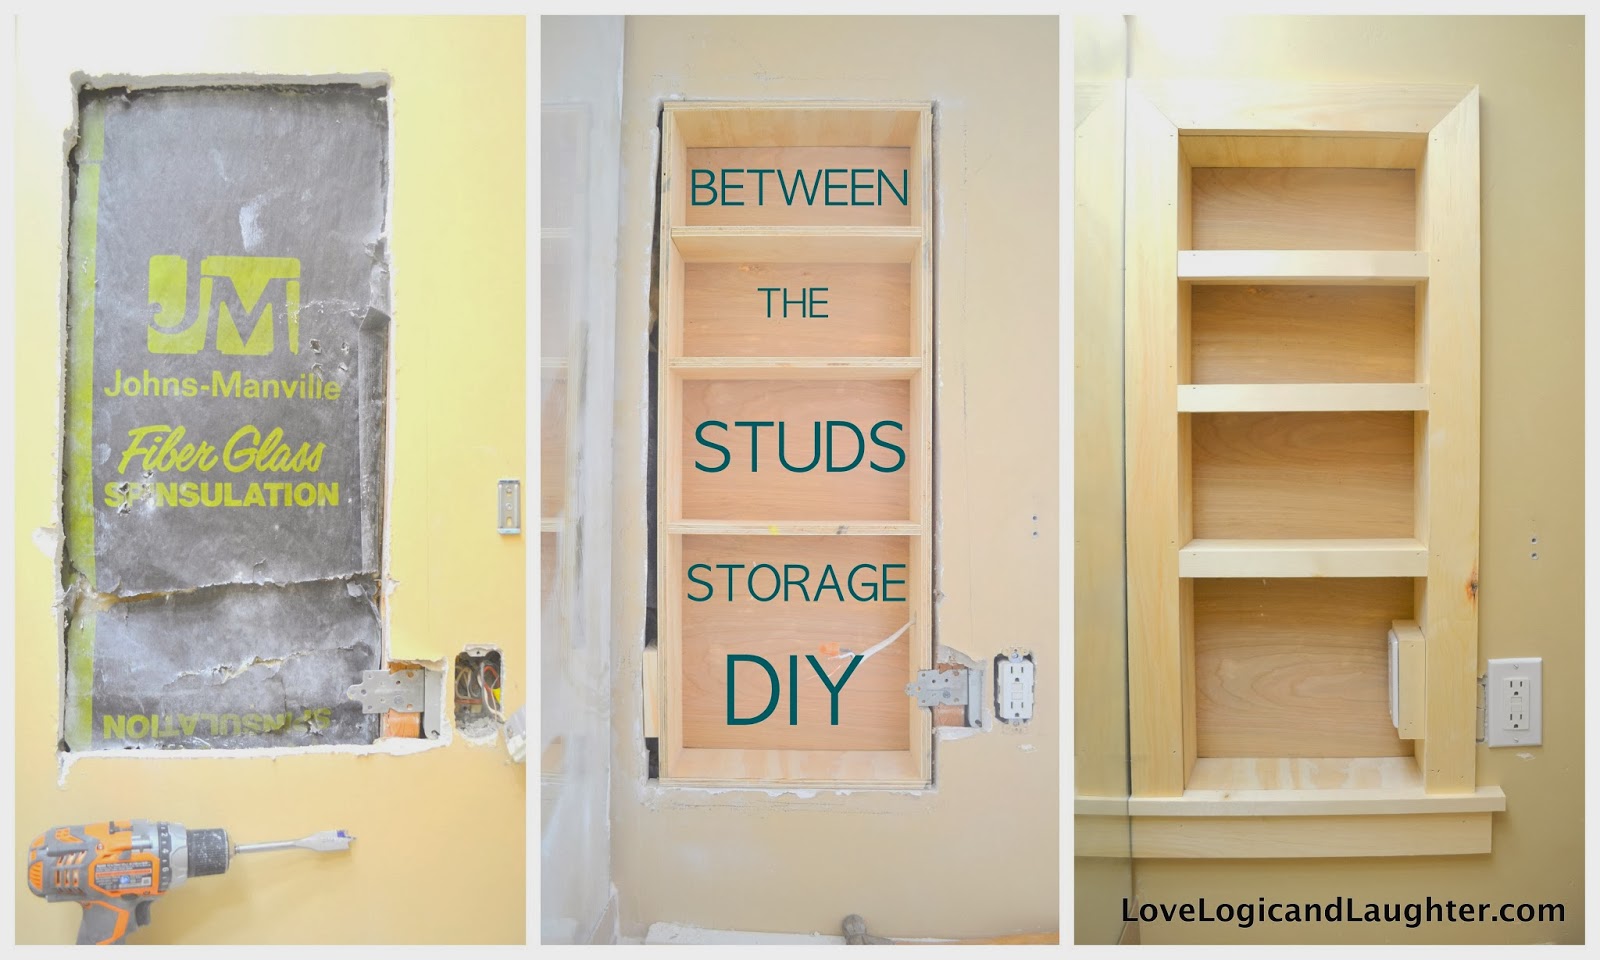
To see how the shelves were stained, finished and decorated check out these two posts:
Chunky Floating Shelves and Adding Storage to a Small Bath
and
