- An old coffee table (Craigslist or hand me down)
- 2″ Foam
- Batting (thicker is better)
- Staple gun
- 1/2″ plywood cut to size (Home Depot or Lowes can make your cuts for free)
- Spray Glue
- Fabric
- Sander
- Primer
- Paint
Most upholstered coffee tables wrap the foam/batting/fabric around the entire top of the coffee table and staple the fabric to the underside of the table. See picture below:
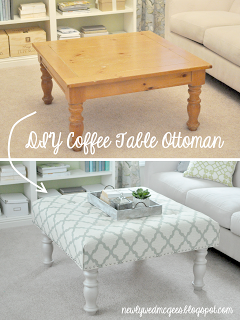 I was inspired by this post at No So Newlywed McGeesI wanted to maintain the rounded/scalloped edges and details of my coffee table so I decided to do my project a little differently. I upholstered a 1/2″ plywood board and then attached this board to the top of my coffee table.
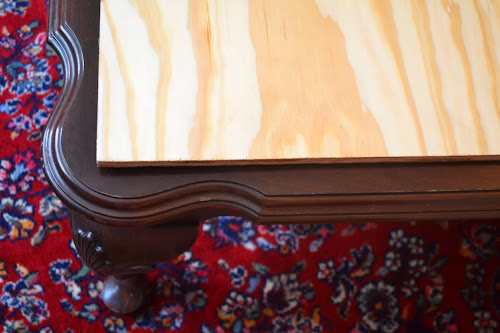
- Cut your plywood board just smaller than your coffee table top
- Cut your foam: you want it to be about 3/4″ longer and wider than your plywood board

Use a serrated knife to cut your foam(I used a bread knife and it worked great)
My coffee table is pretty wide so I needed two pieces of foam:

- Cut your batting: You want this to be 2″ longer and wider than your foam
(You cut these items longer than the board so that when you upholster it
they wrap around the edge of the board – it will make a more rounded/plush edge)
- Cut your fabric: You want your fabric to be several inches longer and wider so that it can wrap around all the other materials and onto the back/underside of the table to be stapled.
 You can see how the pieces are layered in the picture above.
From bottom to top: coffee table, plywood, foam, batting, fabric
- Layer your pieces: Between each layer (plywood and foam, foam and batting) use spray glue so that the layers do not shift:
- Fabric and Staple: Pull your fabric tight around all your layers (plywood, foam, batting) and staple it on the back of your plywood board.
You will probably want to trim the extra batting from the corners. Otherwise your corners won’t fold cleanly. Staple the sides first and then the corners. See my previous post: Recovered Foot Stool for details on how to staple sides and corners when recovering/reupholstering.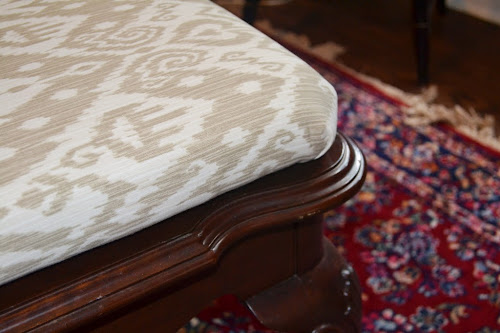
 The upholstered top is just resting on top of the coffee table – still need to paint the base and then attach the top to the base.
You have an upholstered top!
Now to finish the bottom:
- Start with your coffee table
- Sand it well! You want to remove all the shine from the surface so that your paint will stick. I used a palm orbital sander and 120 grit sandpaper – I didn’t take a picture of this, but you want to sand it well. You will be upset with yourself later if you did not sand well and the paint chips off.
- Prime your table. I used 1-2-3 Bullseye water based spray paint primer
- Wait for your table to dry!
- Paint your table – I used an ivory colored spray paint. It took three coats to get a nice even coverage

To see more finished pictures check out the finished product here: DIY Upholstered Ottoman
Next post: How to attach your upholstered top to your newly painted coffee table base
Please Share it! 🙂




Just found this tutorial on Pinterest and was looking for how you attached the top to the base once you finished painting the base. Can you tell me where I can find that or just let me know how you did it?
Thanks!
Where can I find the link to the part 2 of this tutorial? Attaching the new upholstered top to the table.
Thanks!