DIY Custom Pinch Pleat Curtains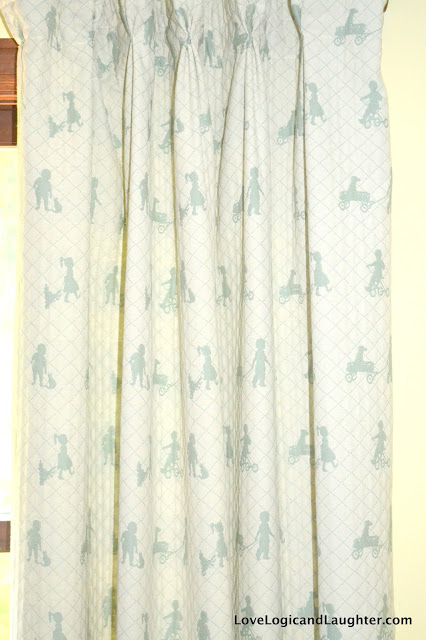
I recently came across some beautiful fabric and when you find beautiful fabric (that is also on clearance – $4/yard!) you have to find a project for the fabric! I knew it would be the perfect fabric for curtains in Eliana’s room. There were only 5 yards left on the bolt so I took it all and crossed my fingers that it was enough. I figured if I was a little short I would find a coordinating fabric to attach to the bottom. I think it was meant to be because there was just enough!
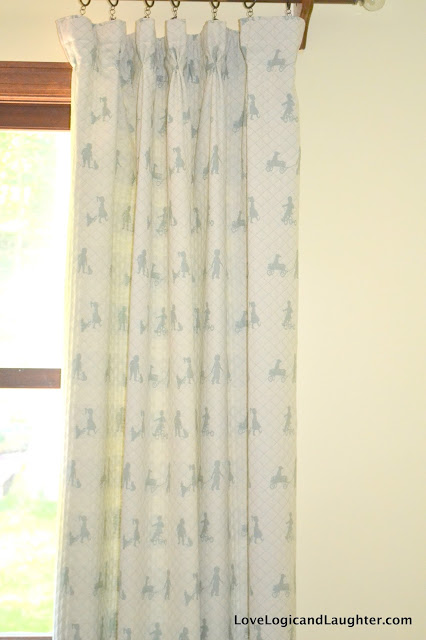
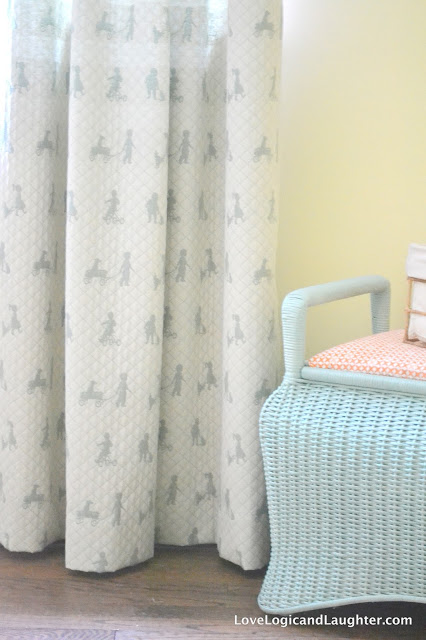
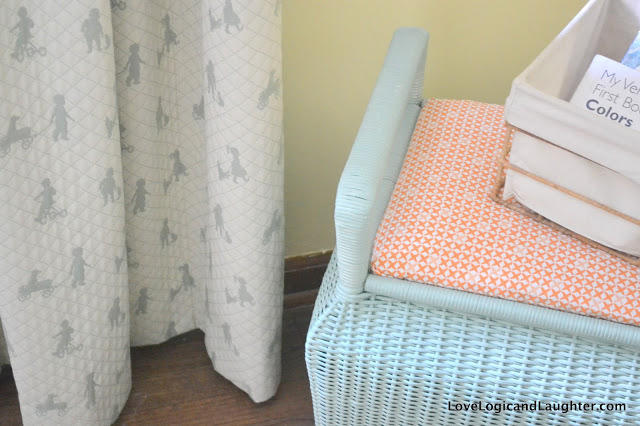
Take a look at this beautiful fabric! Perfect for a nursery, right?!
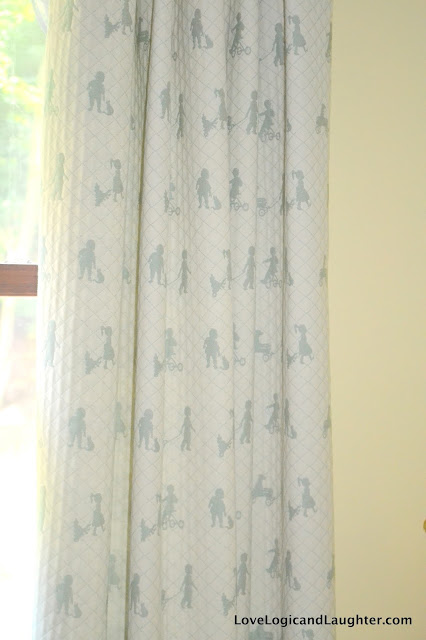
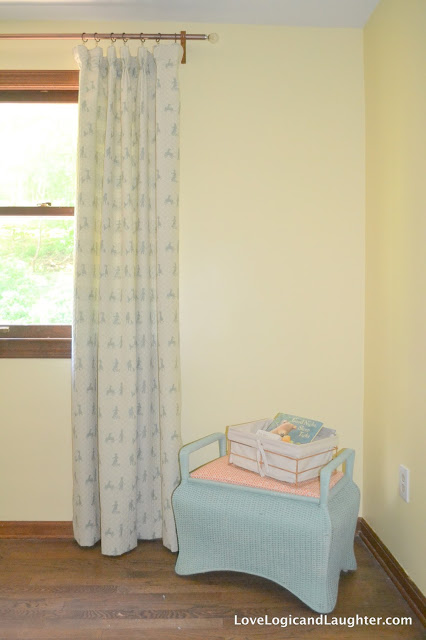
Since we didn’t know if we were adopting a boy or a girl, our nursery is painted yellow and is overall gender neutral with a few pops of pink here and there that we added after Eliana was born.
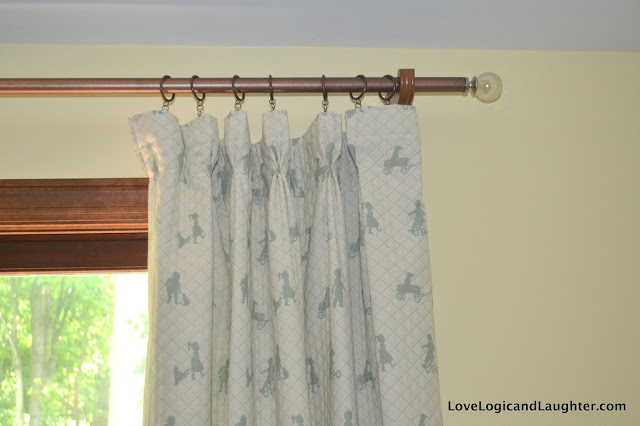
Since I was planning on making new custom curtains, I also needed to be in love with the curtain rod. The rod in the nursery was white, however all the woodwork in the room is stained brown. It really didn’t go with the decor. I wanted to change it too. See my post DIY Thrifty Curtain Rod to learn how to make a cheap and beautiful new curtain rod for just a few dollars.
At first I thought I would just make tab top curtains, but then I fell across this photo on the front of Veranda magazine and knew what I wanted to do….Pinch Pleat Curtains.
I just loved their simple elegance.
After searching my favorite DIY sights and fellow bloggers, I found some tutorials that really helped me make my own pinch pleat curtains.
Here is a list of the sights I referenced, but then altered slightly when I actually made my own:
I first measured the height of my curtains. Specifically the measurement from the floor to my new curtain rod. I then cut my fabric to that length plus 4 inches on the bottom and 3 inches on the top. 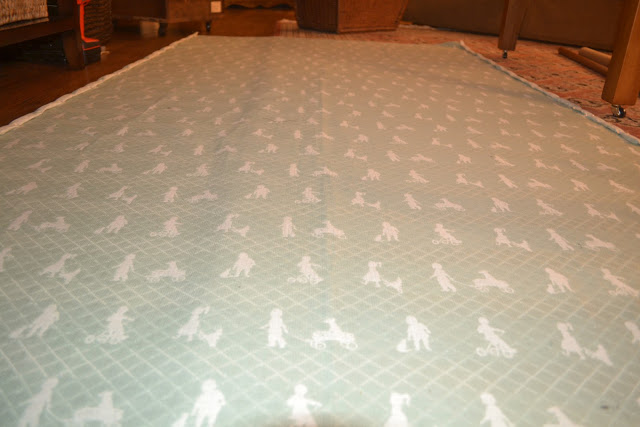 Laying my fabric out to measure and cut
I then cut my lining fabric to the length of the curtains. I used old sheets for the lining. You could also use Walmart twin flat sheets that sell for $5 each. Lining fabric will cost a lot more than $5 dollars.
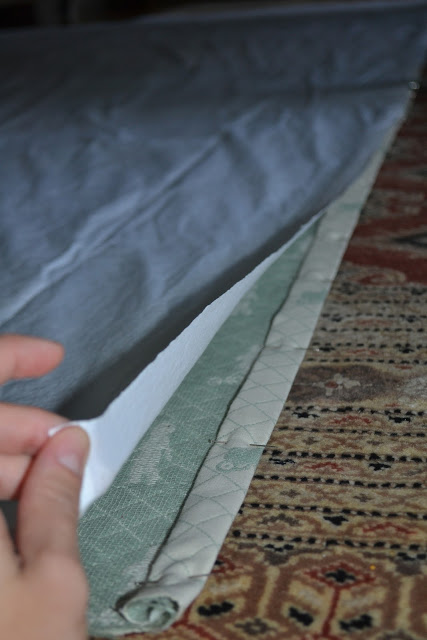
I used a blind hem to hem the sides and bottoms of the curtains.
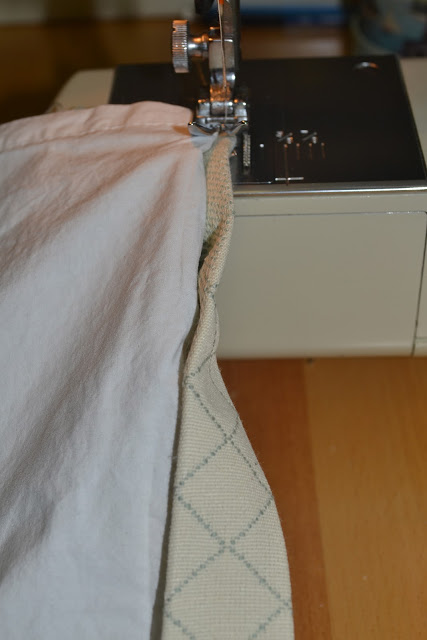 Sewing a blind hemI first sewed a blind hem down the sides of the curtains.
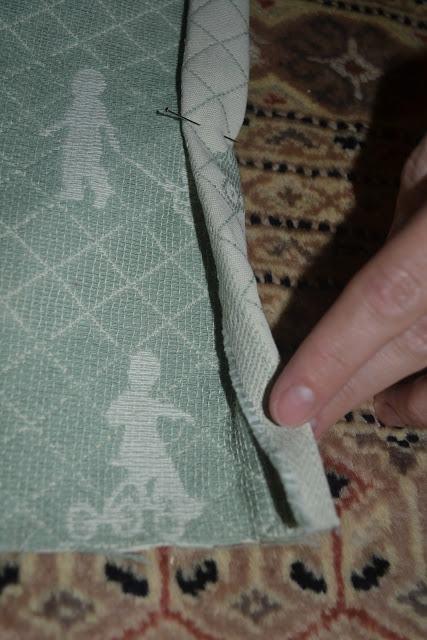 Picture of how the sides were folded and pressed prior to cutting sheet to fit width
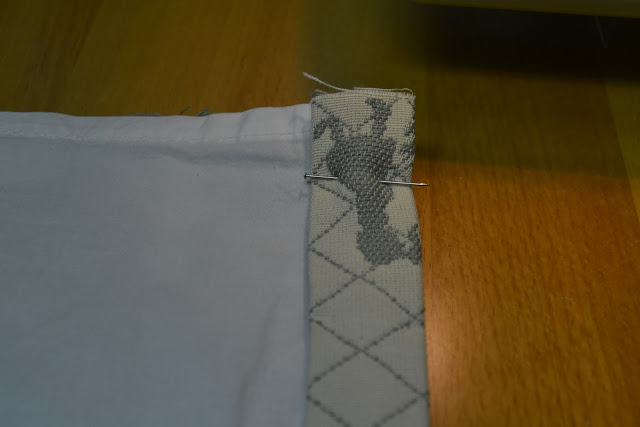 Sides Folded over 1″ and then another 1″ for blind hemI then did a blind hem on the bottom too.
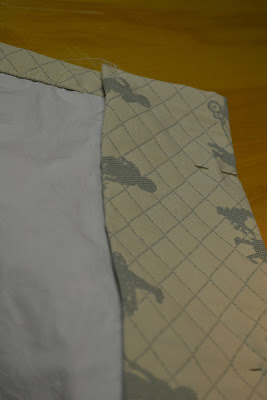 Blind Hem on Bottom
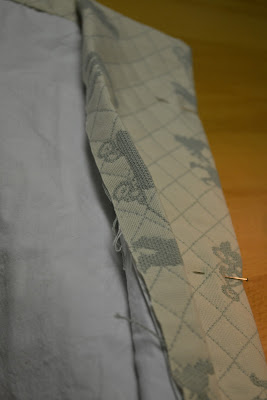 How the Bottom is folded before sewing
On the top I first folded the top down half an inch and then folded it down again 2 1/2 inches and did a regular straight stitch across the top.
I then sewed on pinch pleat tape (bought at JoAnn’s in their upholstery section) to the top and added the curtain hooks.
After placing the curtain hooks in their slots I flipped the curtain over (to the front) and used upholstering thread to sew the pleats together so that they would stay together.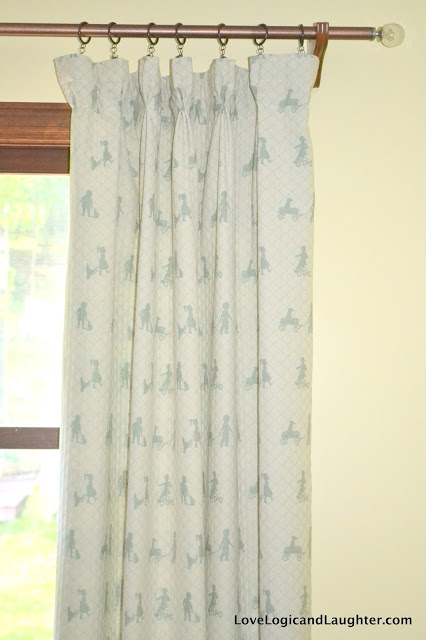
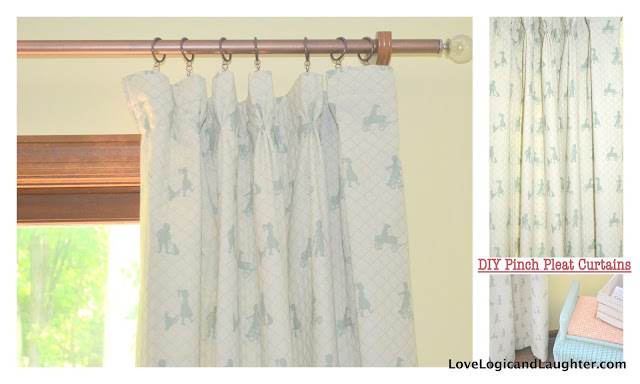
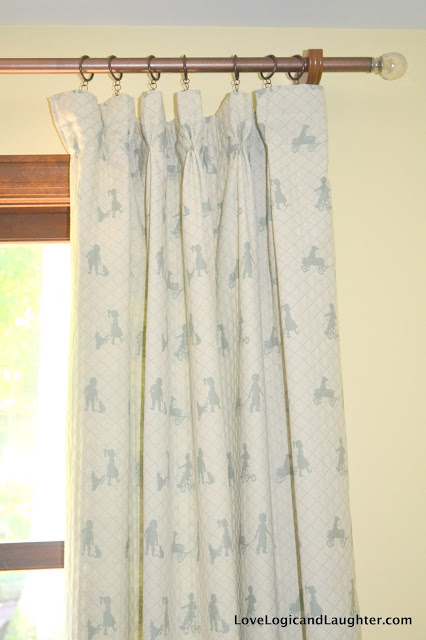
There you go! Custom Pinch Pleat Curtains!
