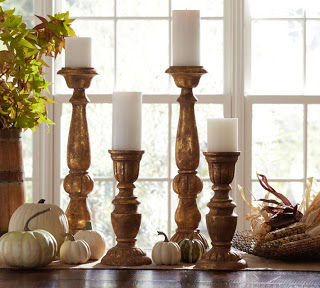
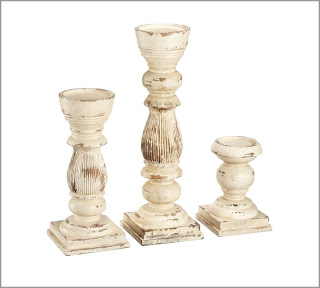
I decided when decorating for Christmas this year that I needed more candlesticks. I love my large chunky wooden candlesticks, but when I looked at Pottery Barn this is what I found:
Beautiful, but I wasn’t willing to pay $50 – $90 for one candlestick. I had found my other candlesticks at T.J. Maxx years ago so I knew it would only be luck if I could find them at a like store again.
So….I am going to try and make my own. I am not sure how these are going to turn out, but I figured I would give it a try.
This could be bad… or it could be very good… but I will never know unless I try.
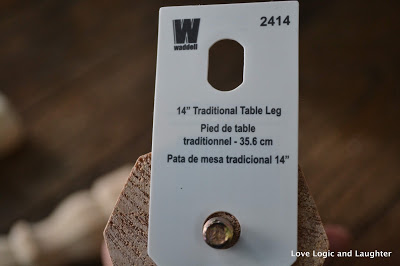
I headed to Lowe’s (or maybe it was Home Depot?) and found these turned table legs.


So I picked up two of the shorter legs (6″)

And one of the longer legs (14″)
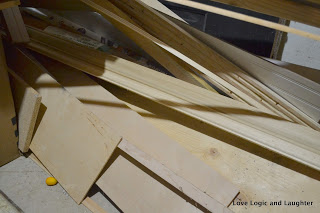
And then I proceeded to go home and look through our HUGE leftover wood pile in the basement where I thought I could get creative for the bases and tops.
 This is a little embarrassing – it is a mess!
 Maybe this is the motivation I need to keep the basement more organized – my new year’s resolution!I found some scraps of wood and used my miter saw to cut them to squares, rectangles and even an octagon (I figured I would play a bit and see what shape I could make 🙂


I played with the shapes and came up with this arrangement.
 The candlestick on the right is drying – hence the weight on top
The candlestick on the left is composed of the two smaller legs and the candlestick on the right is composed of the larger leg. Both have mix/match bases and tops from our wood pile.
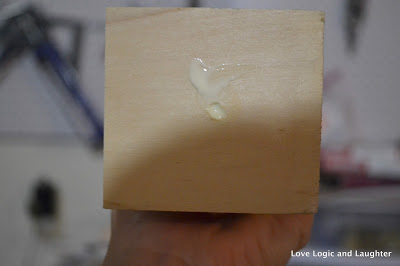
I drilled into the pieces and used wood glue to combine them.

So we will see how they turn out, but here are the candlesticks prior to sanding and stain or paint (I haven’t decided which).




Great tutorial! Thank you!!!!