
This tutorial will provide you with the steps to build your own Between the Studs Storage Unit. Exact dimensions are not provided because the purpose of a DIY project is to customize it for your specific needs. So build the unit to the dimensions that your studs and space will allow. 🙂
10 Steps to a Between the Studs Storage Unit:
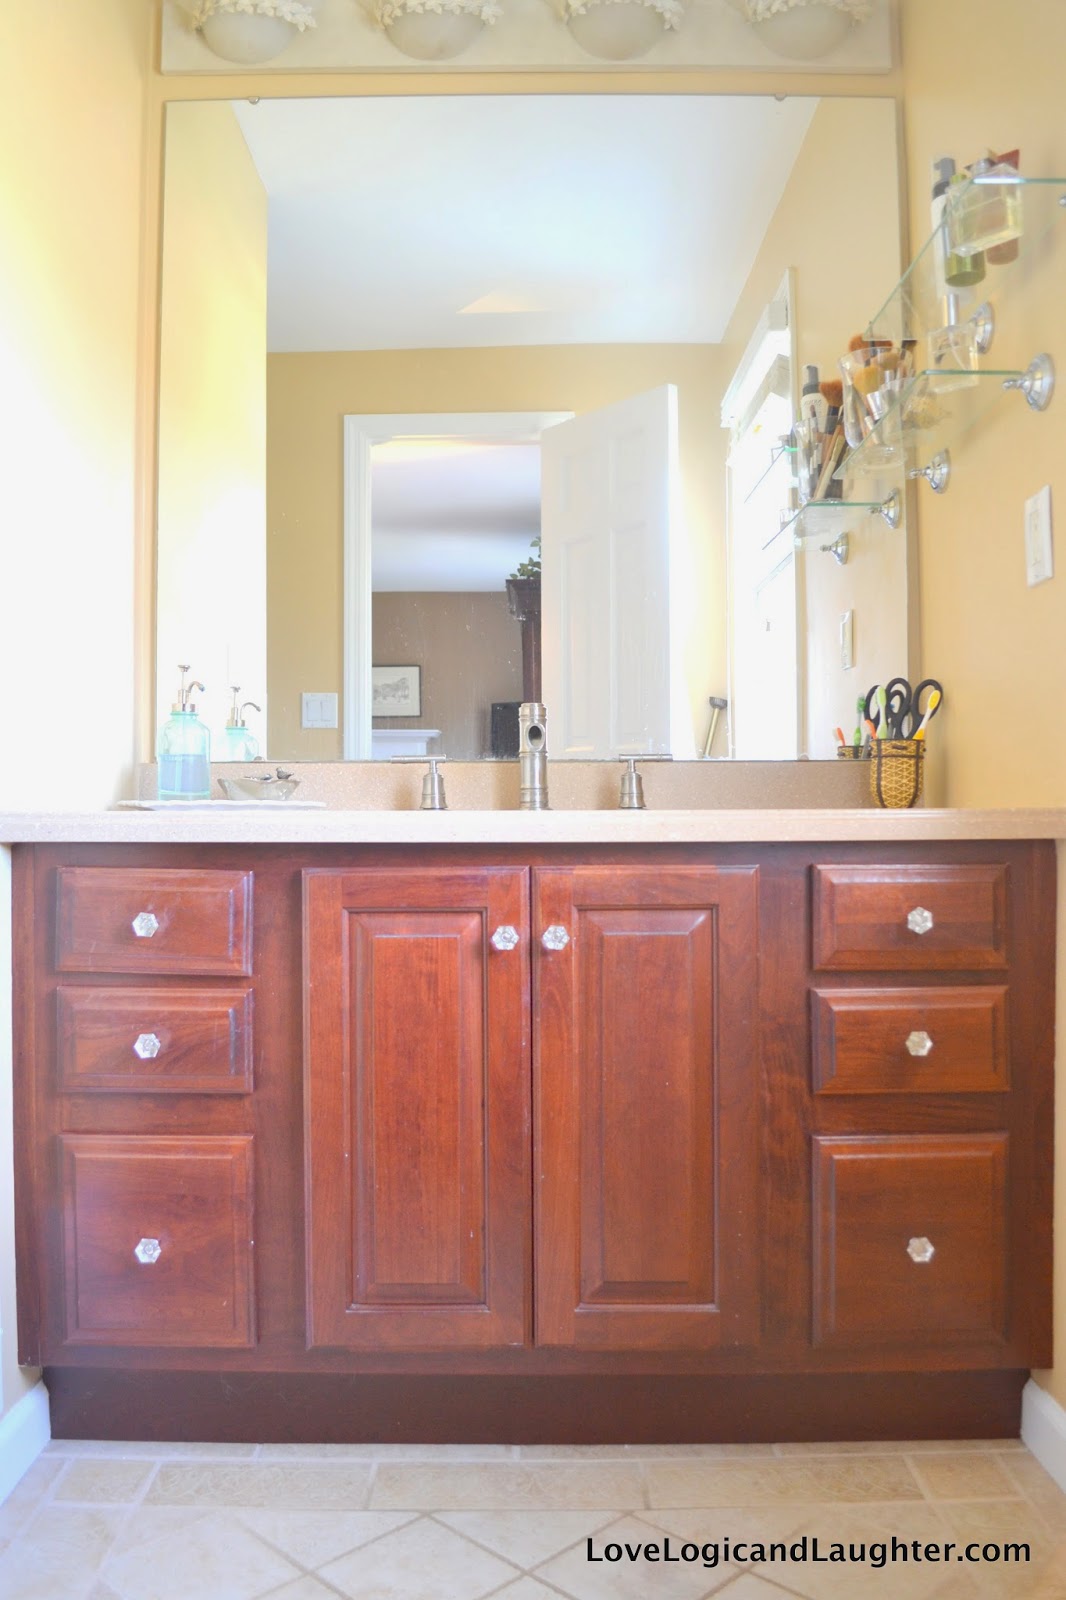
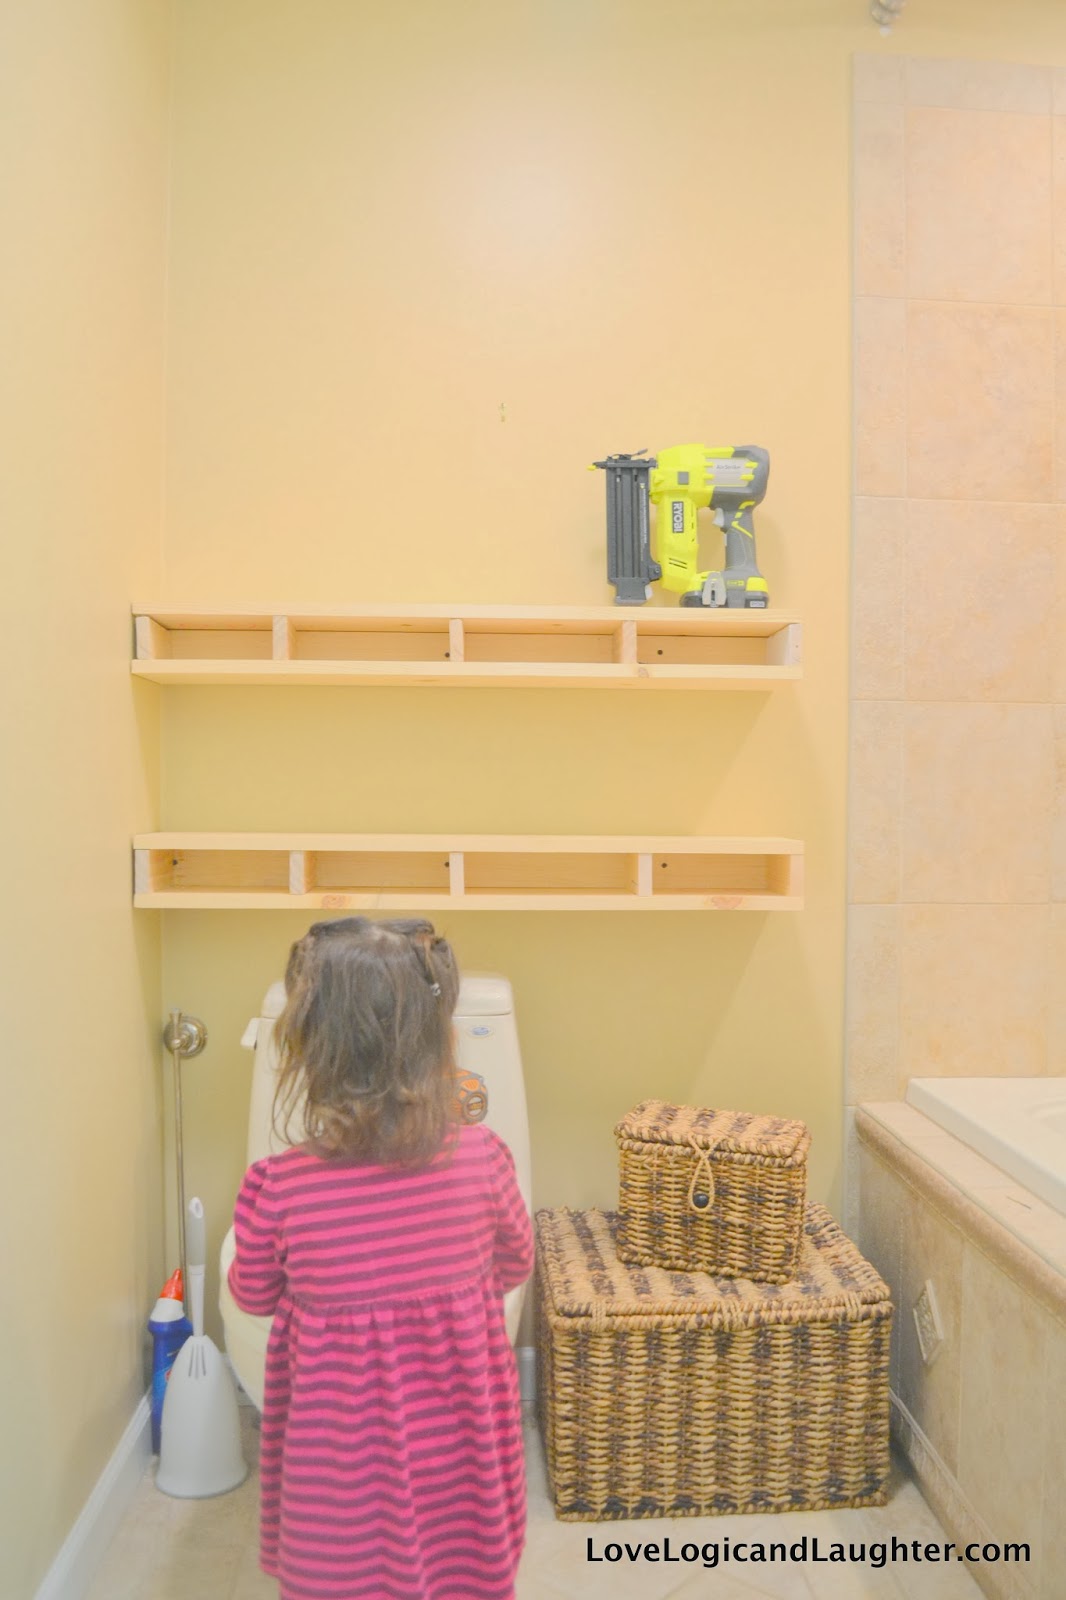
1. Location: Find a place in a wall where you would like storage. For me, it was on the left wall of our bathroom sink/vanity. The above photo shows the wall with just a a couple shelves on it – I decided I didn’t want the shelves to stick out into the room and take up space – hence the Between the Studs Unit.
Drill a hole in the wall and stick your fingers into the hole – feel around for wires or other things in the wall. If you don’t feel anything than start making the hole bigger. I drilled two holes and then used a drywall knife to cut between the two holes:

I then drilled two more holes and cut a square into the wall. The square was big enough for me to get my arm into and reach around in the wall to make sure I was not close to any wires. You won’t want to rewire if you don’t have to!

2. Find your Studs and Cut your Drywall: You want the sides of your box to sit against a stud (this is how you will fasten the unit to the wall so that it stays put). You can cut your hole as large as you want as long as you stay between the studs. My hole:

You can see the right side of my built in will sit against the stud below. That way it will sit firmly against the stud and be supported. You want it to sit between two studs if possible so if you can cut your hole the width between your two studs then your box will be sturdy.
I ran into a metal electrical box as I as cutting my hole. The electrical box wasn’t coming out without replacing the whole outlet on the other side of the stud so I decided I would work around it and put an outlet inside this built-in for electric toothbrushes or shavers or what not. This project would be a lot easier without the electrical component! If you don’t understand electrical then hire someone or skip this part.

3. (Optional – Add an Outlet): Because I had an outlet just on the other side of the stud, I decided to drill a hole through the stud and jump a new outlet off of it. You can see the hole in the stud above drilled so that I could run a wire from the old outlet into a new outlet (see wire is run through the hole in photo below).

4. Build your Box: I used leftover 3/4″ plywood from another project to build my box. You can use plywood or buy boards at a home improvement store and have them cut to the right lengths for you. In my experience home improvement stores will cut boards for you, but will not rip boards for you. This means that if you buy a 1×6″ board that is 8′ long. They will cut it to a specific length – they won’t change the width.

Use wood glue and glue the joints together. Then screw the bottom and top boards into the side boards. I used corner clamps (seen in photo above) to make sure my box stayed square.
5. Add Shelves: I wanted four shelves total so I added three horizontal boards into the square box. Place the shelves where you want them and then screw them into place or nail them into place.

6. Add a Back: I used 1/4″ plywood for the back. Cut it to the size of your box and nail it onto the back of your box.
 View from back before nailing it into place.
 Views front the front of the box with the back nailed into place (above and below).
7. Hang the Built-In Box: Insert the box into the hole you made in your drywall. Nail or screw the box into place by attaching it to the studs in the wall. I nailed mine and it feels very sturdy. If you decide to screw it into place I recommend using a countersink drill bit so that the end of your screw sits into the wood. It will be easier to add wood putty and cover the hole the screw makes by doing this. I used and talked about a countersink drill bit when building the Chunky Floating Shelves in the bathroom.

Nail from the inside of the box through the sides and into the studs in several locations. Make sure it is sitting firmly against at least one of the studs. (I had space between the left stud and the side of my built-in so I placed a spacer block between the two so that I could still attach my box on both sides – you can see one of the spacers in the photo below on the bottom left).

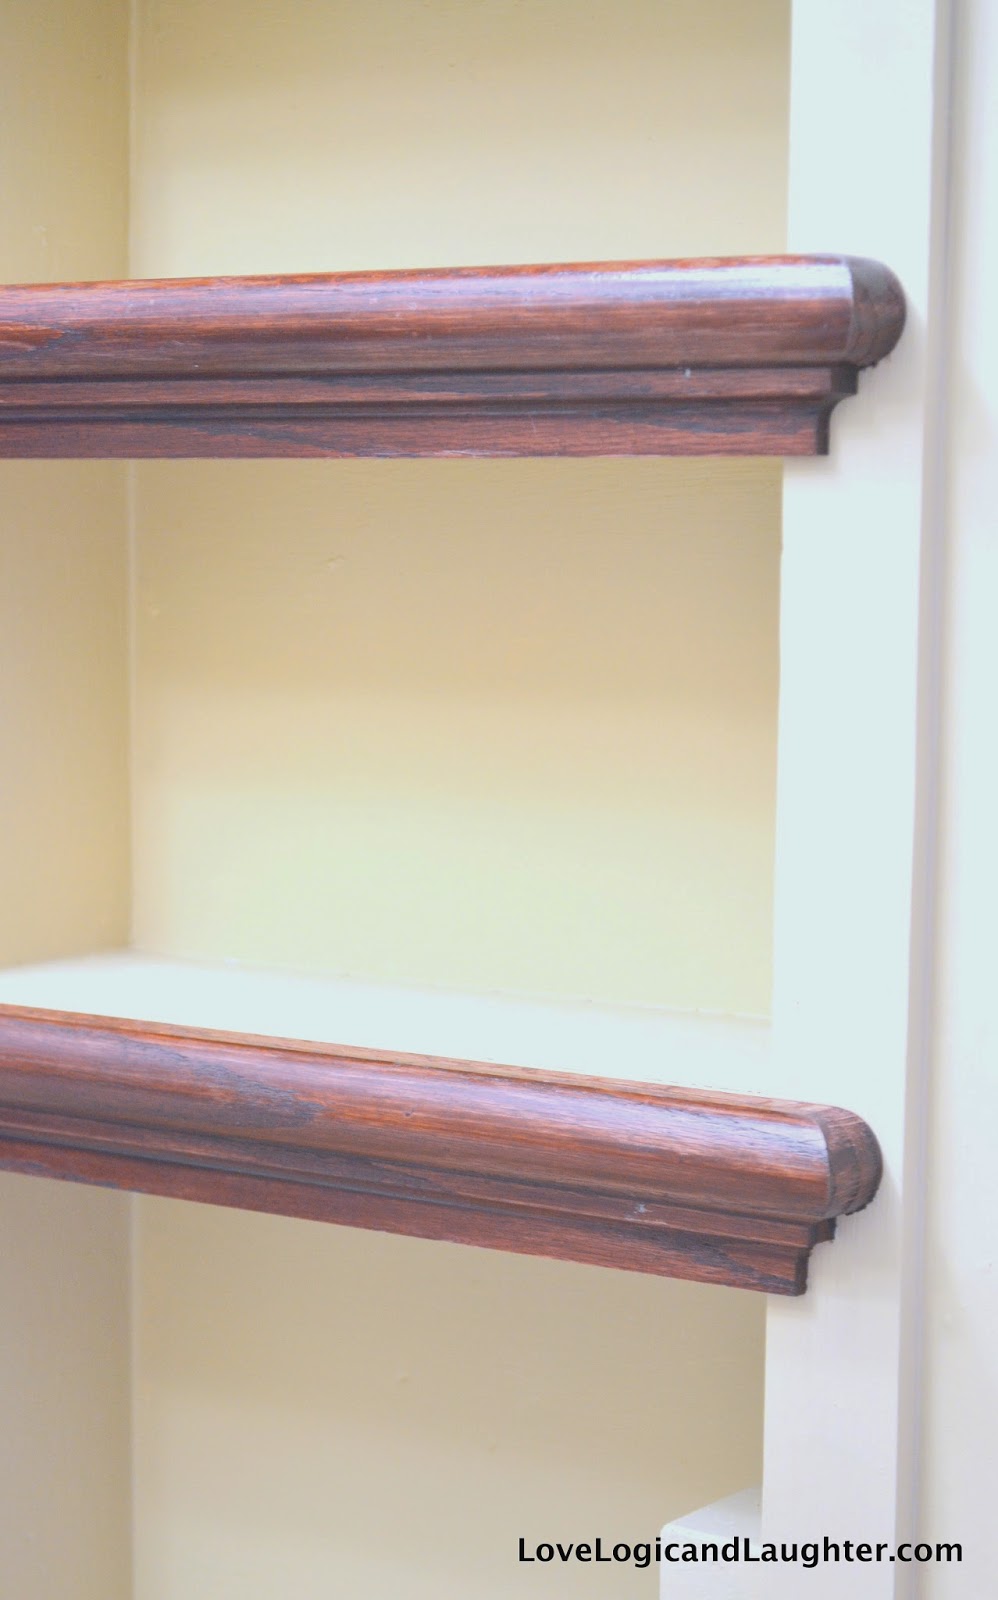
8. Add Trim: To finish your box you need to add trim work. This will cover the part of the box that is exposed and the drywall where you cut. Use finish nails to attach your trim to the unit. I added trim around the outside of the box and then also put 1×2″ trim to cover the edge of the shelves (I then changed the trim on the shelves later and you can see them in the final photos).

I also wired in my second outlet after adding the trim around the outside and made a box for it so that it would sit against the inside wall of the built-in.
9. Stain/Finish: This is the part that I struggled with and spoke about in an earlier post. I couldn’t decide if I wanted the built-in stained, painted white like trim or painted the same color as the wall so that it would blend in… I still don’t know what I want and am not sure if I am in love with the finished product. I love the built-in, I am just still playing with ways to change the trim work on it. Don’t forget to seal all of your joints with caulk so that they look “seamless” – this makes a huge difference!
 Caulk added at the seams and will soon be painted over so that it look as though the transition from trim to wall is seamless.10. Admire your Work: As always, admire your handiwork! And remember “perfect” is sometimes perfectly imperfect.
To see the finished piece, inspirations found on Pinterest and Houzz and how I struggled to pick the right trim work check out these posts:
Using Stair Tread Nosing as Finishing Trim on Built-in Shelves
and
did you remove the insulation also or leave it in place?
Thank you. I really like your article on shelves in the stud work. It’s well written and easy to follow.