After making / diy’ing my Custom Pinch Pleat Curtains, I also wanted a new curtain rod.
I knew I could figure a way to make a curtain rod myself without having to buy a new one. So I started searching some of my favorite DIY sights and found this at House of Hepworths.com

It provides a detailed account on how to make your own curtain rod and is where I got the idea to use electrical conduit! Ingenius!
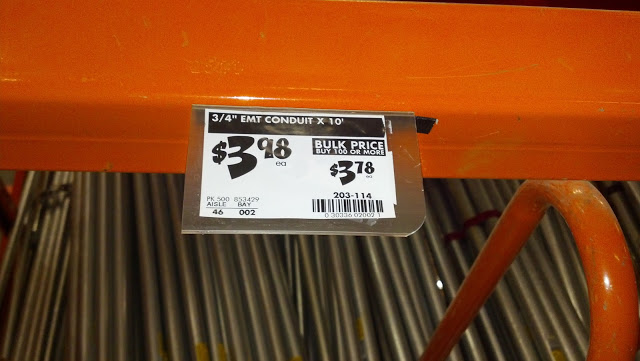
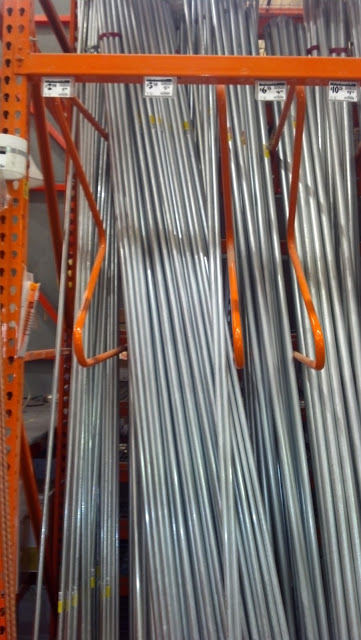
So… off Eliana and I headed to Home Depot where we found that electrical conduit is very cheap! An 8′ solid metal or wooden rod usually costs $40 or much more.
I wanted to use an old curtain rod we weren’t using anymore for the finials. The rod was about 1/2″ in diameter so I needed electrical conduit that was slightly larger in diameter so that the old rod could slide into the new rod.
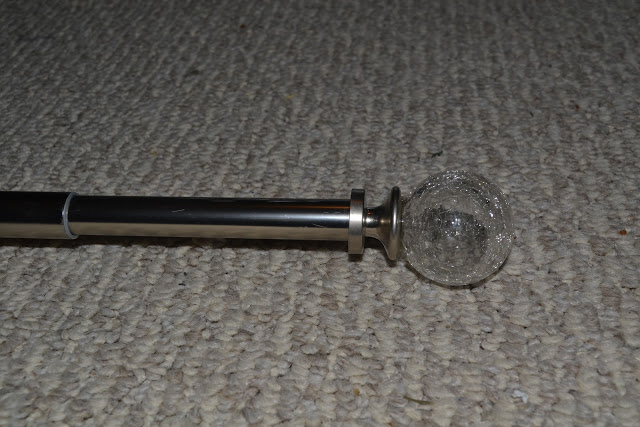 Rod we already had – 1/2″ diameter
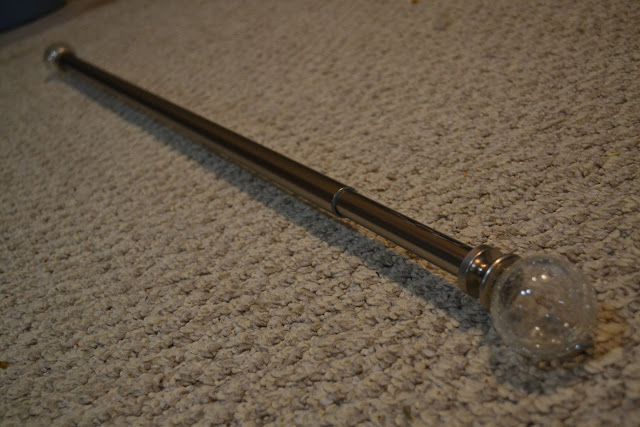
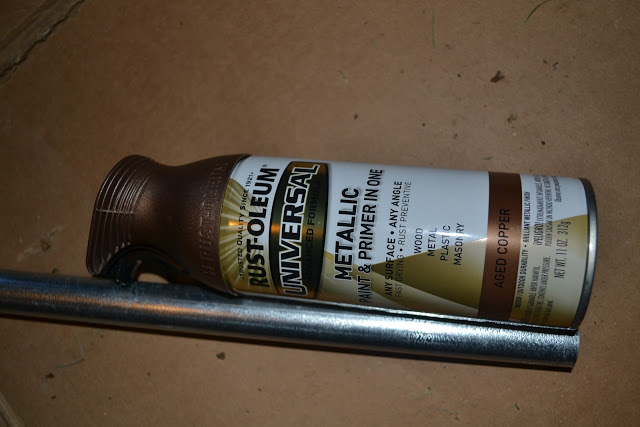
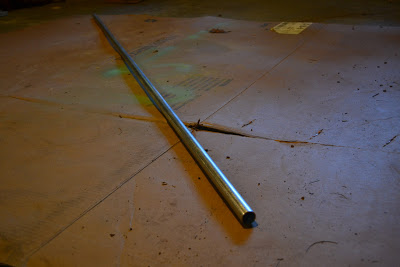
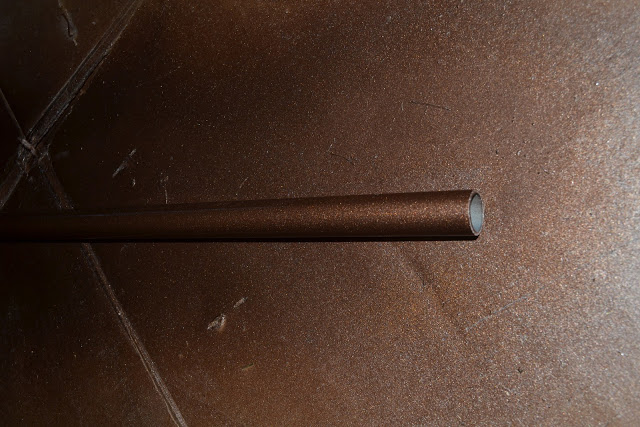
We purchased 3/4″ electrical conduit. They are sold in 10′ sections, but the very nice employees at Home Depot cut it for me to the 8 feet that I needed 🙂 We also picked up some spray paint to paint the electrical conduit rod an oil rubbed bronze color.
I chose Rust-Oleum’s Metallic Aged Copper color
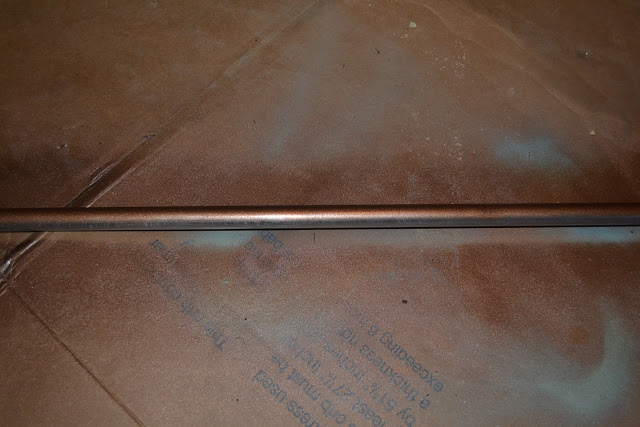
Once I arrived home, I spray painted the rod. I applied a few coats and rotated the rod a 1/4 turn every time I applied a coat so that I was able to evenly spray it.
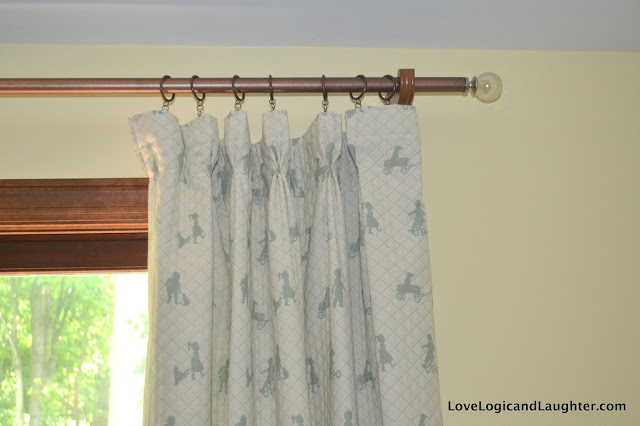
I then slid the old rod into the new rod. You can see the glass finials sticking out from the newly painted rod.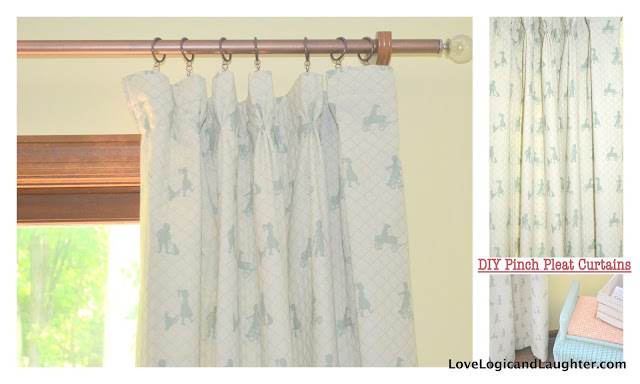
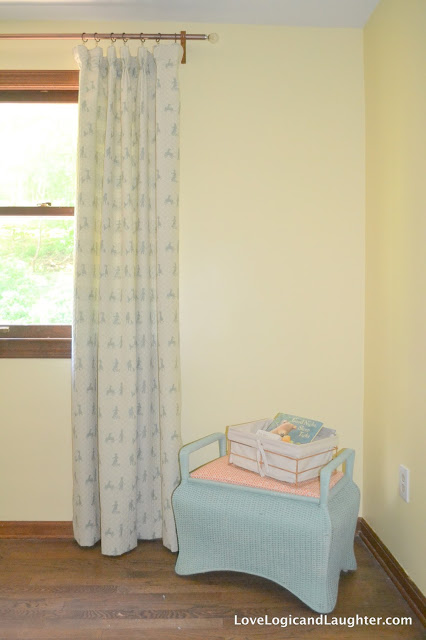
Then I hung the rod and measured the distance from the rod to the floor so that I could make my Custom Pinch Pleat Curtains shown in these pictures – diy tutorial on how to make your own curtains coming soon!
