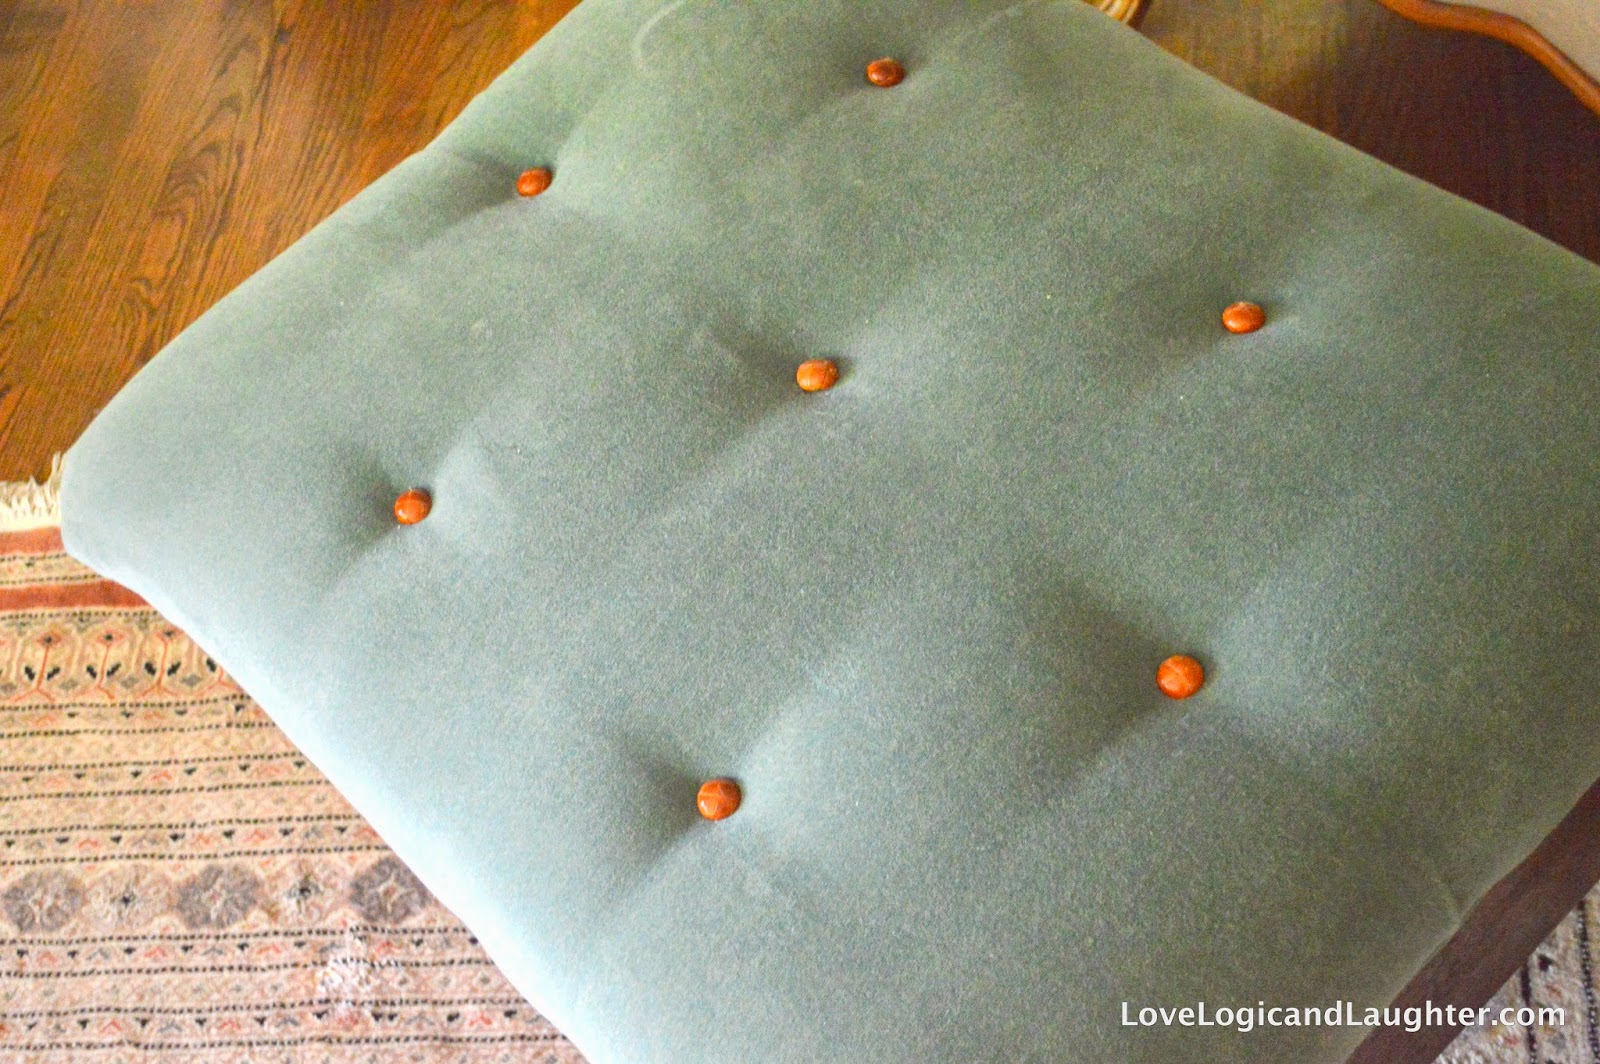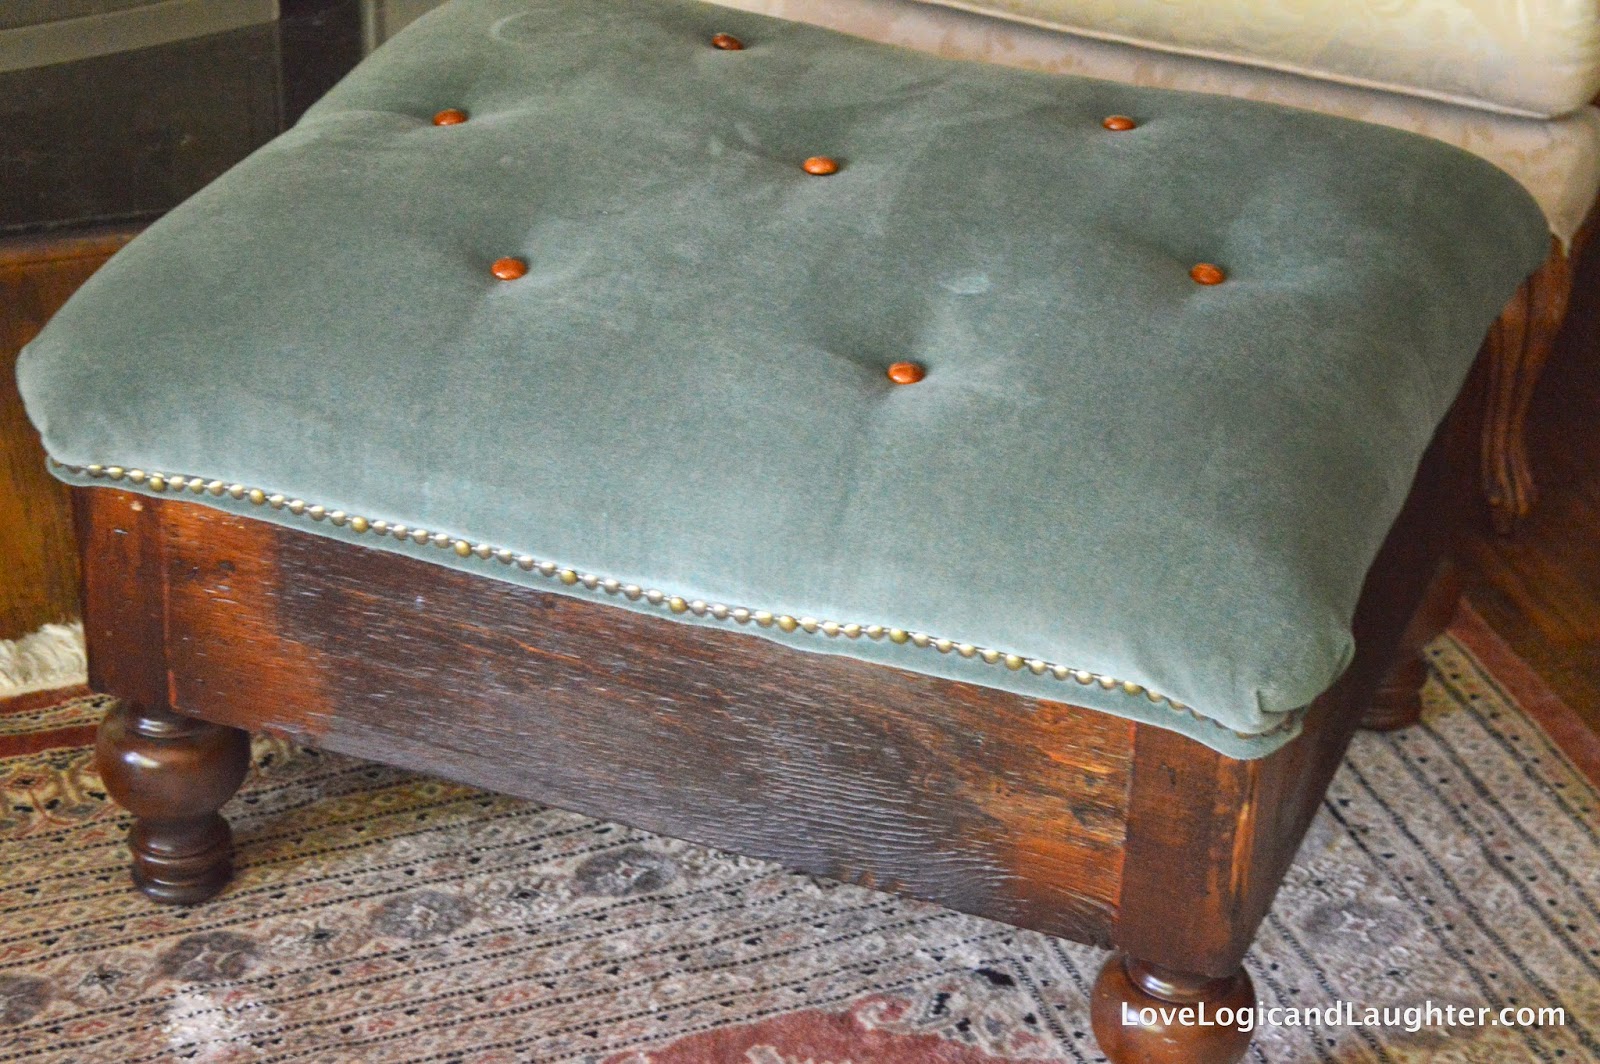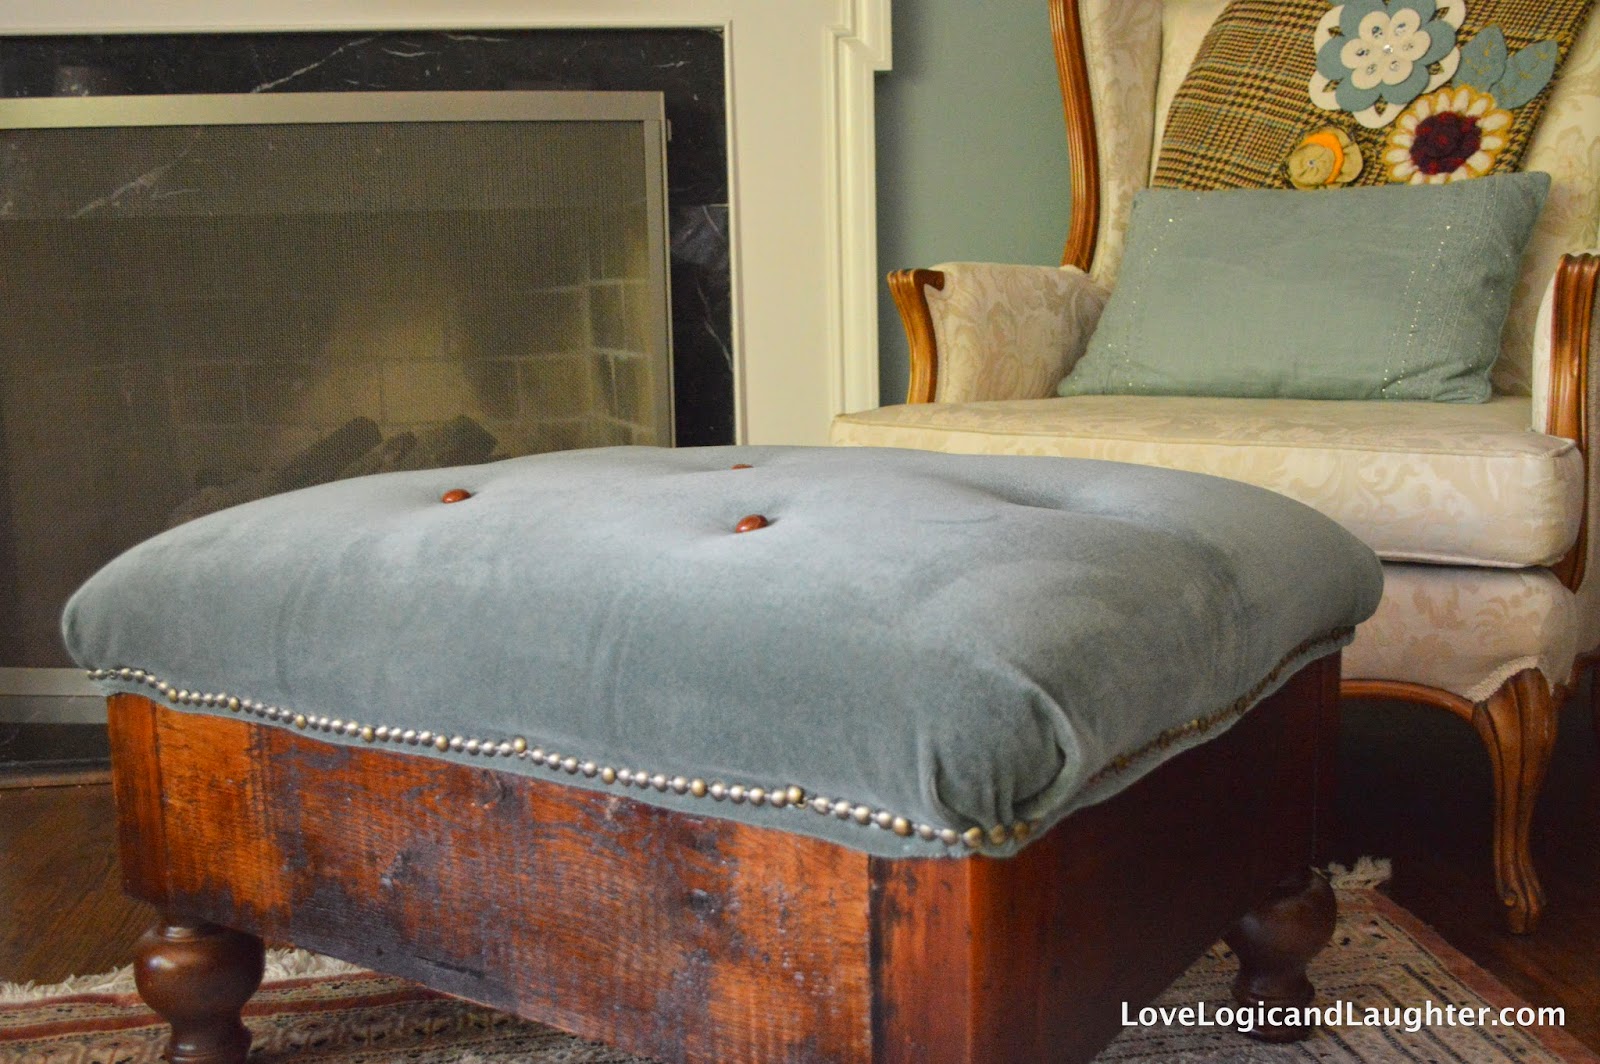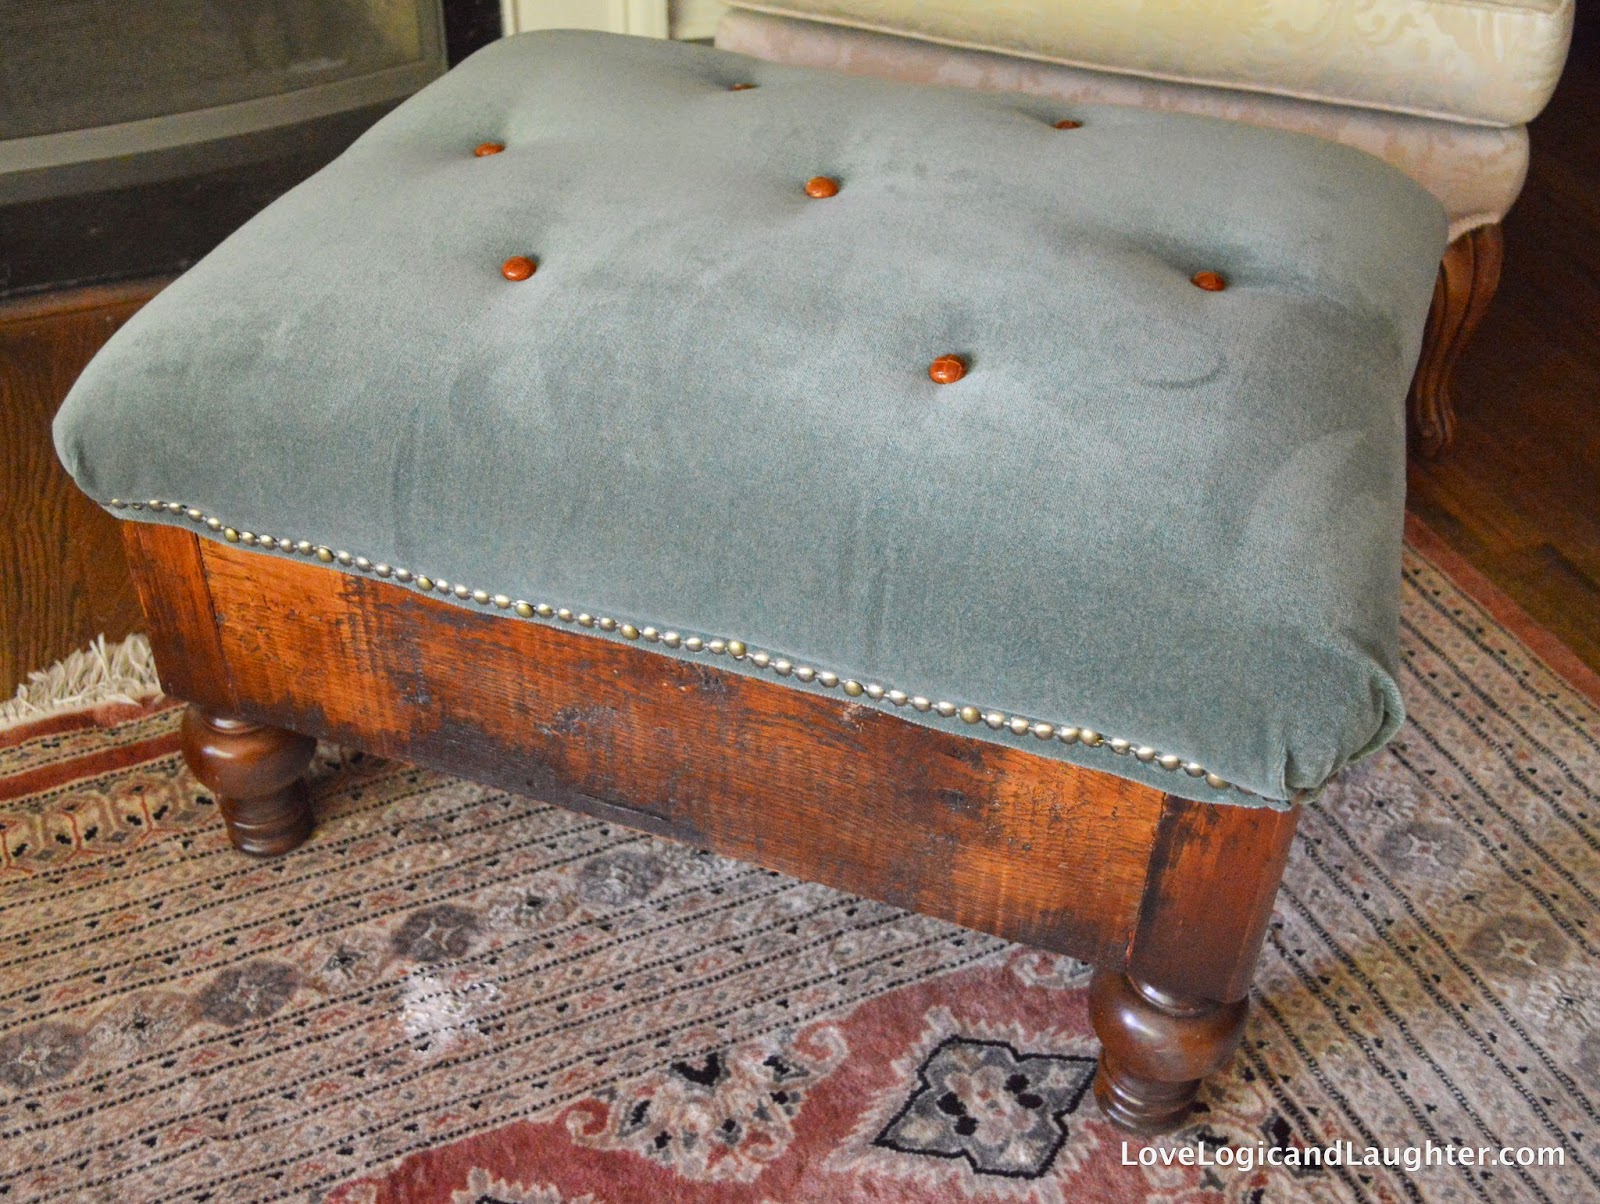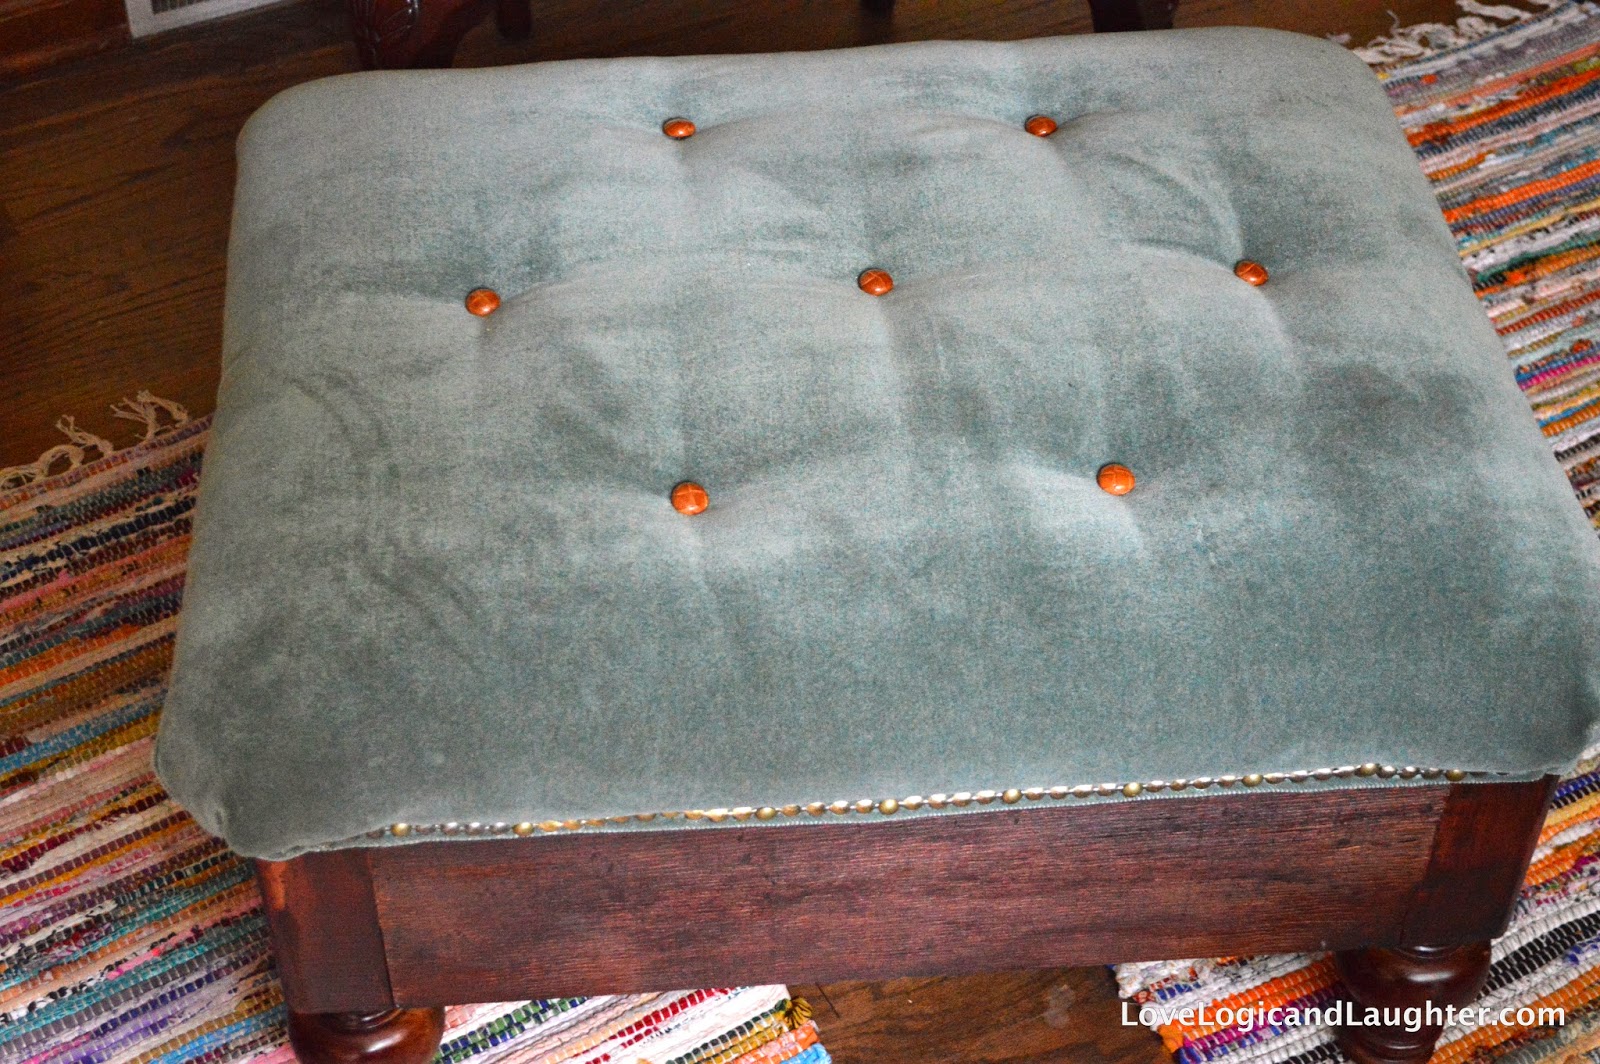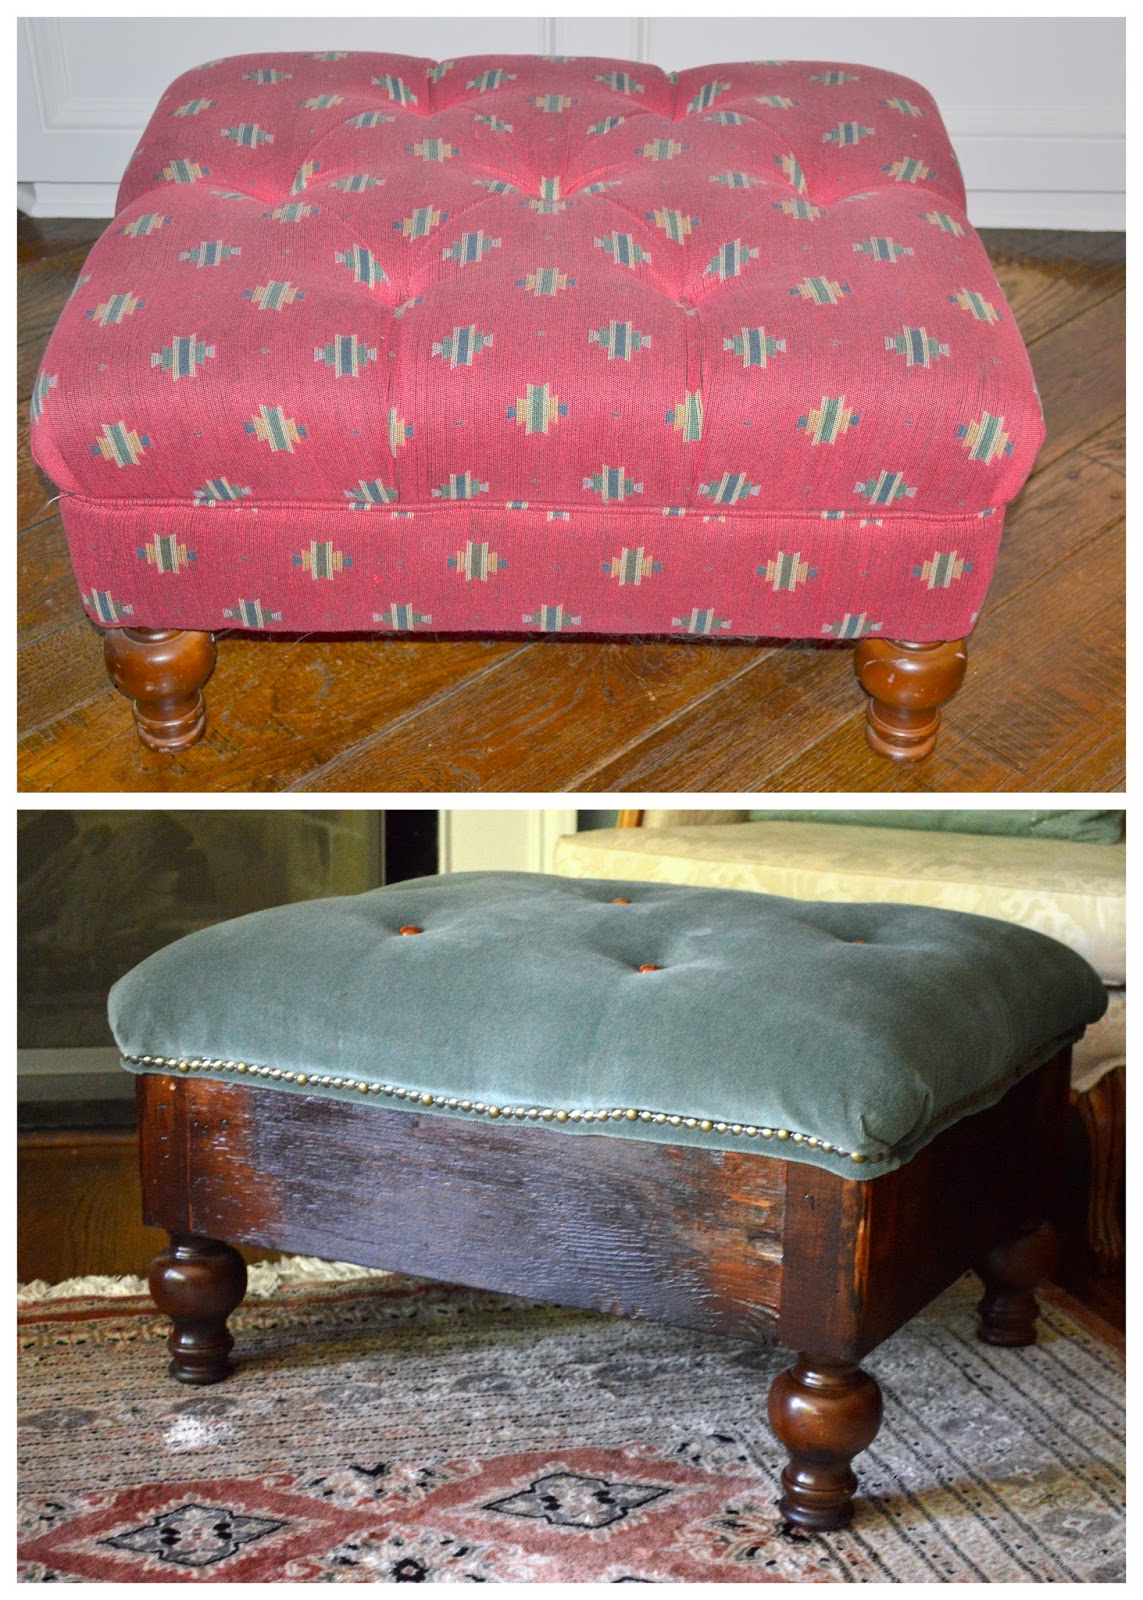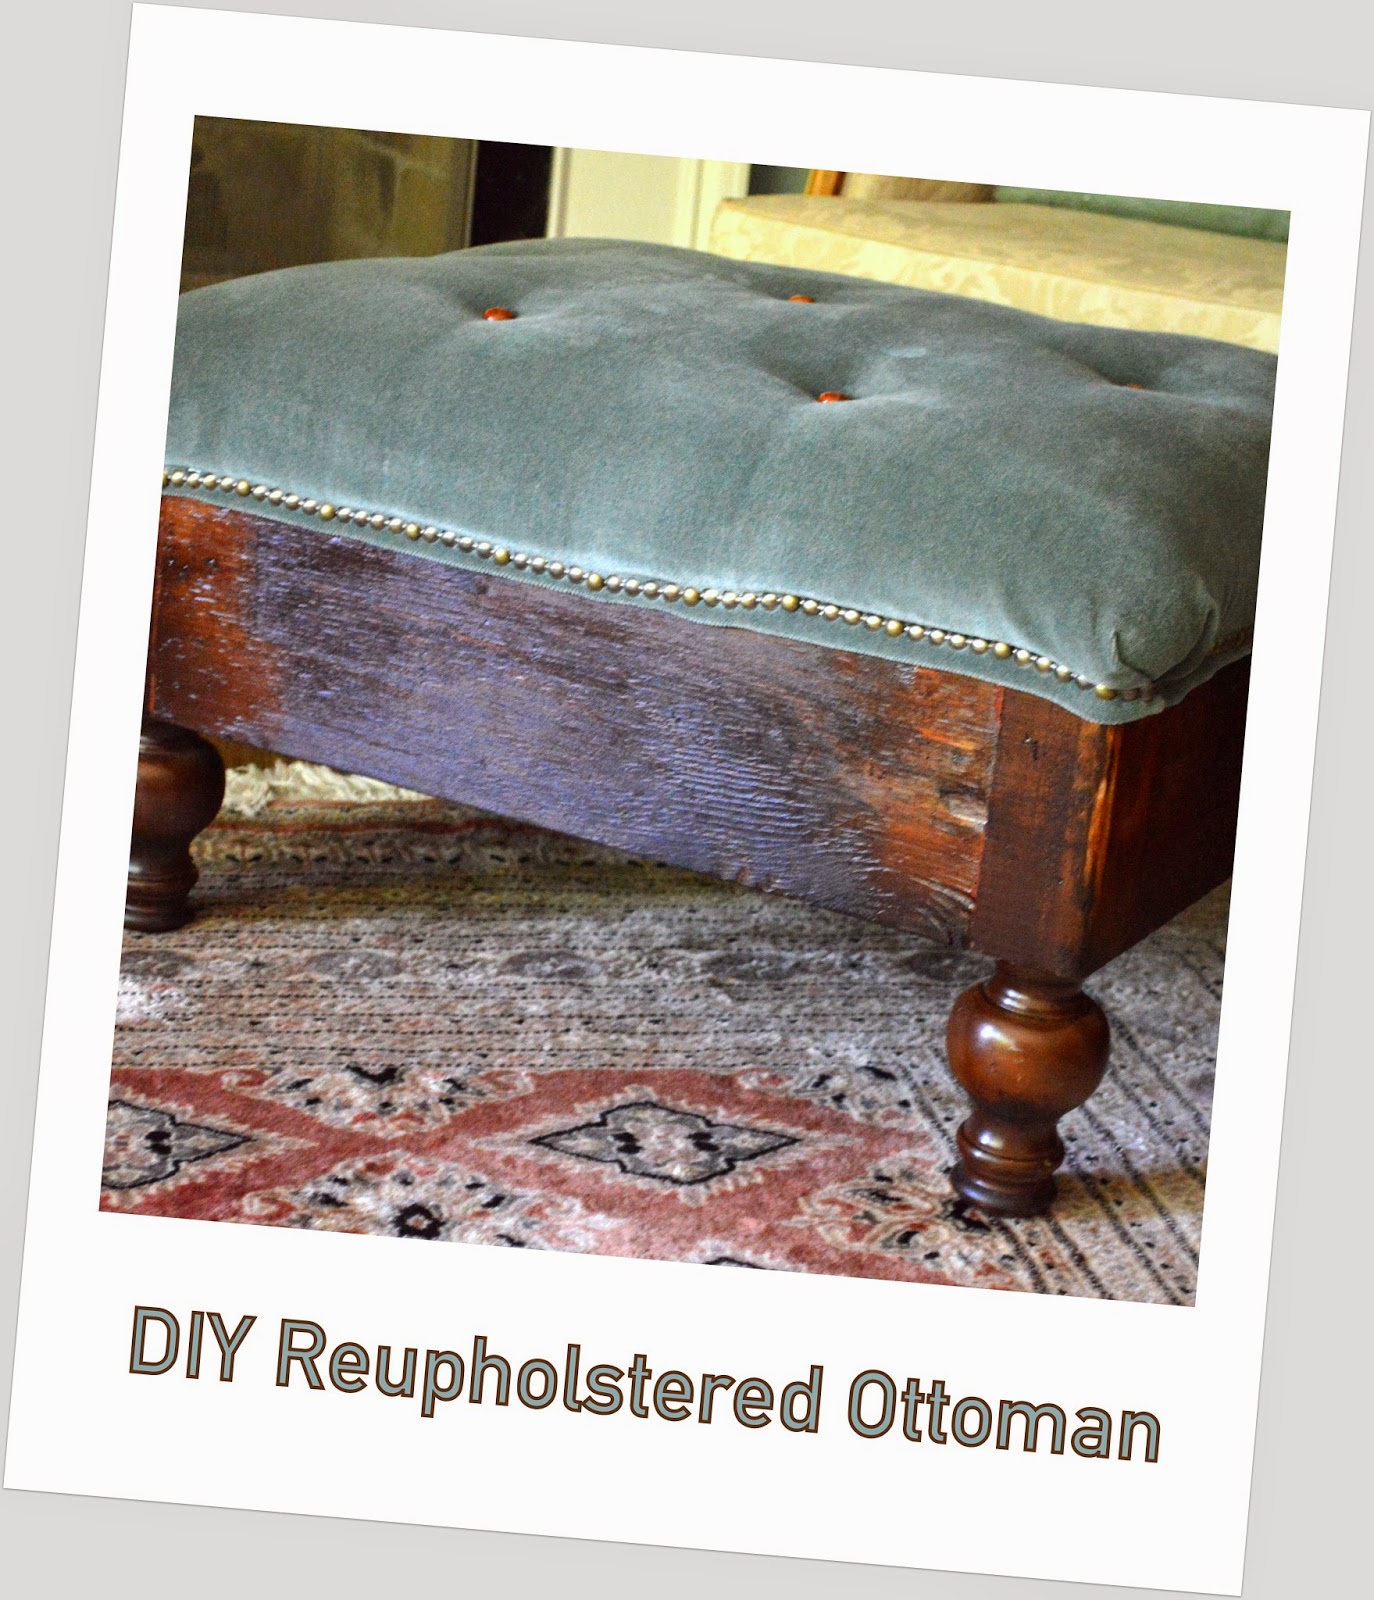
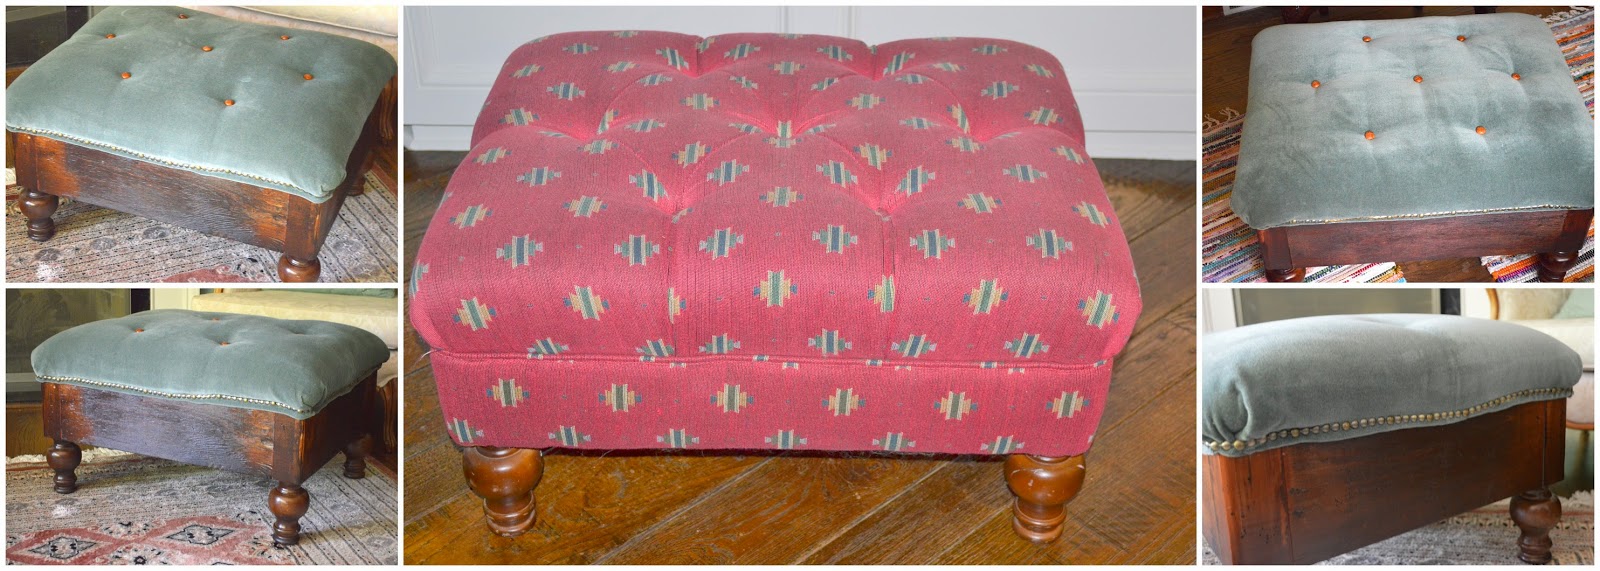
I was super excited when I was given two tufted ottomans by a family member. They were in her Goodwill pile and when I spotted them I knew that I had to at least try to bring them back to life. So without knowing at all what I was doing, I set my mind to re-upholstering and changing the overall look of them by exposing more wood and only upholstering the top portion.
 I perused Pinterest and Houzz for inspiration and after failing to find a tutorial that fit my exact needs, I decided I would just have to “wing” it. I figured I didn’t have much to lose considering I had gotten the ottomans for free and in the worst case scenario I would just pitch them if they looked horrible once I finished.
Fortunately, I am happy with the final product!
How I Re-Upholstered A Tufted Ottoman AND Changed The Look By Exposing More Wood:
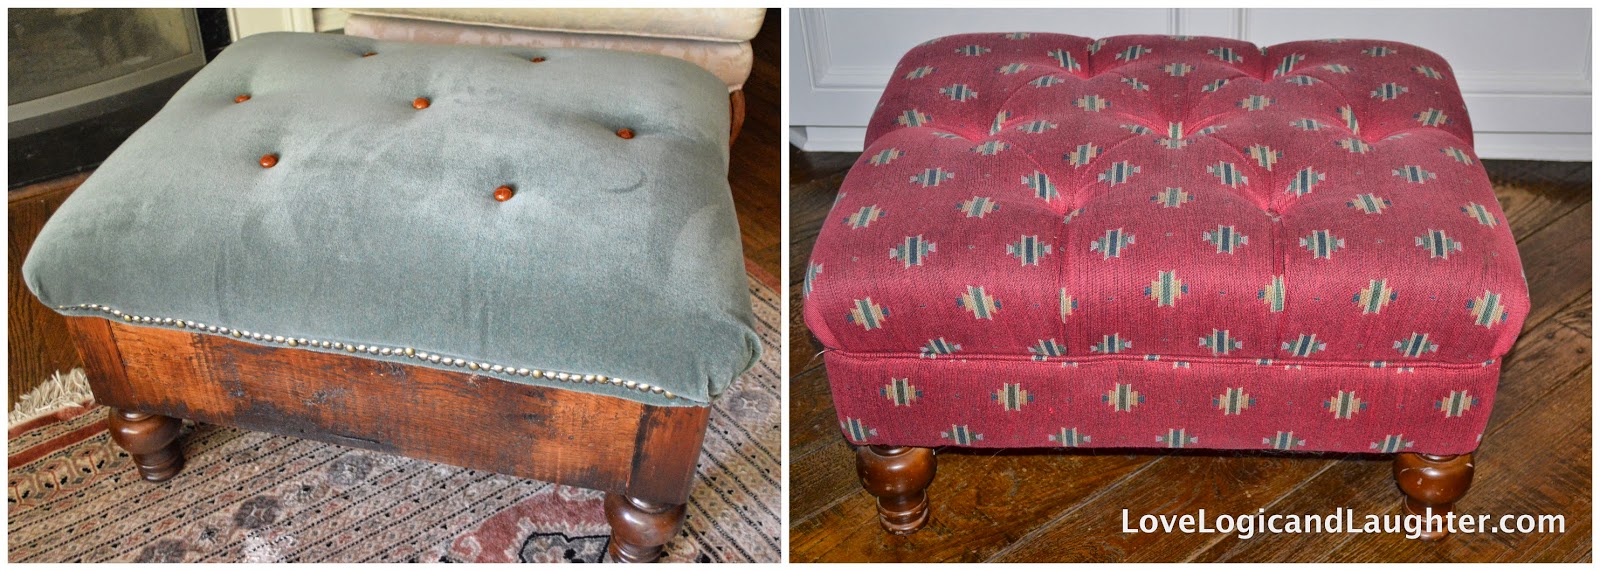
I started by removing the staples and pulling off the red fabric. Fortunately the foam and padding were in great condition so I was able to reuse them:
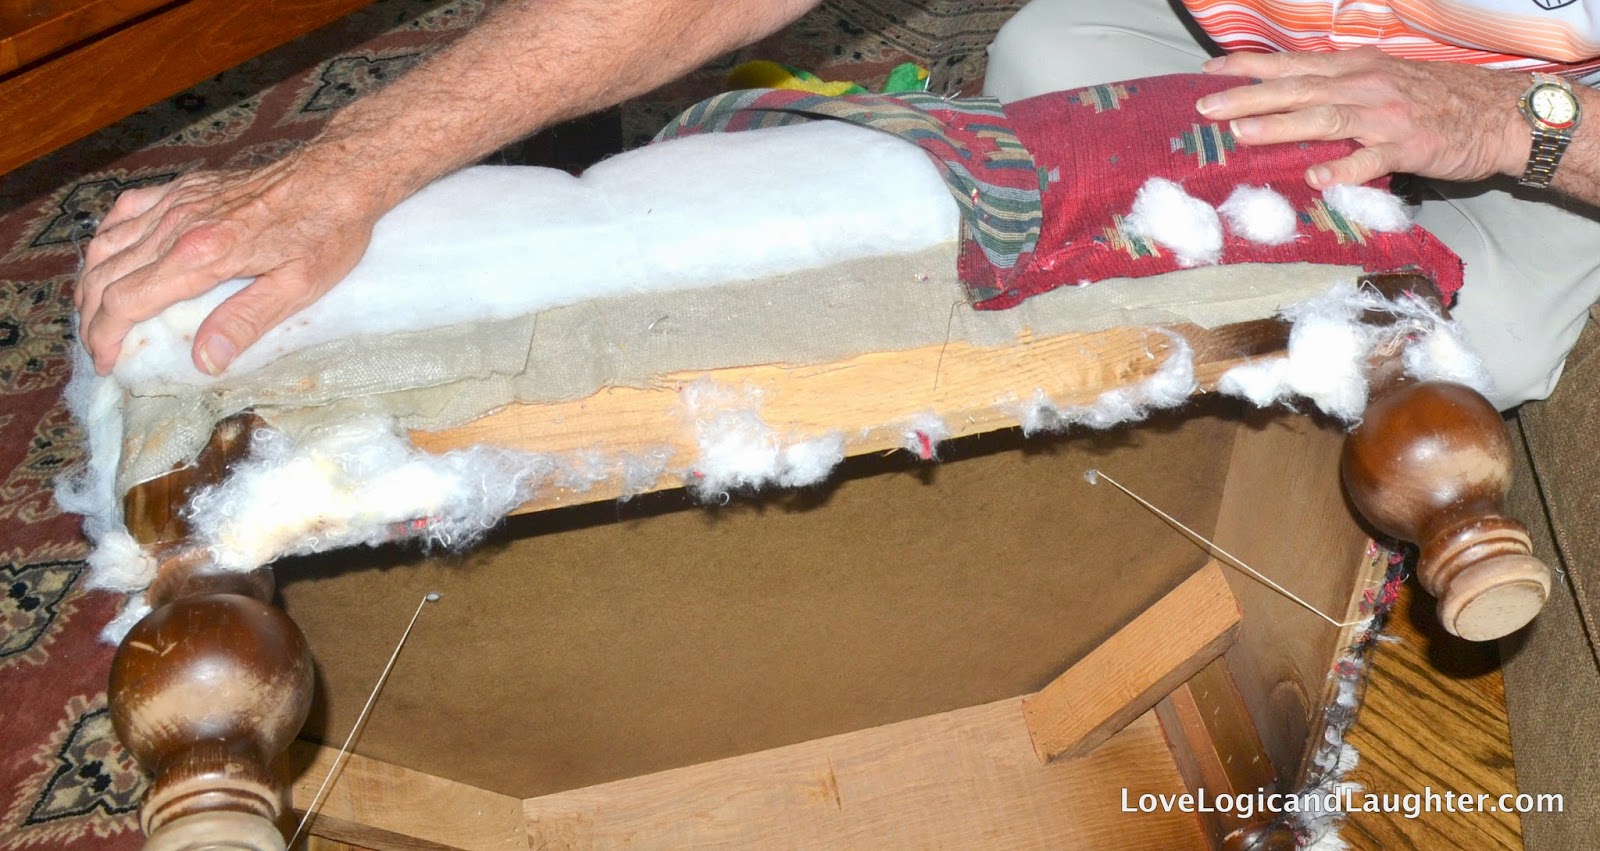
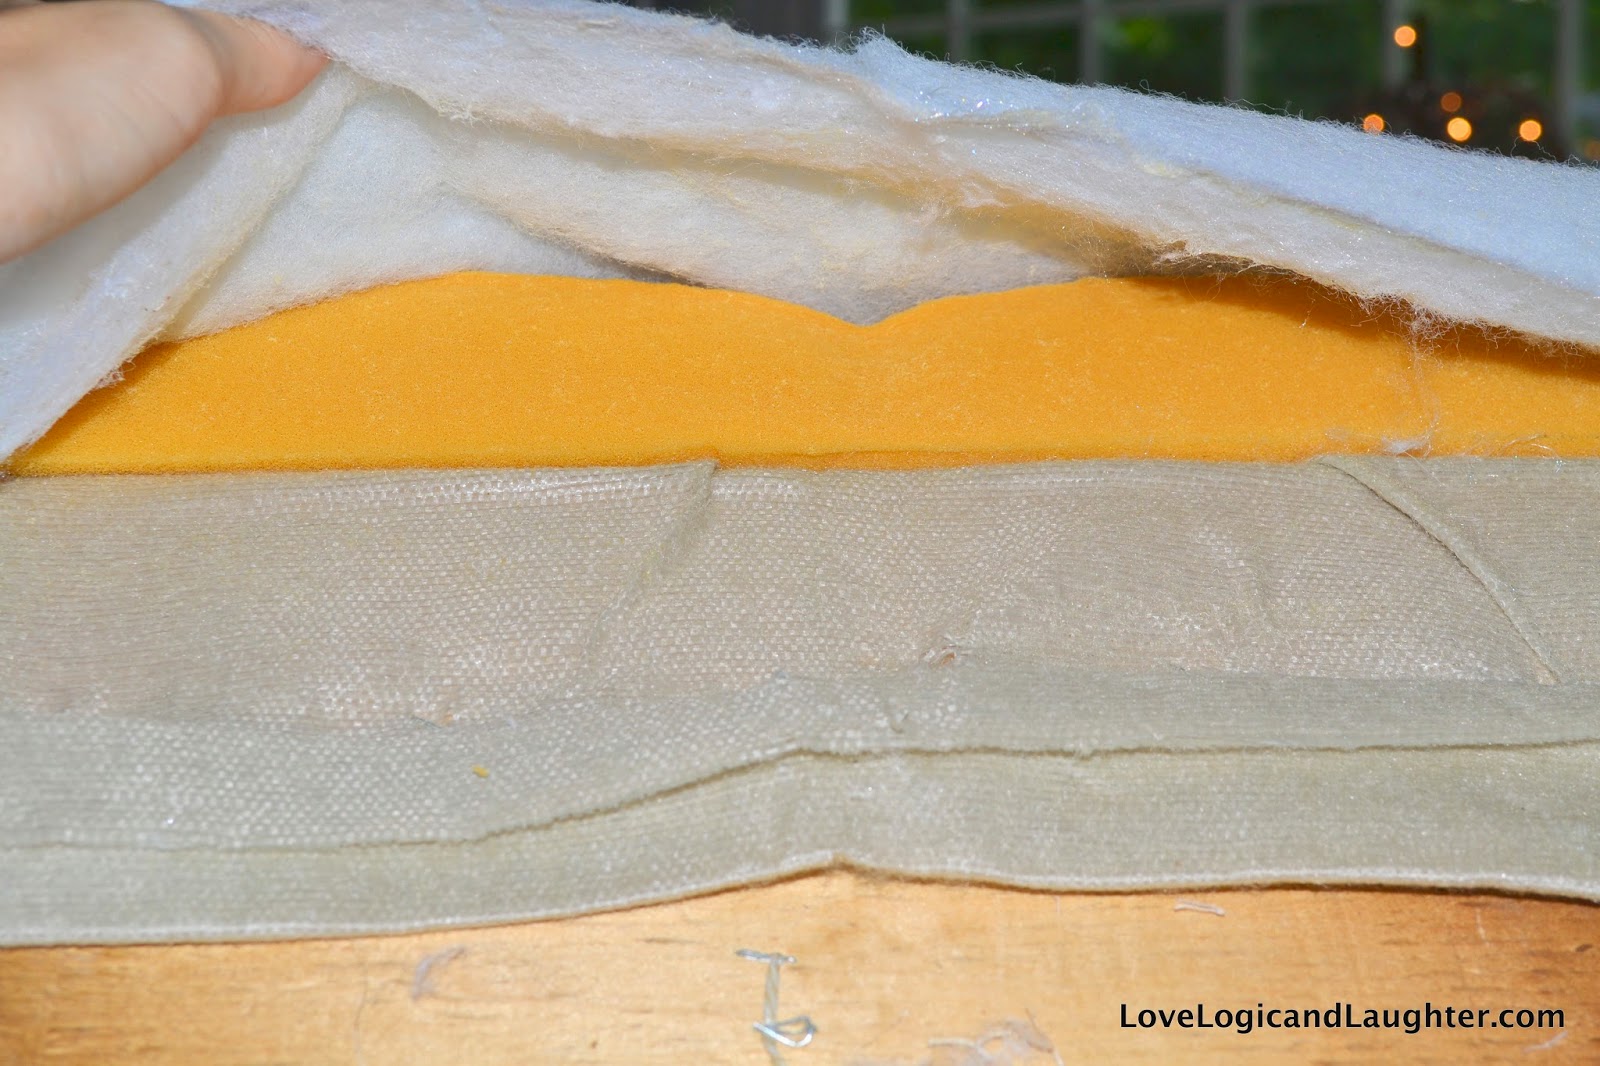
I set the foam and padding aside and was left with a wooden frame that was inconsistent in color (the feet were stained, but the sides and body were untreated since they had originally been covered by fabric):


After sanding and staining the whole piece I was left with a distressed looking wooden frame ready to be re-upholstered: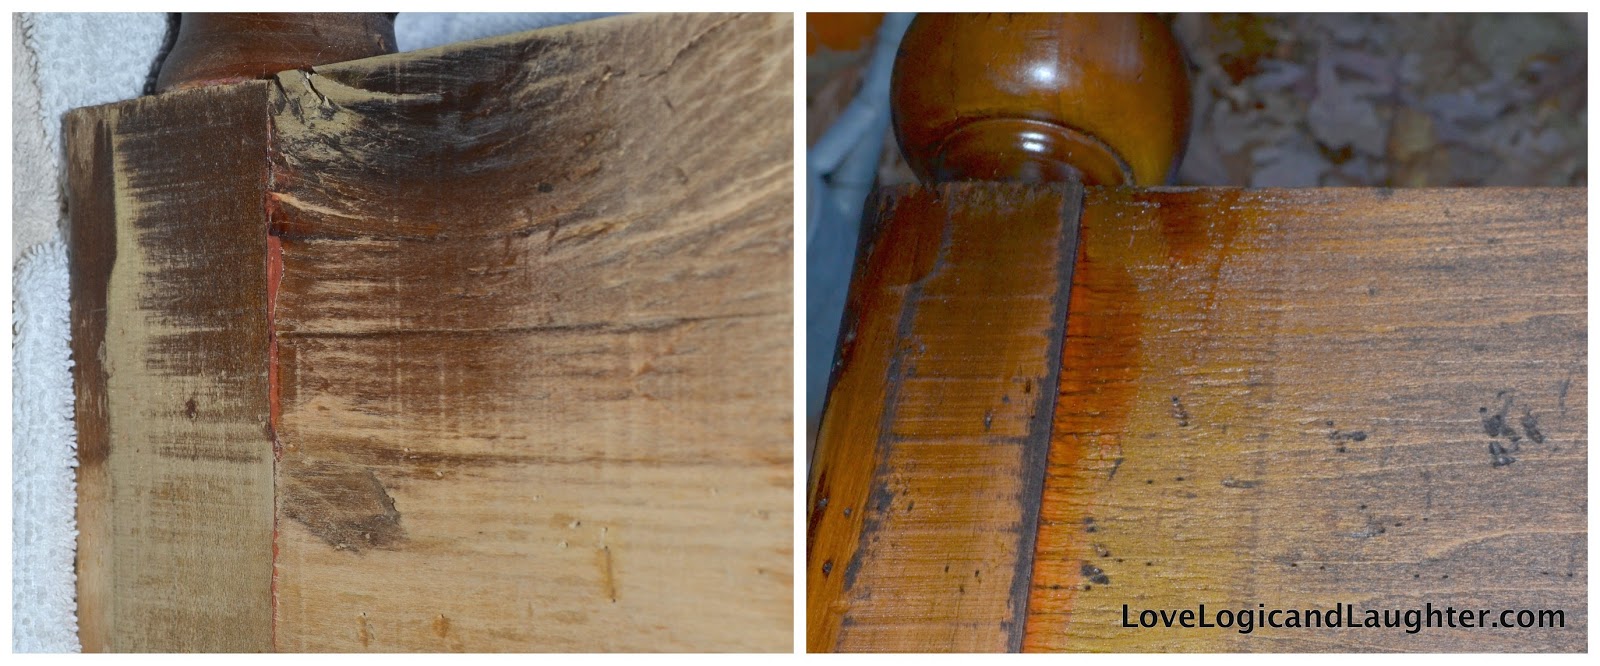

For this part of the project I used a similar process that I used when I made an ottoman out of an old coffee table. Click on the post for detailed photos. The only differences were that I drilled holes in the plywood to match the holes in the foam I had removed from the ottoman so that I could tuft it later. And instead of stapling the upholstery fabric to the bottom of the plywood I stapled it to the ottoman frame itself and then added upholstery tacks on top of the staples to cover my staples. I didn’t take any photos of this part and it is difficult to explain exactly what I did, but vaguely I did as follows:
1. Cut a piece of plywood the size of the ottoman top.
2. Drill holes in the plywood so that you can tuft it later (I laid the foam I had removed from the ottoman on top of the plywood and drilled the holes to match).
3. Place the foam and padding on the plywood (use spray glue if you don’t want it to slip).
4. Wrap the foam and padding with muslim or scrap fabric and staple it onto the bottom of the plywood (essentially you are upholstering the plywood piece in muslim).
5. Then set your plywood with the padding/foam/muslim on top of the ottoman frame. Staple the upholstery fabric to the frame.
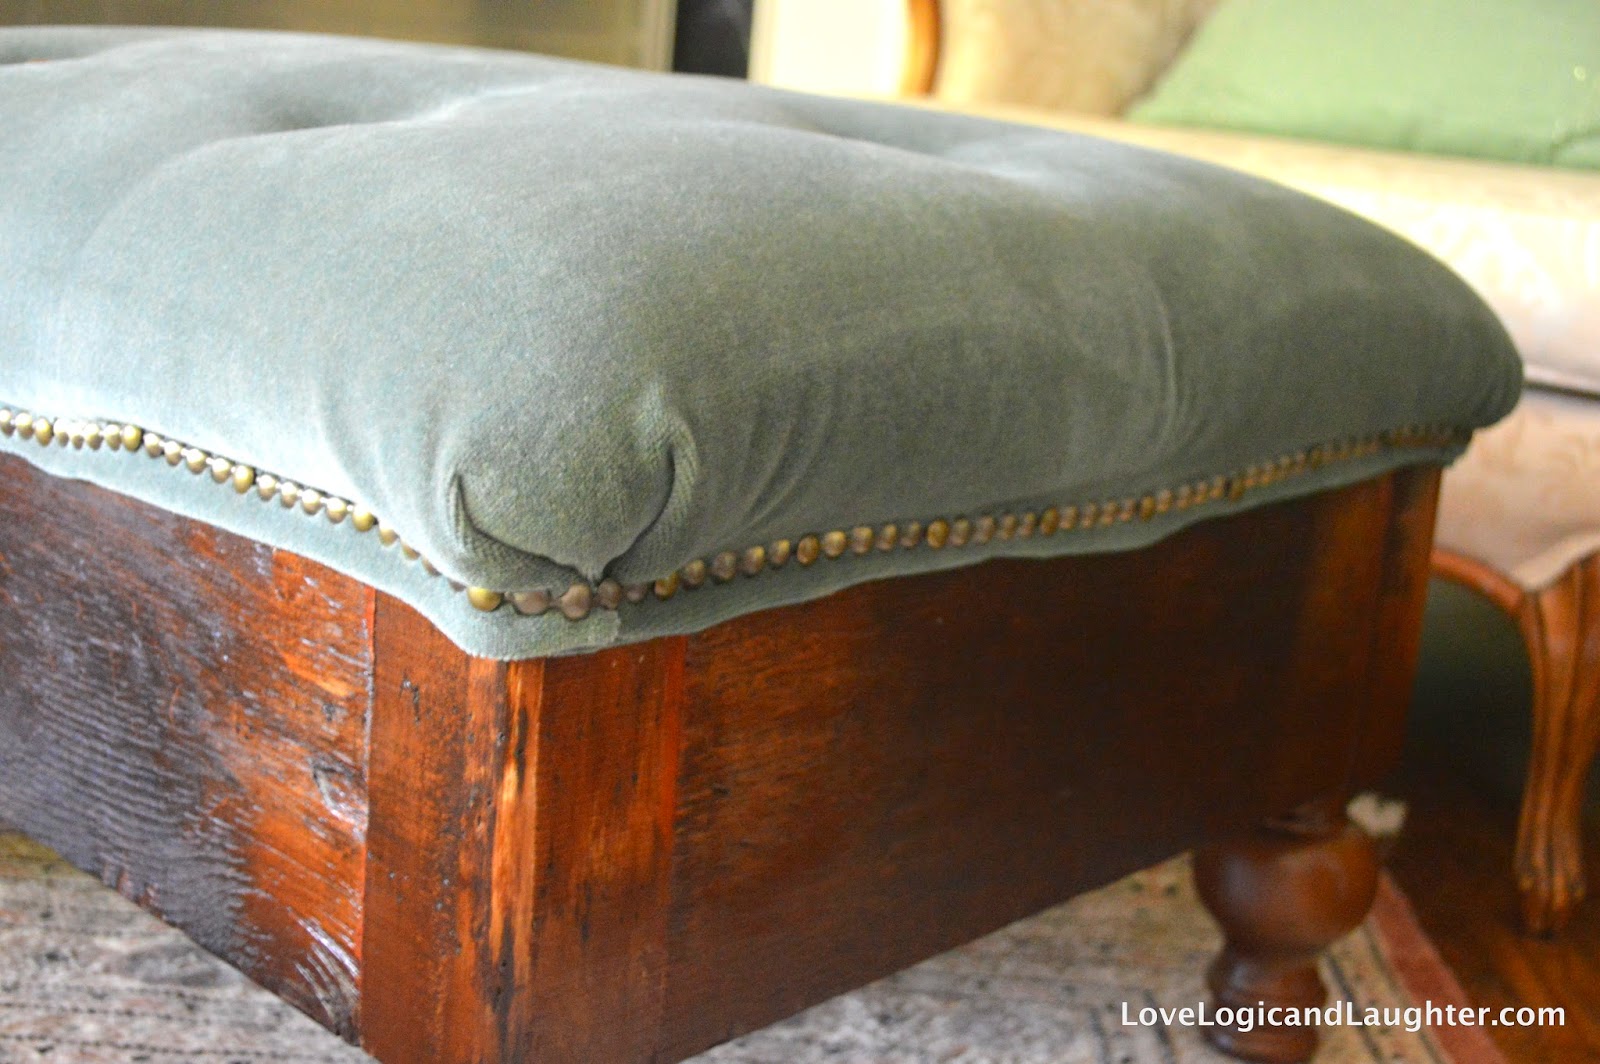
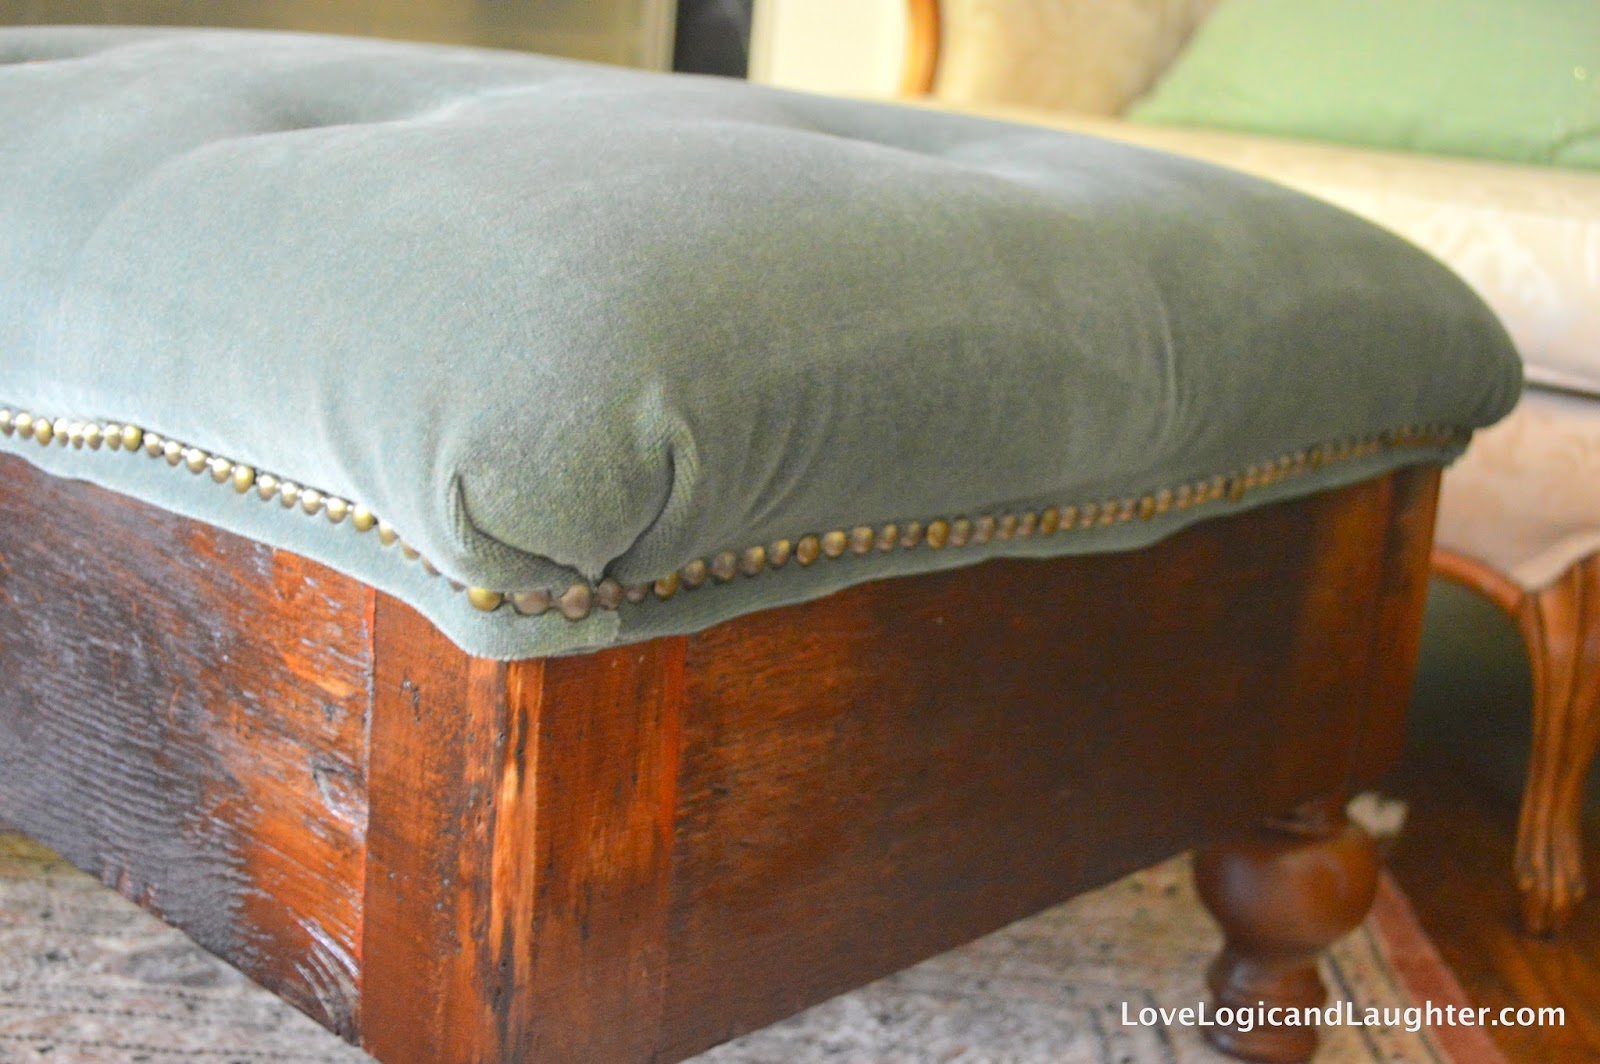
6. Cover your staples with upholstery decorative tacks:
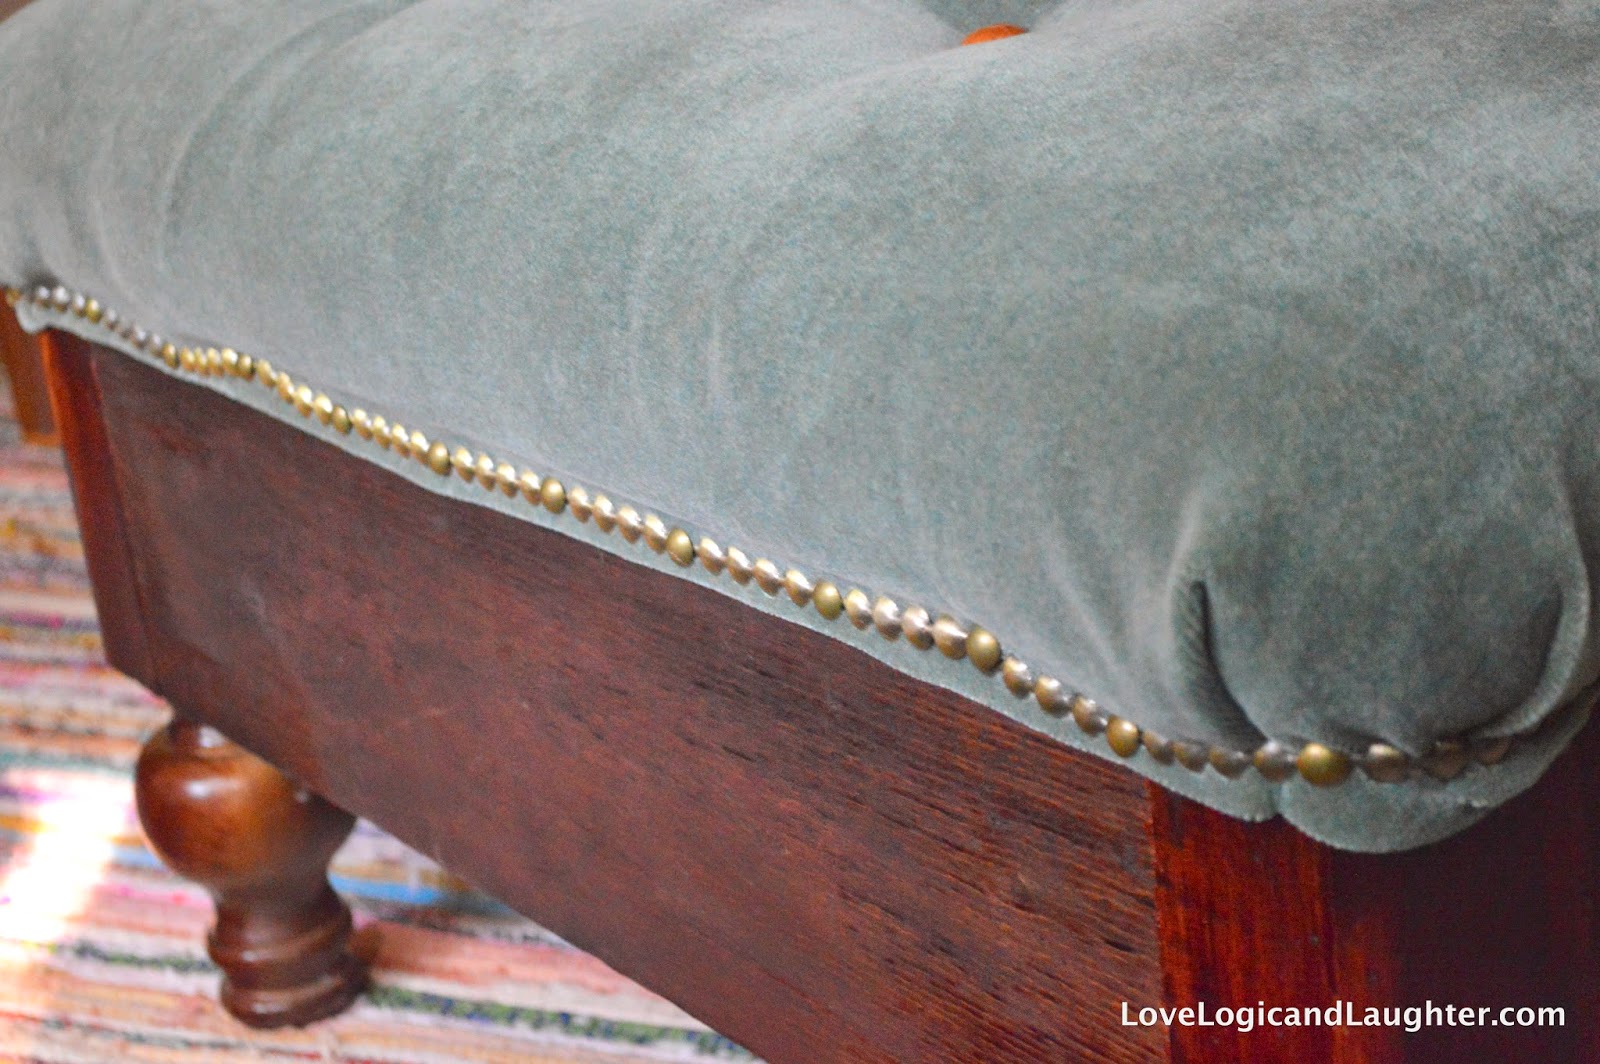 Under those upholstery tack are lots of staples. The staples are holding the plywood top to the ottoman bottom.
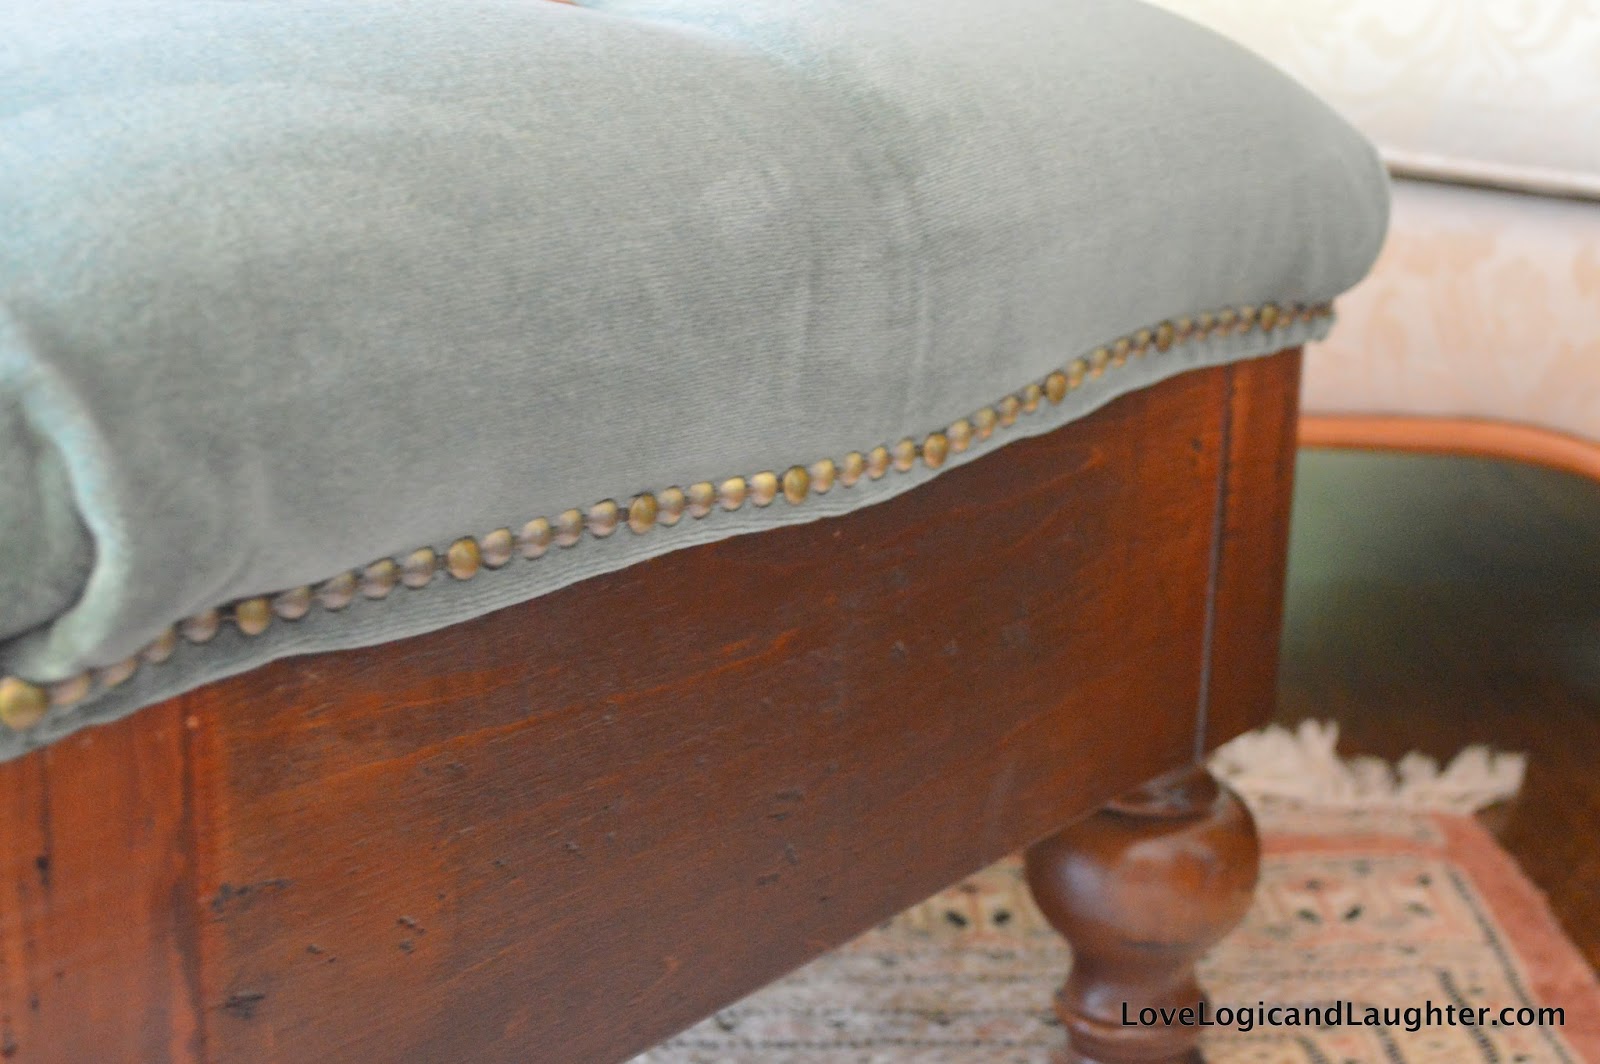
7. Attach buttons using heavy duty upholstery thread and a long needle (mine was 9″ long). Push the needle from the bottom up through the holes you drilled through the top. Thread your button onto the needle and then push it back through to the bottom of the ottoman. Pull the thread tight so that it pulls the button into the foam and tie a knot underneath.
