Christmas Artwork
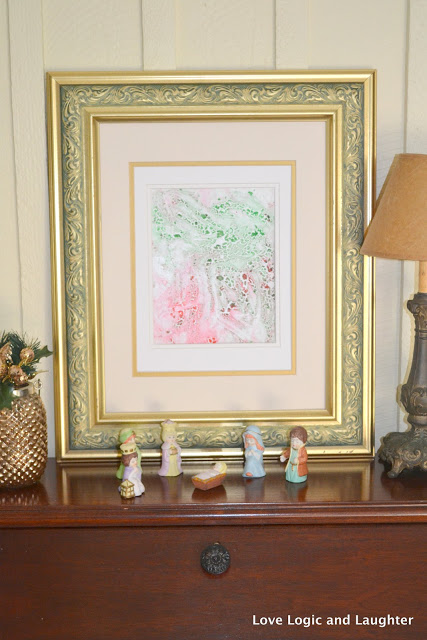
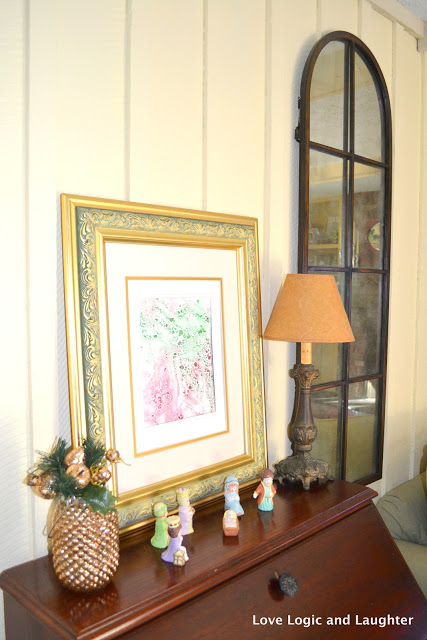
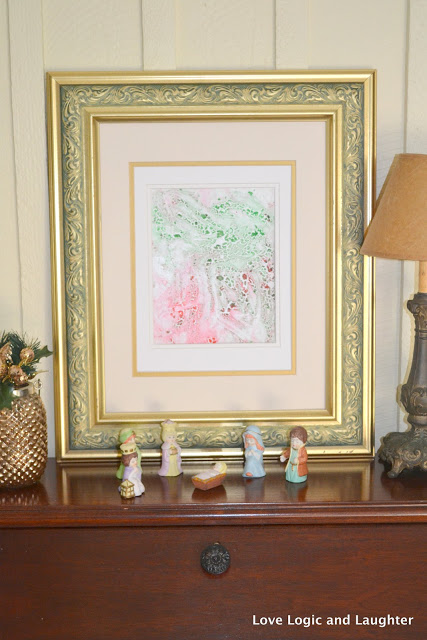
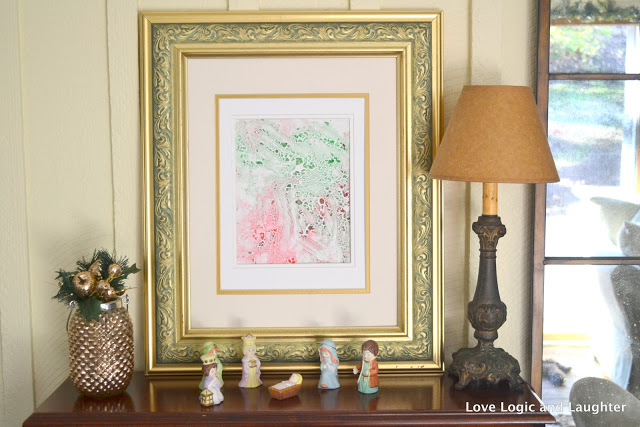
After taking our painted pumpkin down with our Fall Decorations, we decided we needed some Christmas artwork to replace it.
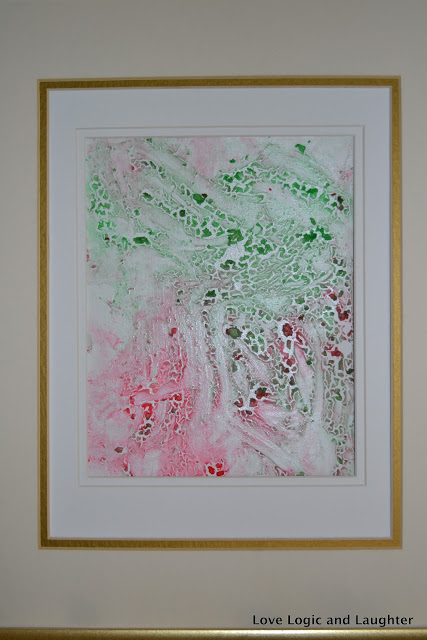
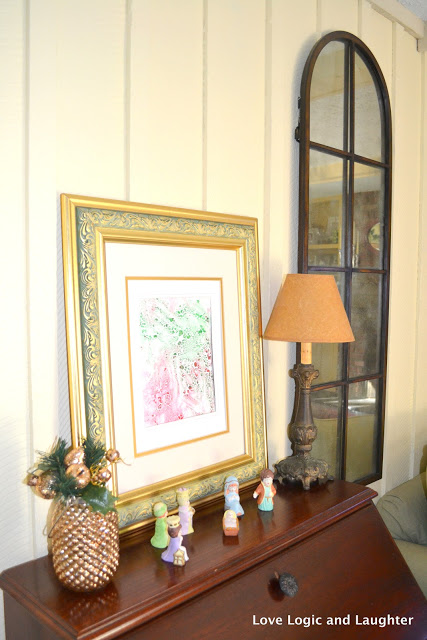
So now we have Eliana’s newest masterpiece on display in our house.
It was a fun process. I found a recipe for homemade edible fingerpaint online at: The Imagination Tree – I love this blog!
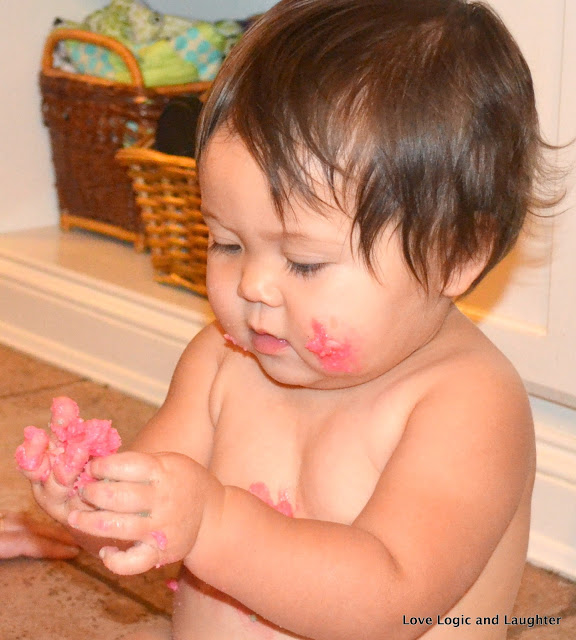
Lets face it – Eliana is going to eat or at least taste the paint, so edible paint was a necessity!
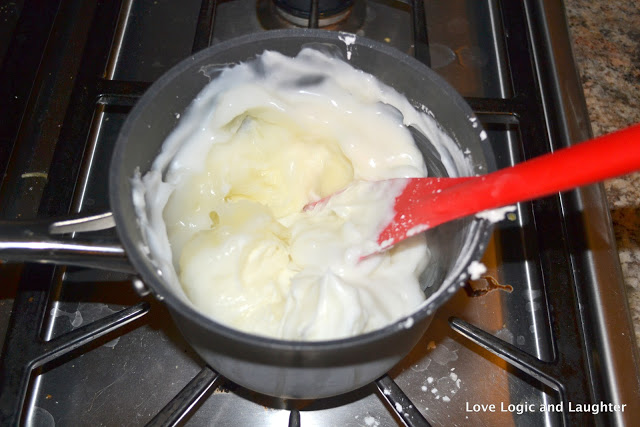
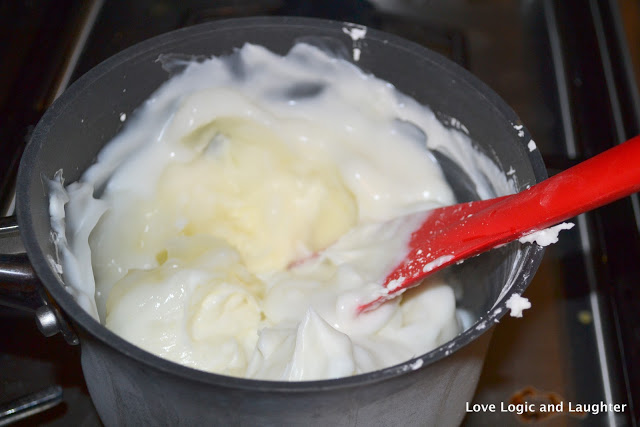
It is a nice thick fingerpaint. Many homemade fingerpaint recipes are very runny – this one has the consistency of thick pudding.
When making this recipe I would recommend following the edited note of making it on the stovetop. I first made it by adding boiling water and it didn’t thicken up enough. Once I moved it to the stovetop it thickened up almost right away.
Edible Fingerpaint
from: The Imagination Tree
* 2 cups of corn starch
* 1 cup of cold water*
* 4.5 cups of boiling water
* Liquid food coloring
Method:
Mix the cornflour with the cold water and stir together. Pour in the boiling water and stir between each cup. It goes really strange (you are basically mixing a hot oobleck goop) but keep stirring and it literally seems to “melt” into a wonderful, custard-like consistency. We then separated it into individual jam jars before adding colouring, but you can do it however you like and this is the stage to add colour.
Edited to add:
Some people have found that the paint remains liquid and doesn’t thicken up as it should. I have no idea why this should be, but I have two possible solutions, based on the fabulous commenters below!
We first made a big pot of the paint
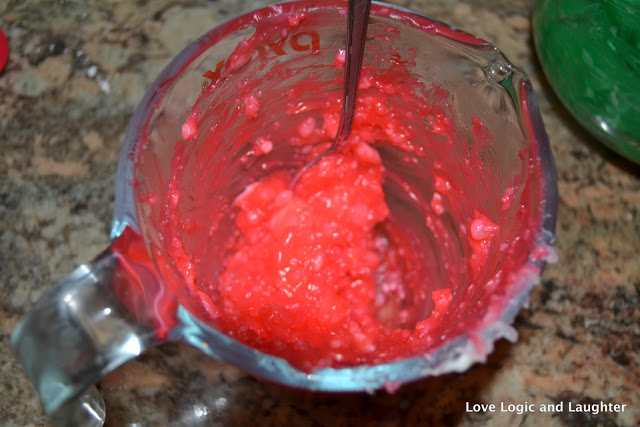
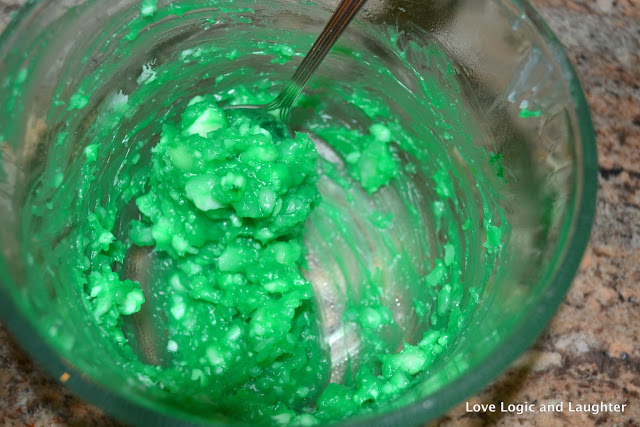
And then split it into two containers and added the food coloring and stirred
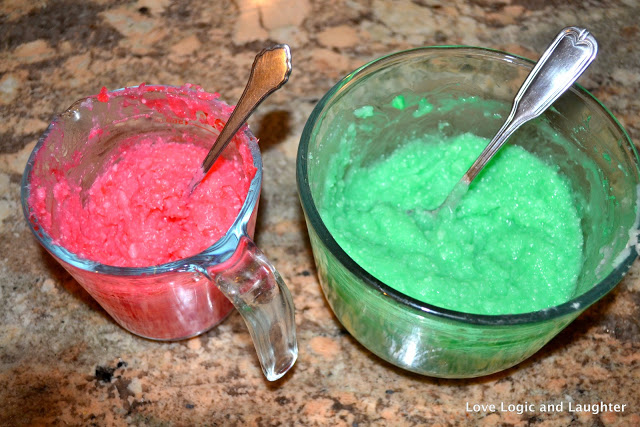
We decided on red and green for the holidays
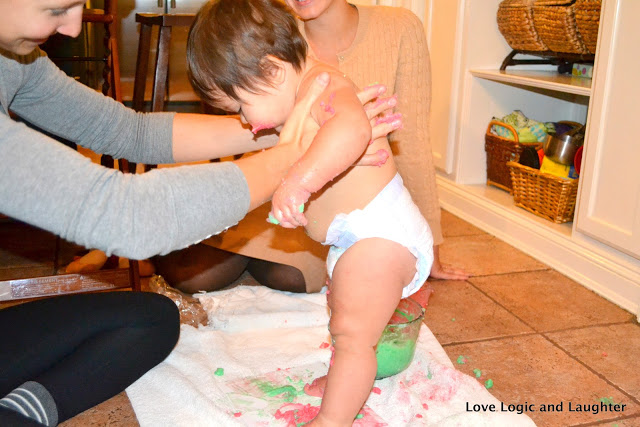
Now for the fun part – painting!
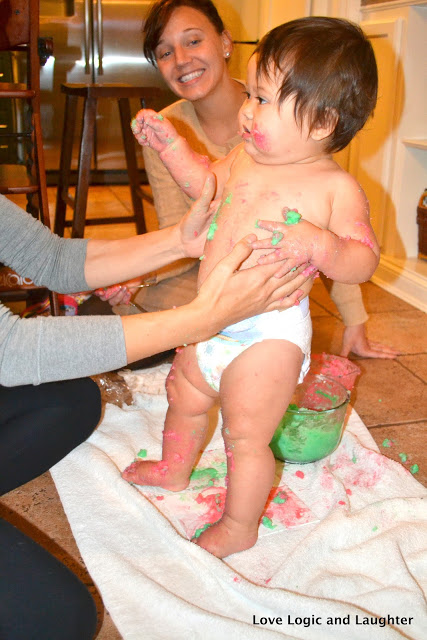
Aunt Lauren was over, so she helped too!
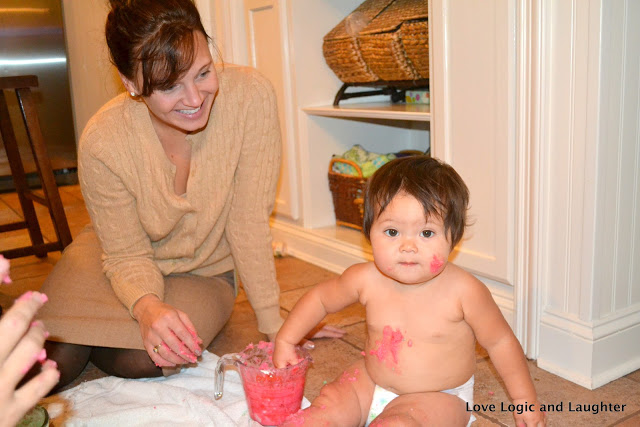
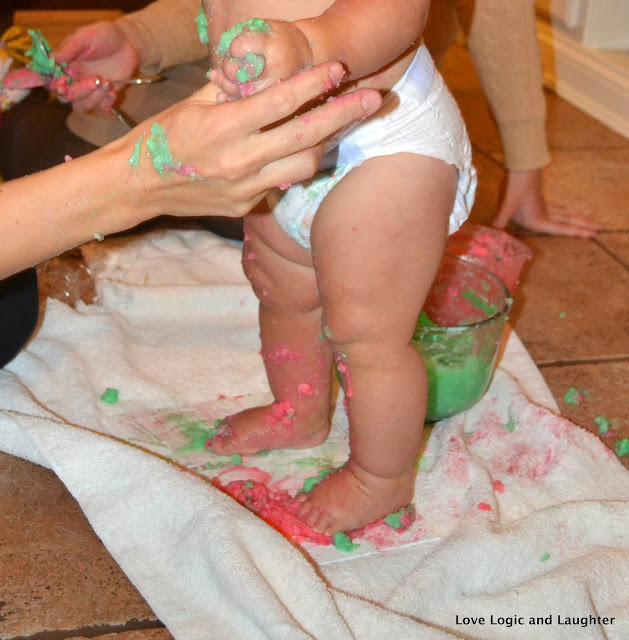
Why not put it in between your toes? Oooooh….squishy! Fun!
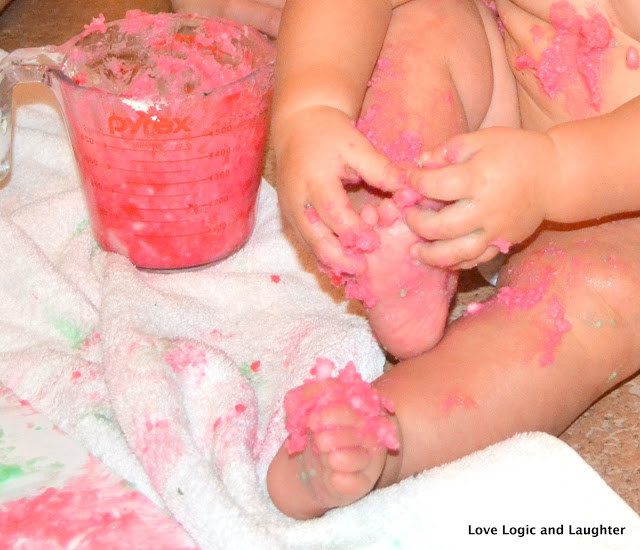
Standing/Stomping in the paint? Even more fun!
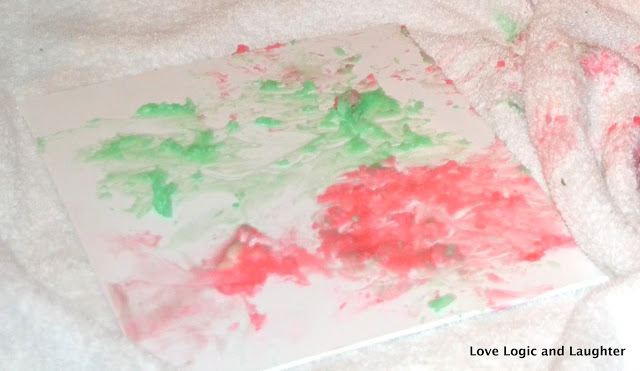
I had this frame laying around so we put it on display in the frame
