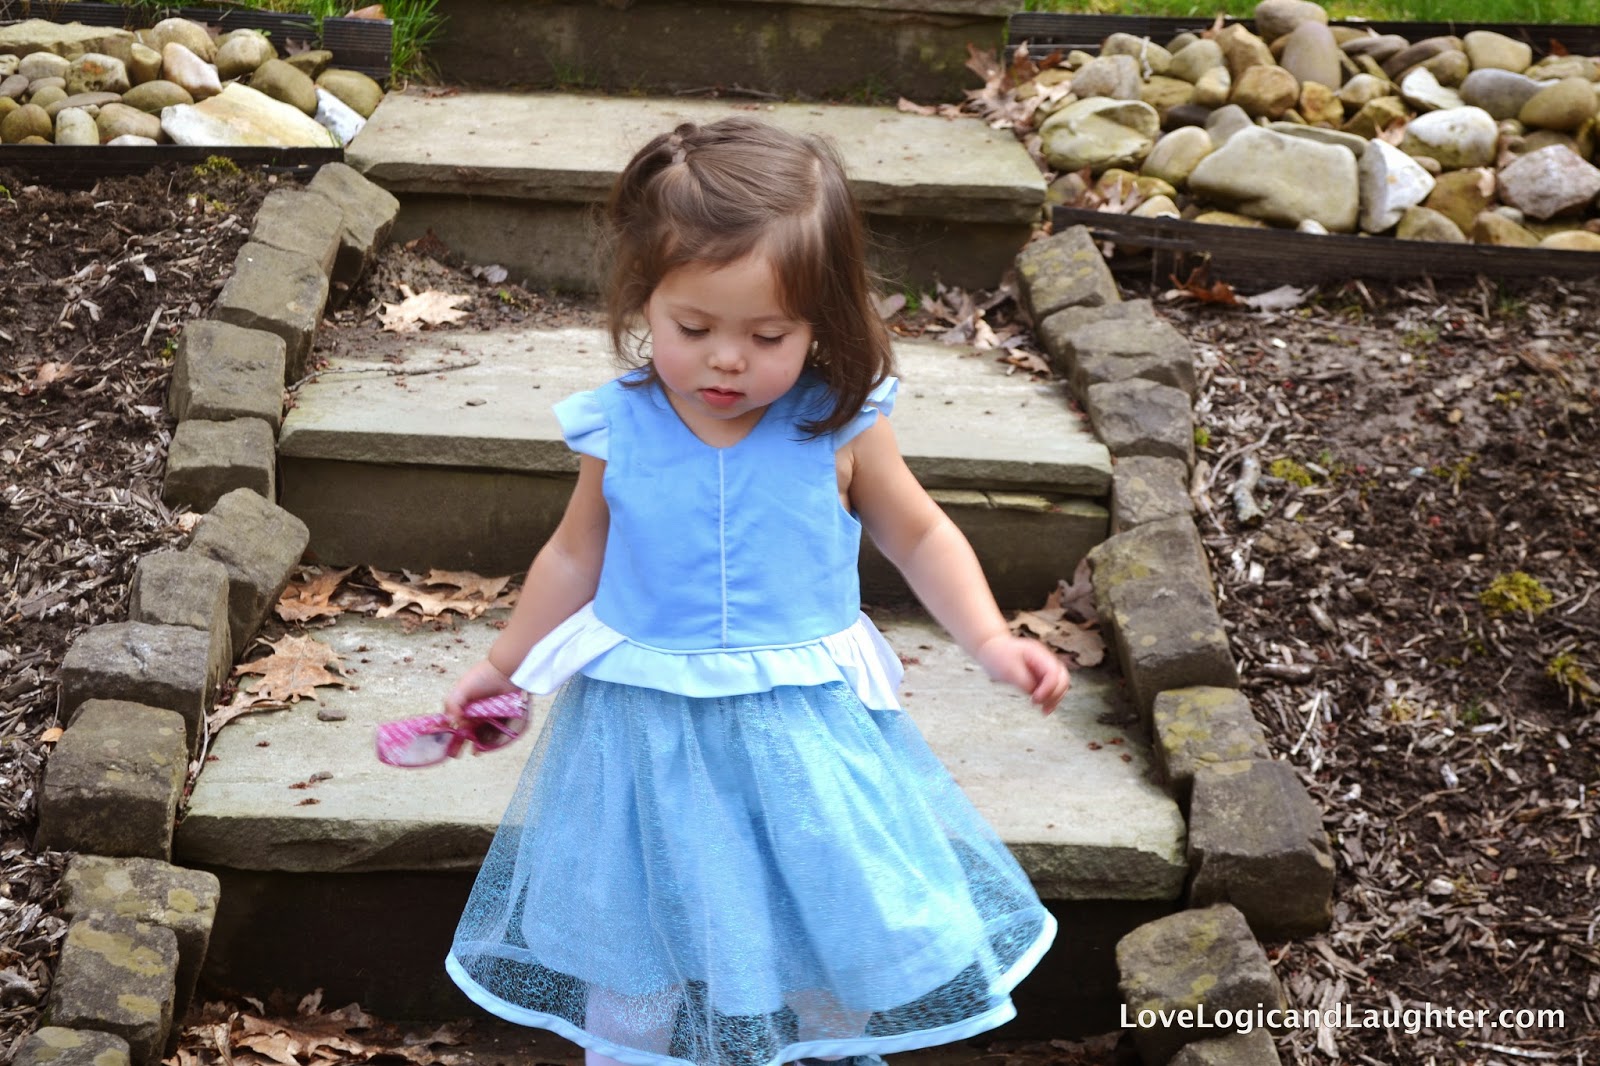
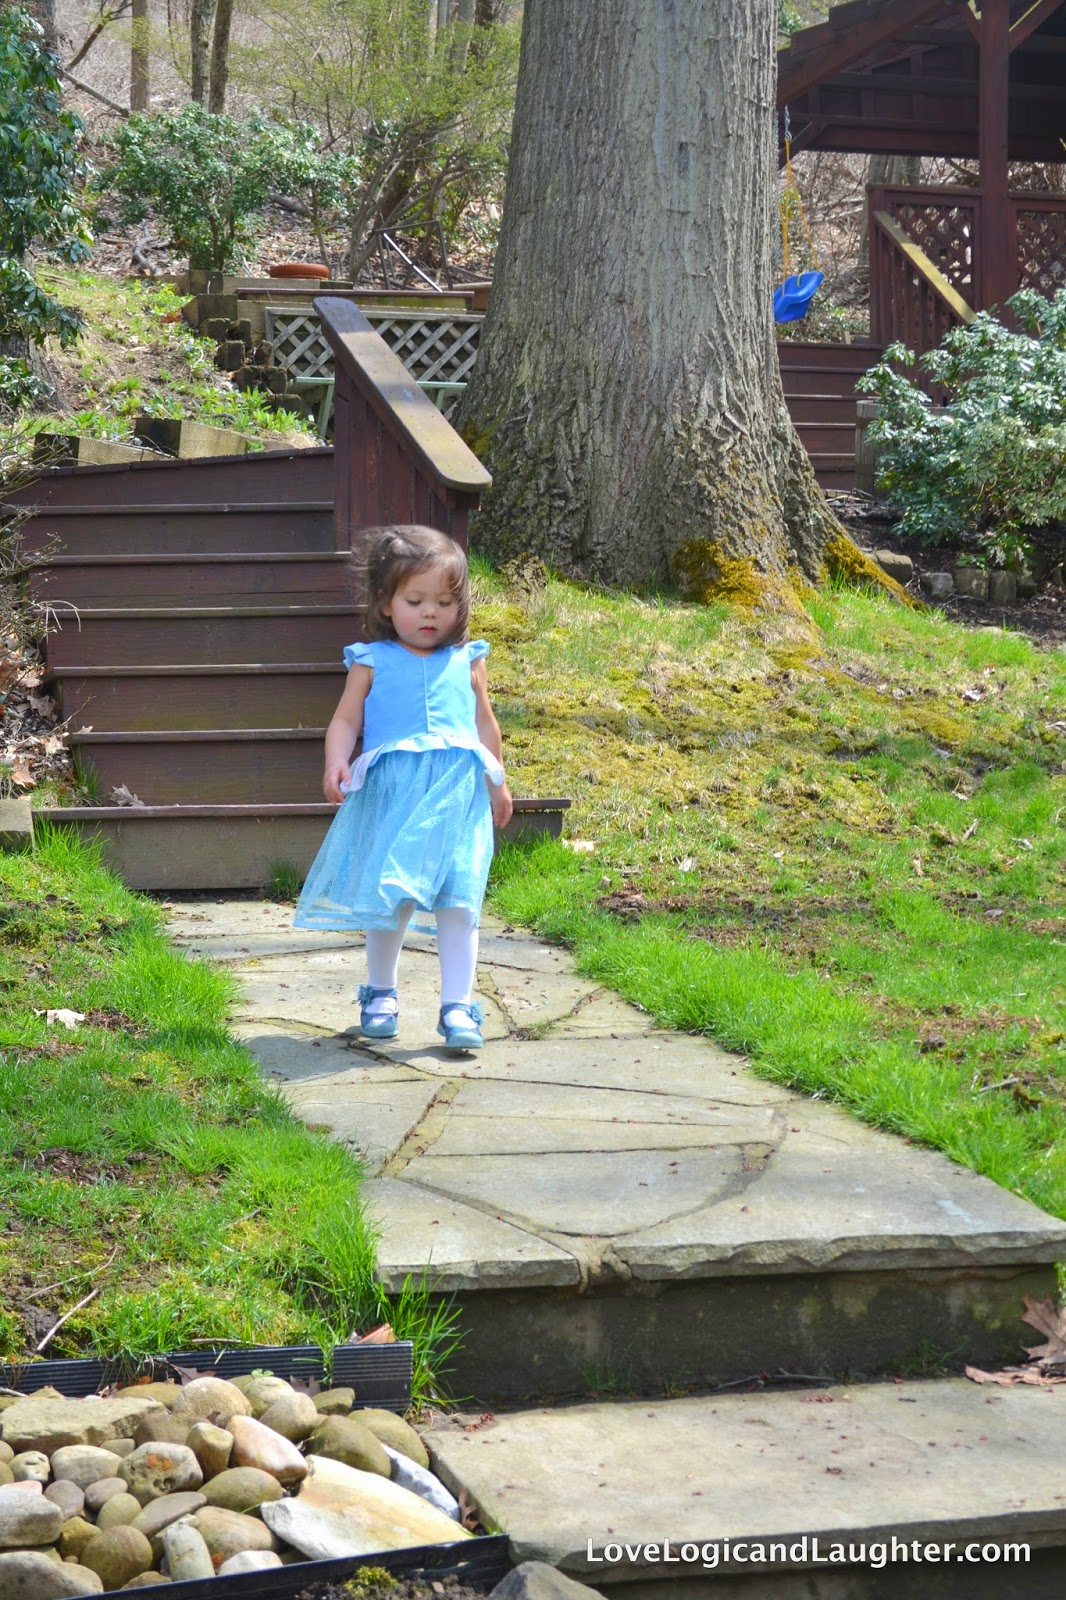
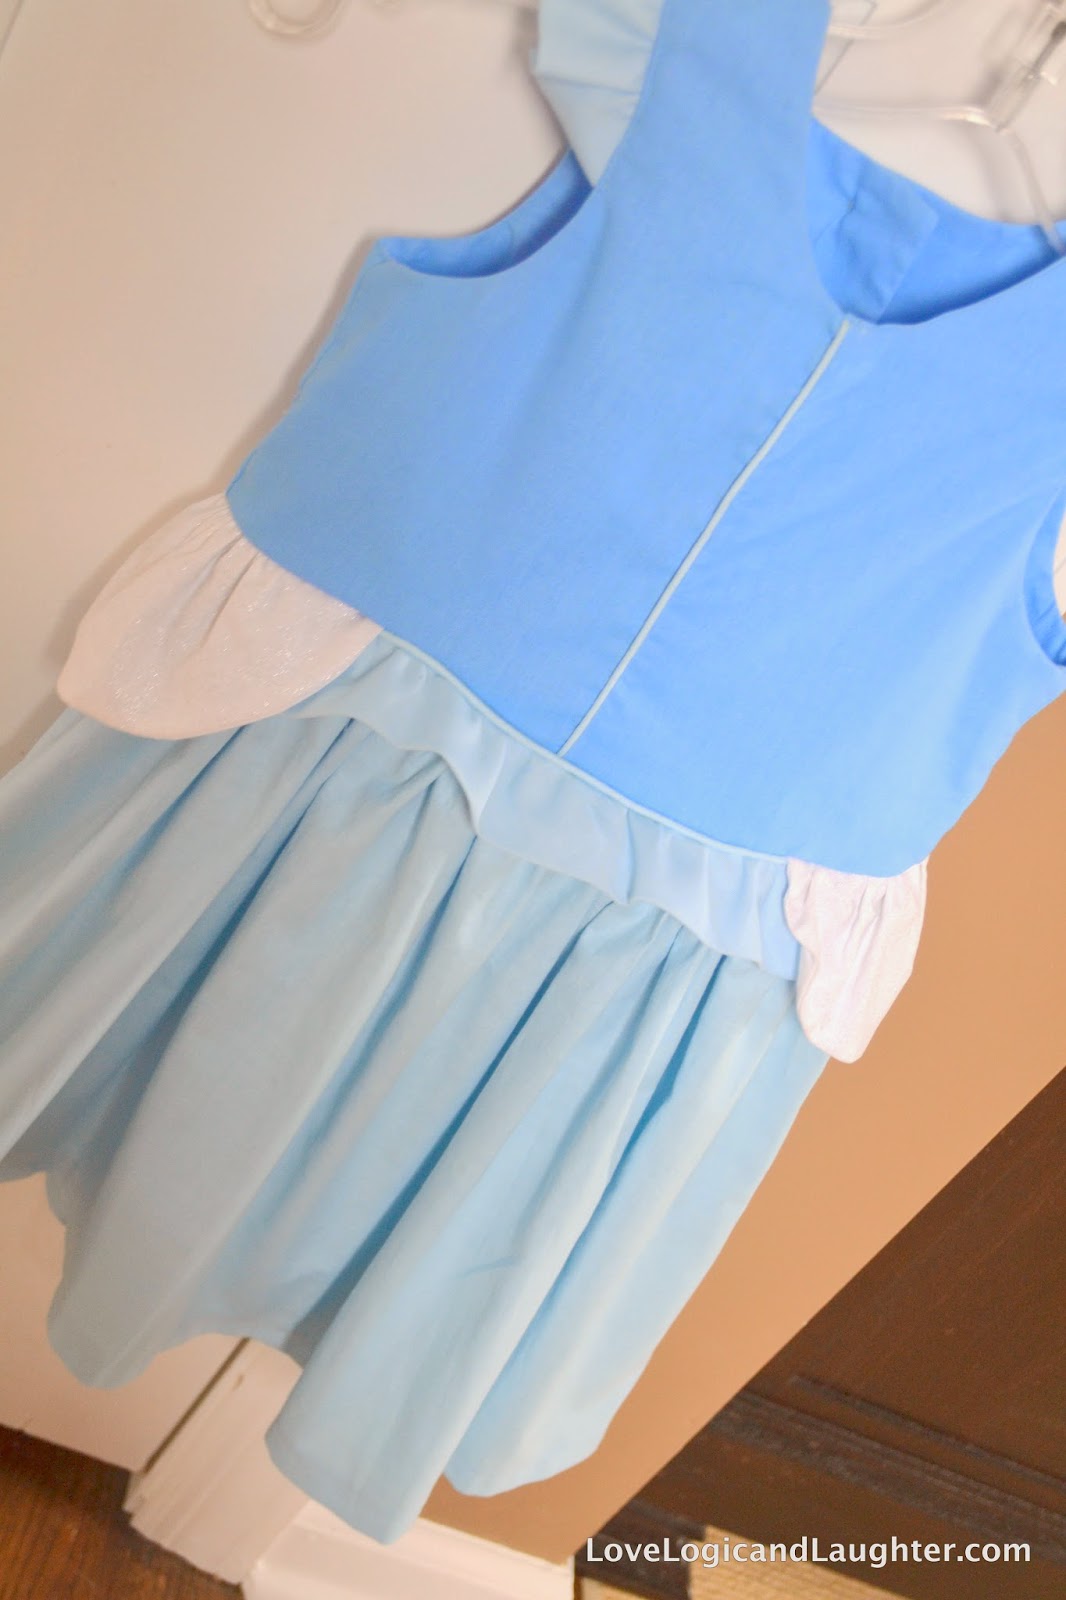
This post includes the details that can turn a regular dress pattern into a Cinderella Princess Dress. You could easily add them to almost any dress pattern in your child’s size. For more detailed photos of the finished dress see this previous post.
Piping Down The Center Of The Bodice:
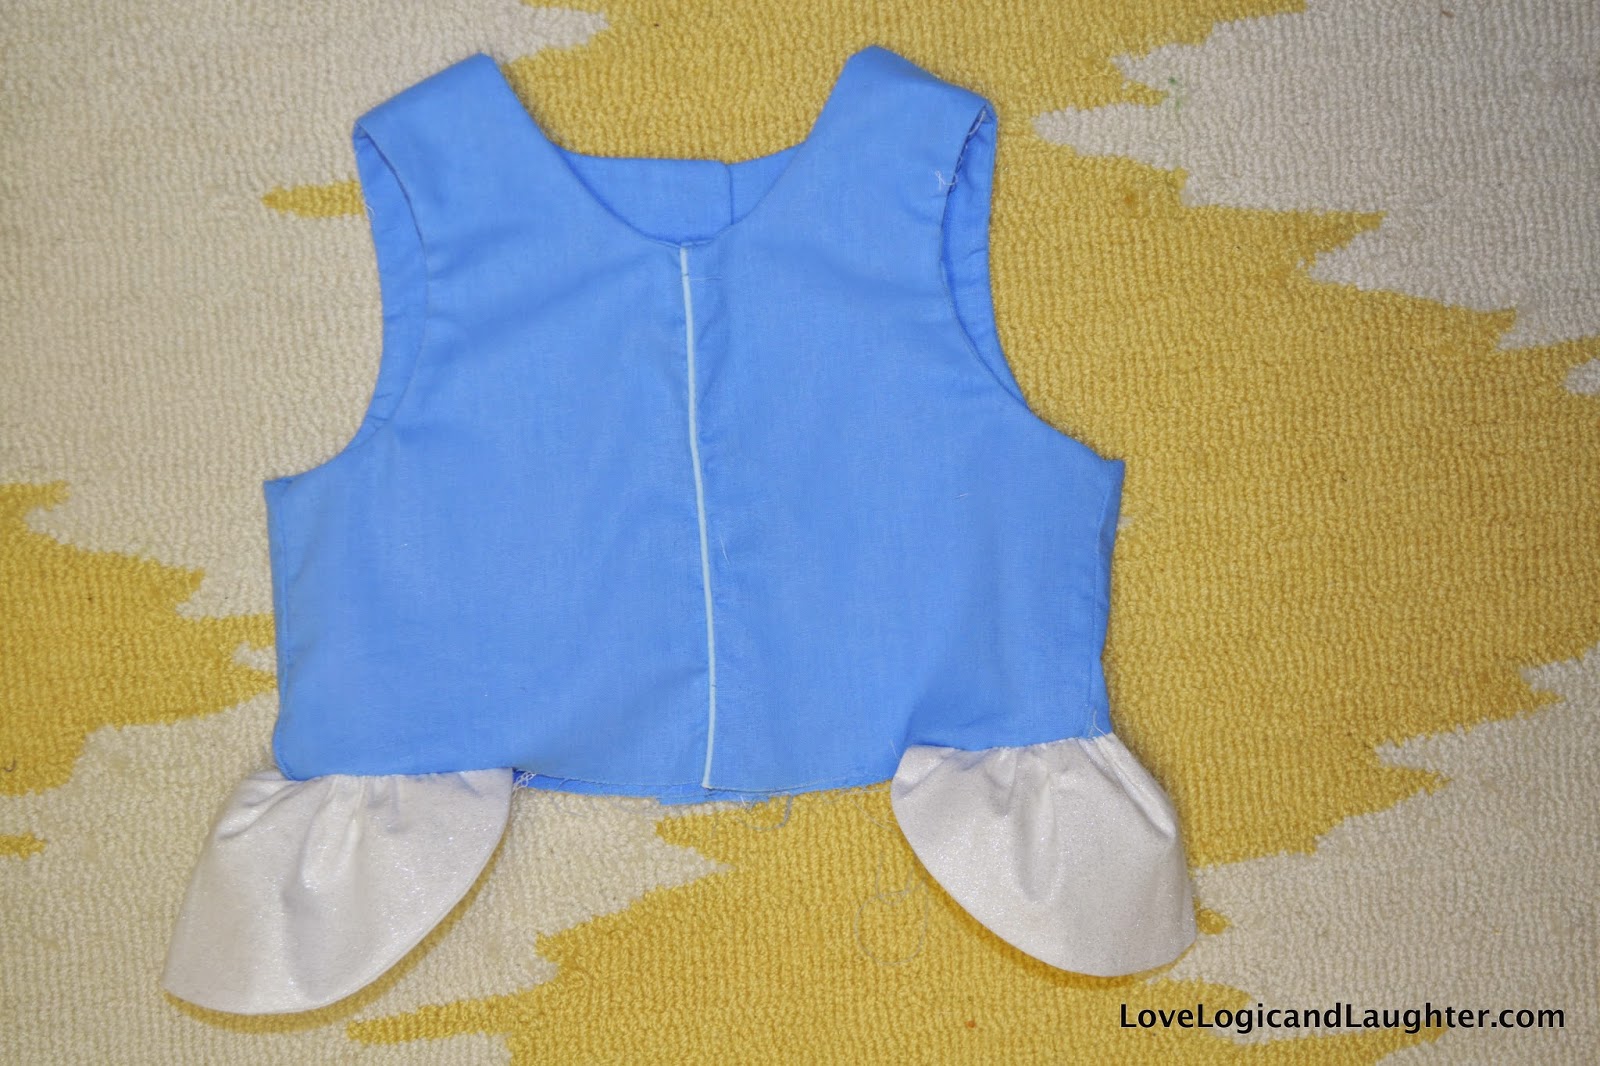
When cutting the fabric for your bodice make the middle section of the front bodice piece a little bit wider. Then you can cut it in half and sew it back together with piping down the center. Cinderella’s bodice has a seam down the center and by adding piping you are accentuating that detail of the dress.
Flutter Sleeves:
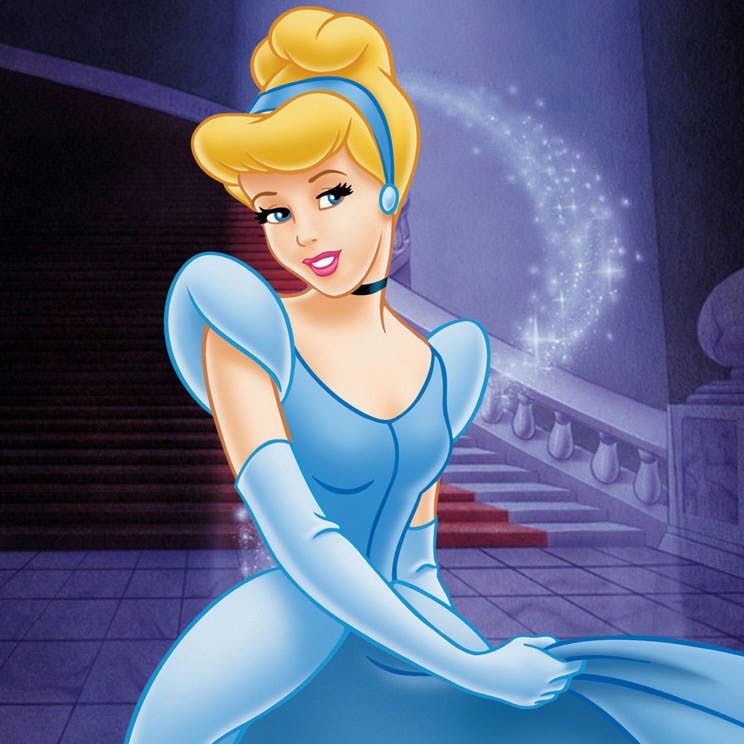
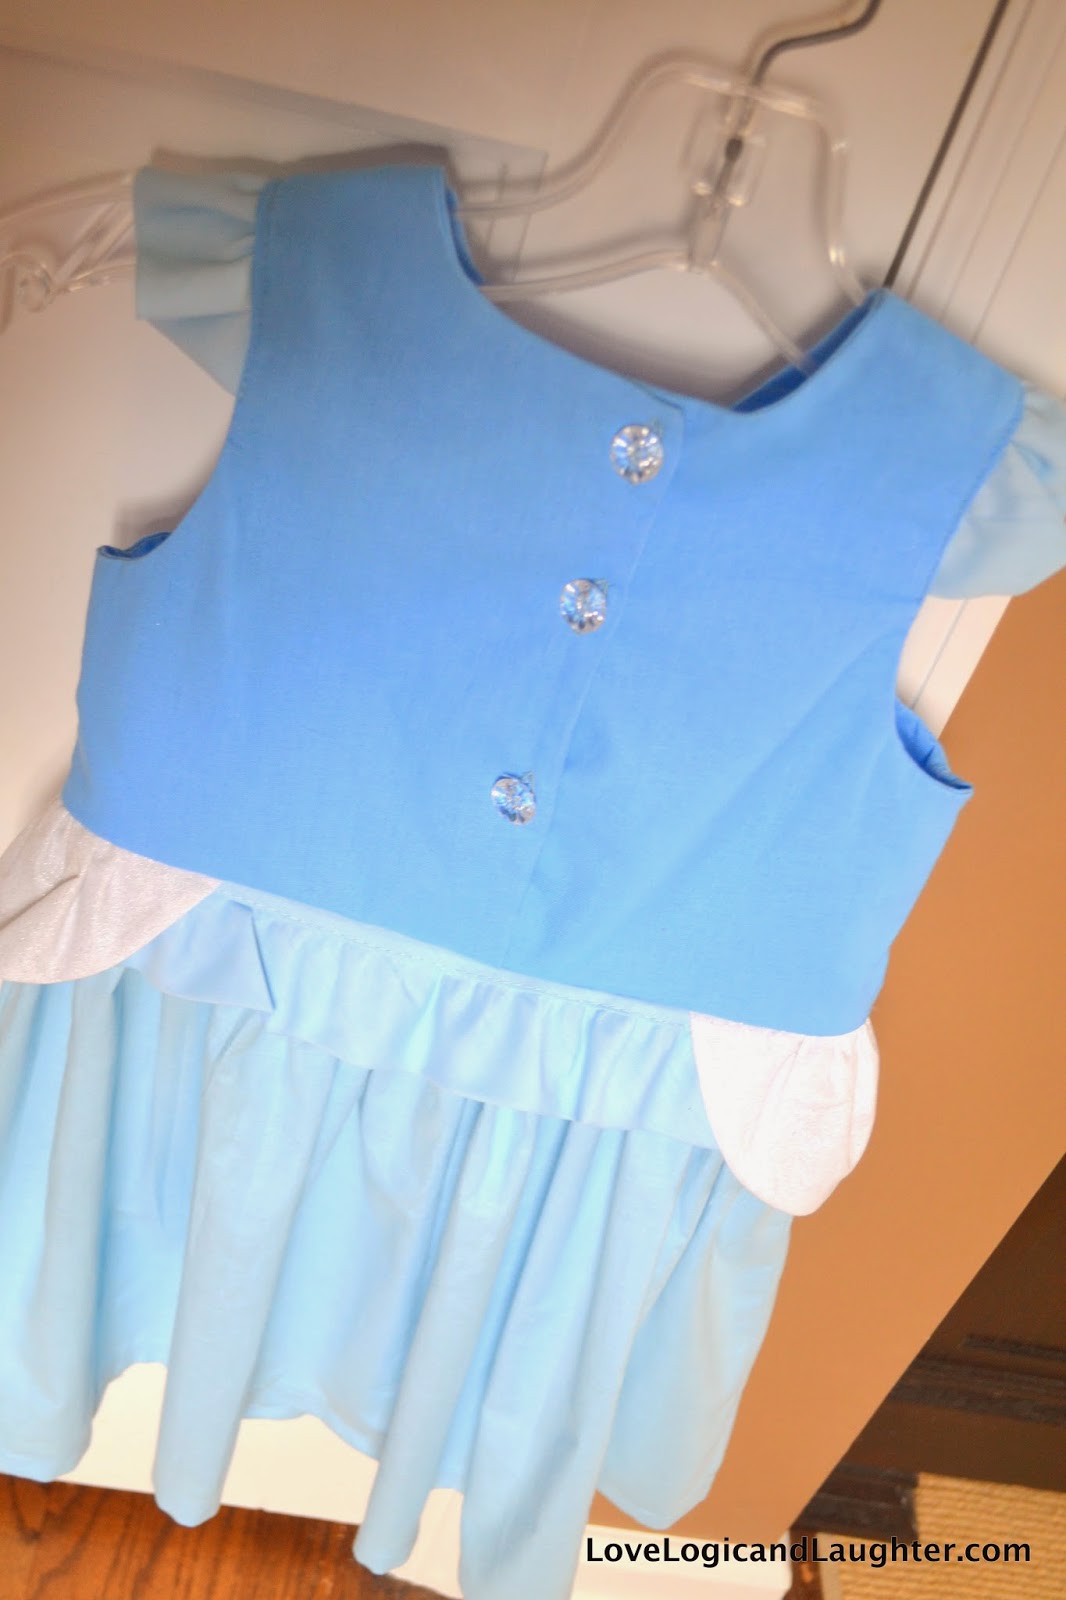
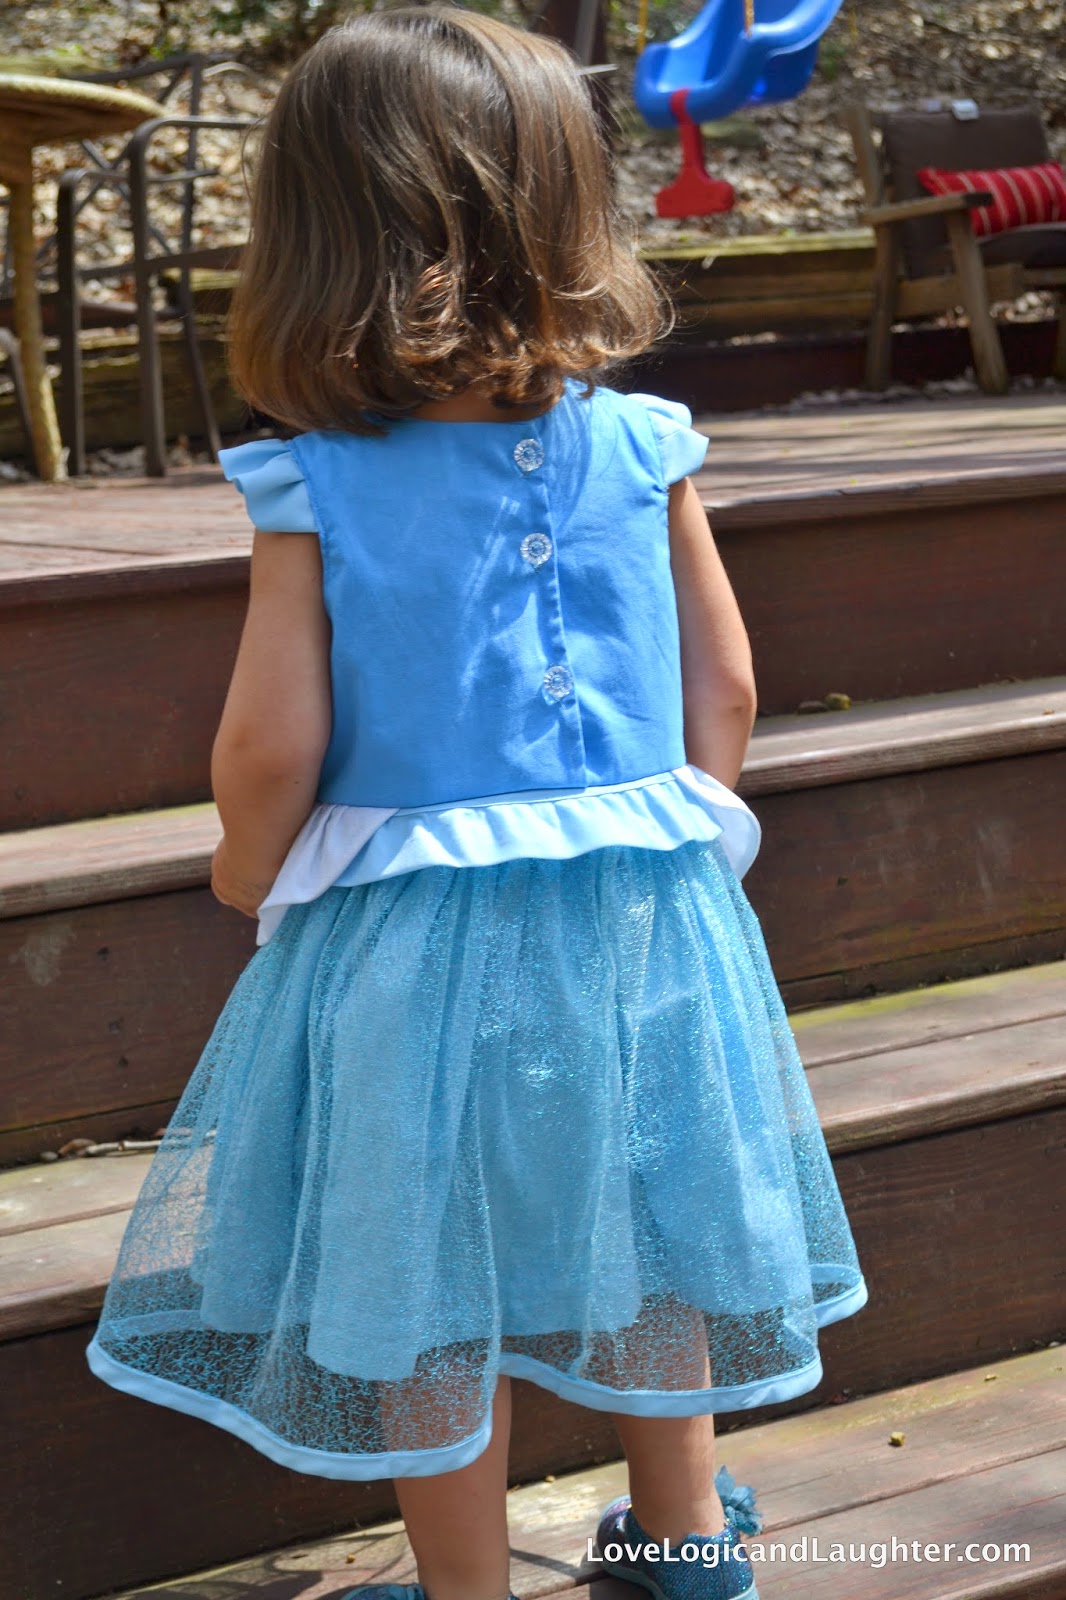
Cinderella’s dress has puffy sleeves that are slightly lighter in color than her bodice. I added flutter sleeves to the dress so that they look a little puffy, but are still comfortable on a toddler’s arms. I will post soon on how to make flutter sleeves but it is very simple and only requires a gathering stitch to get them to look “fluttery”.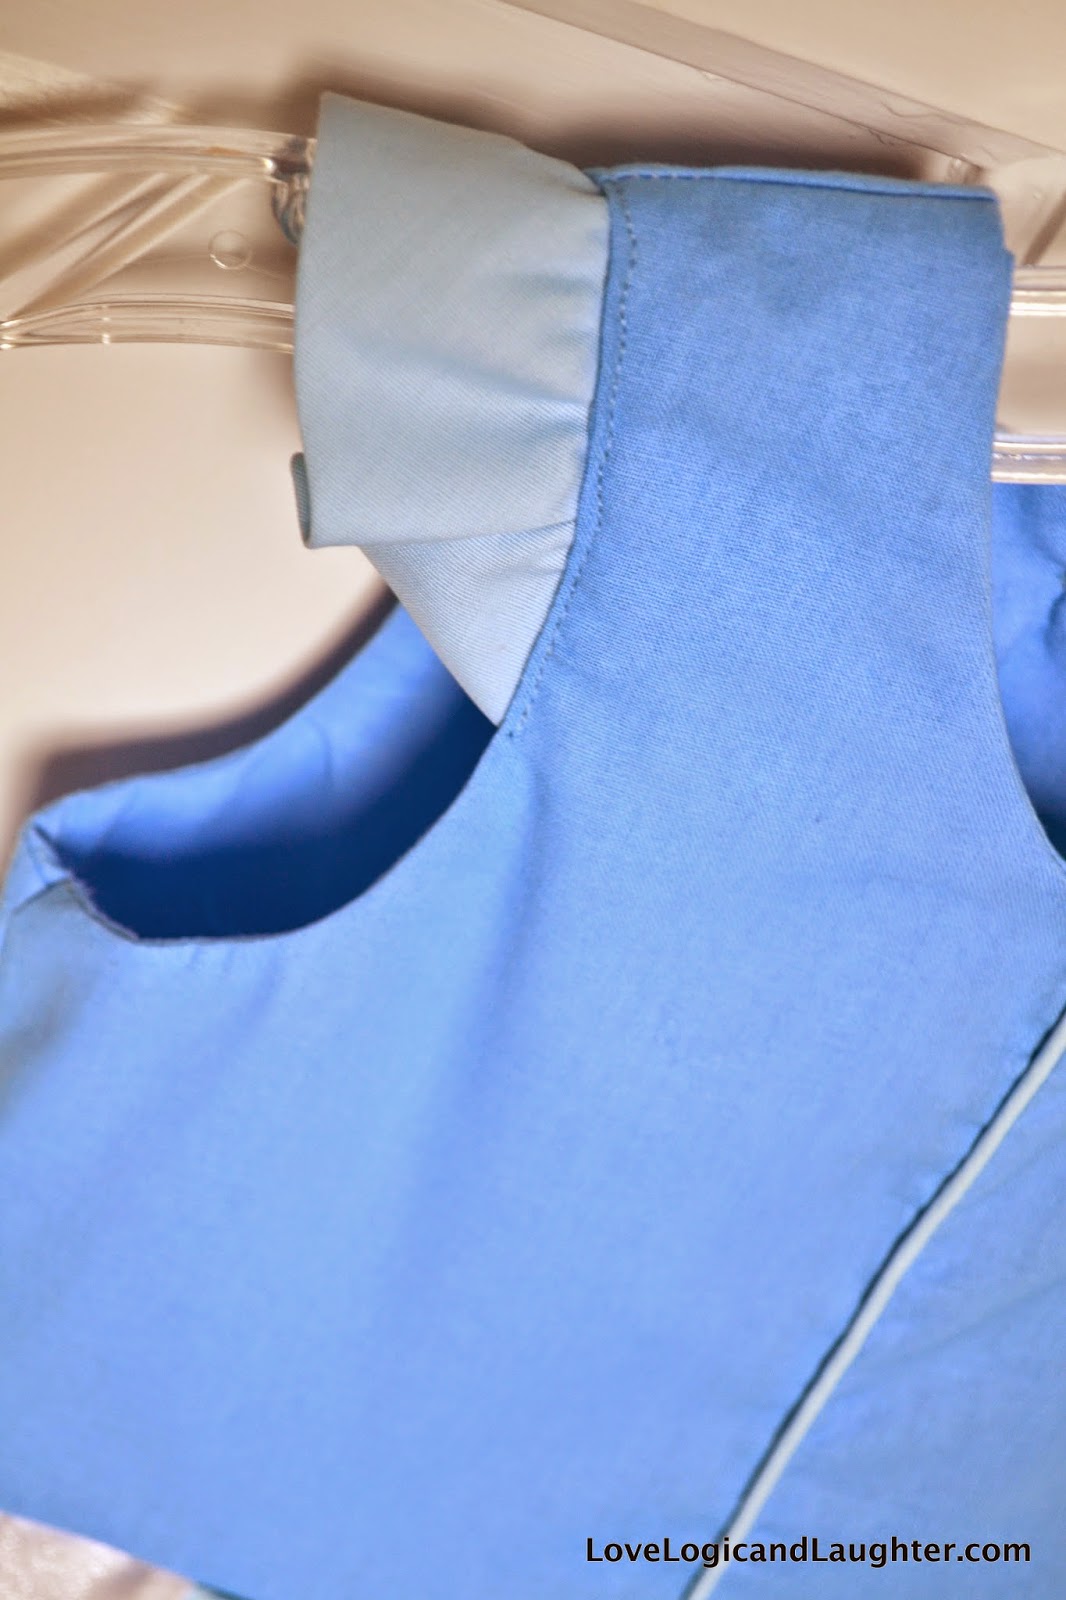
White Ruffle On The Hips:
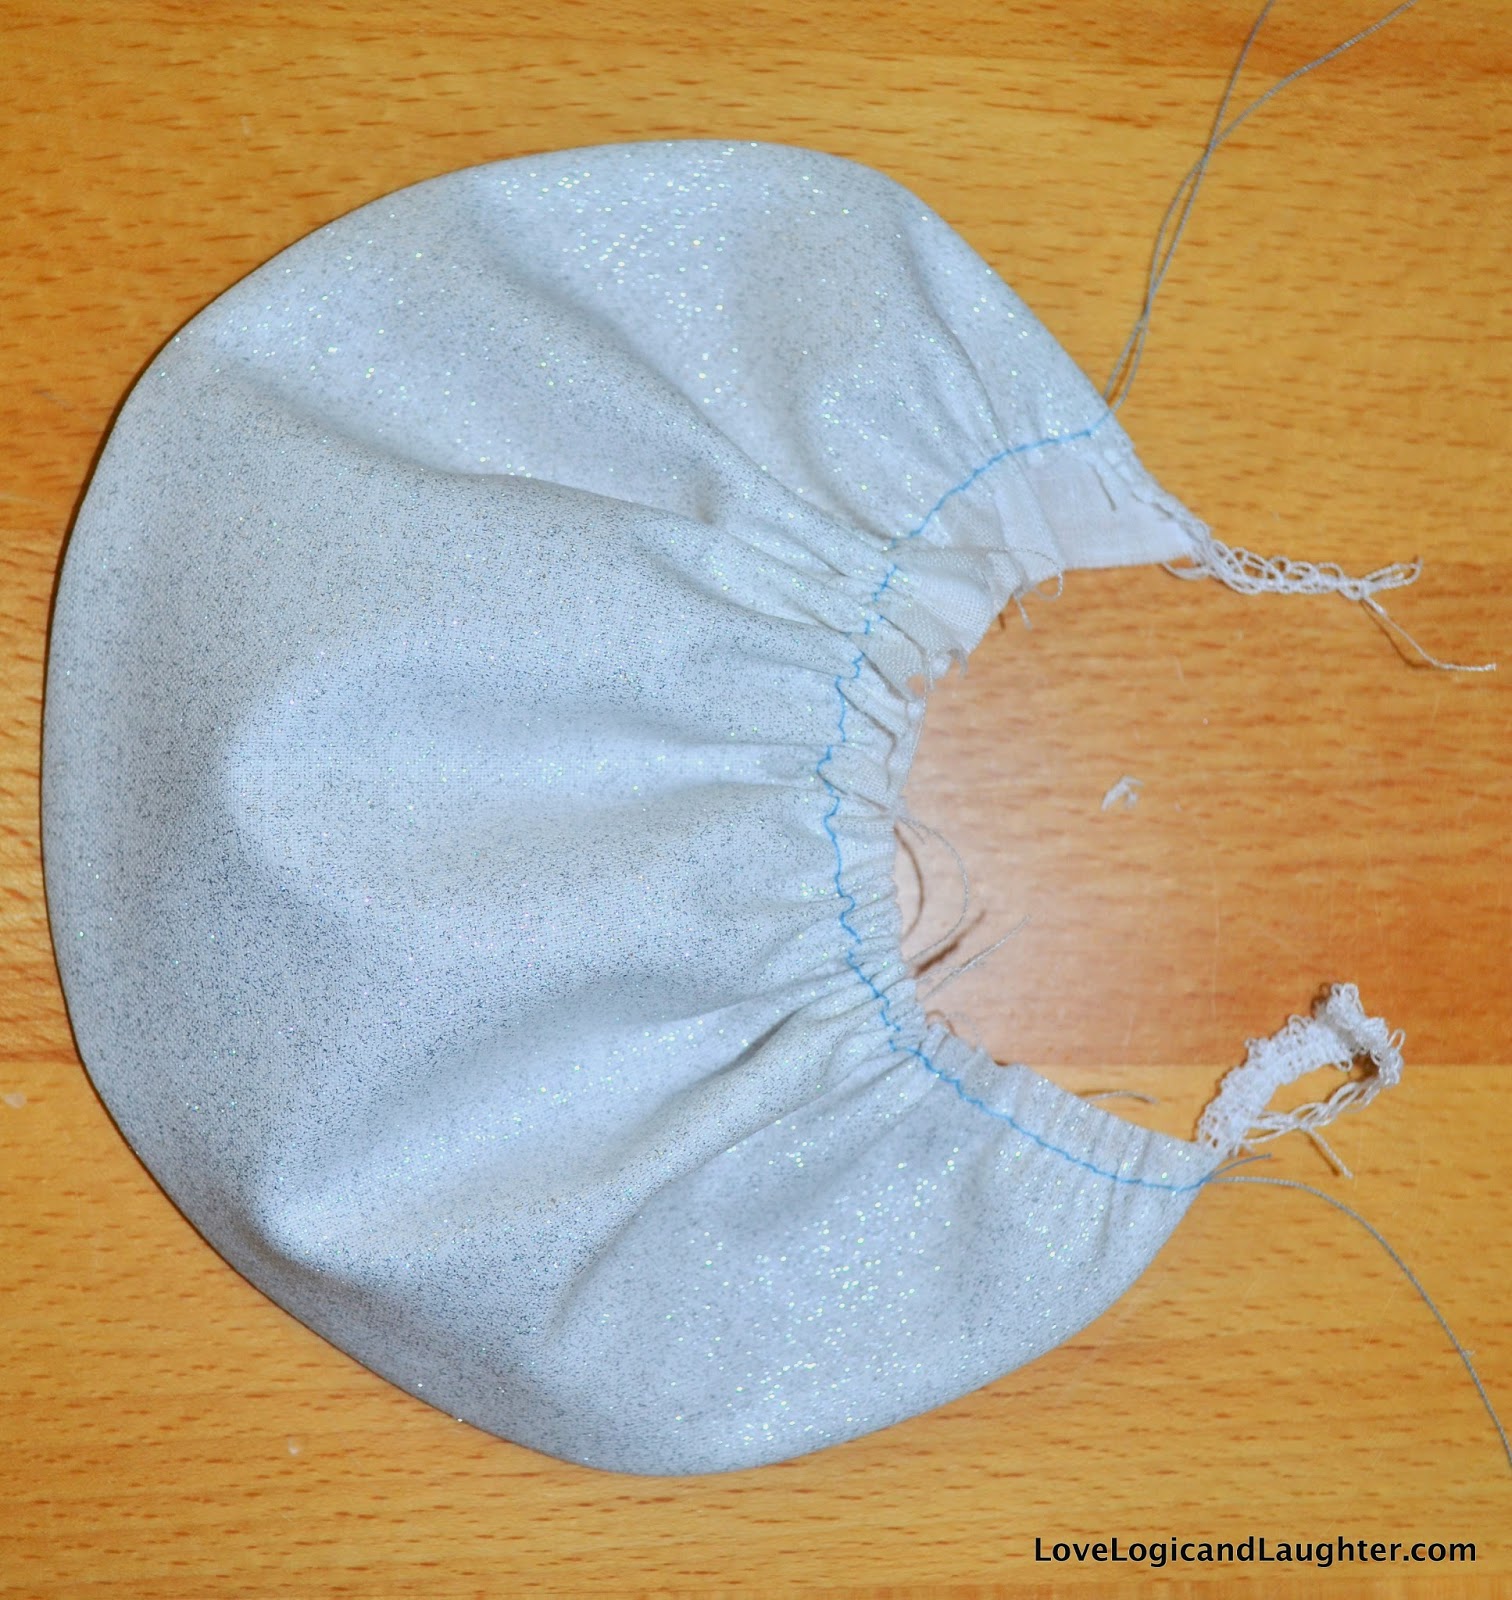
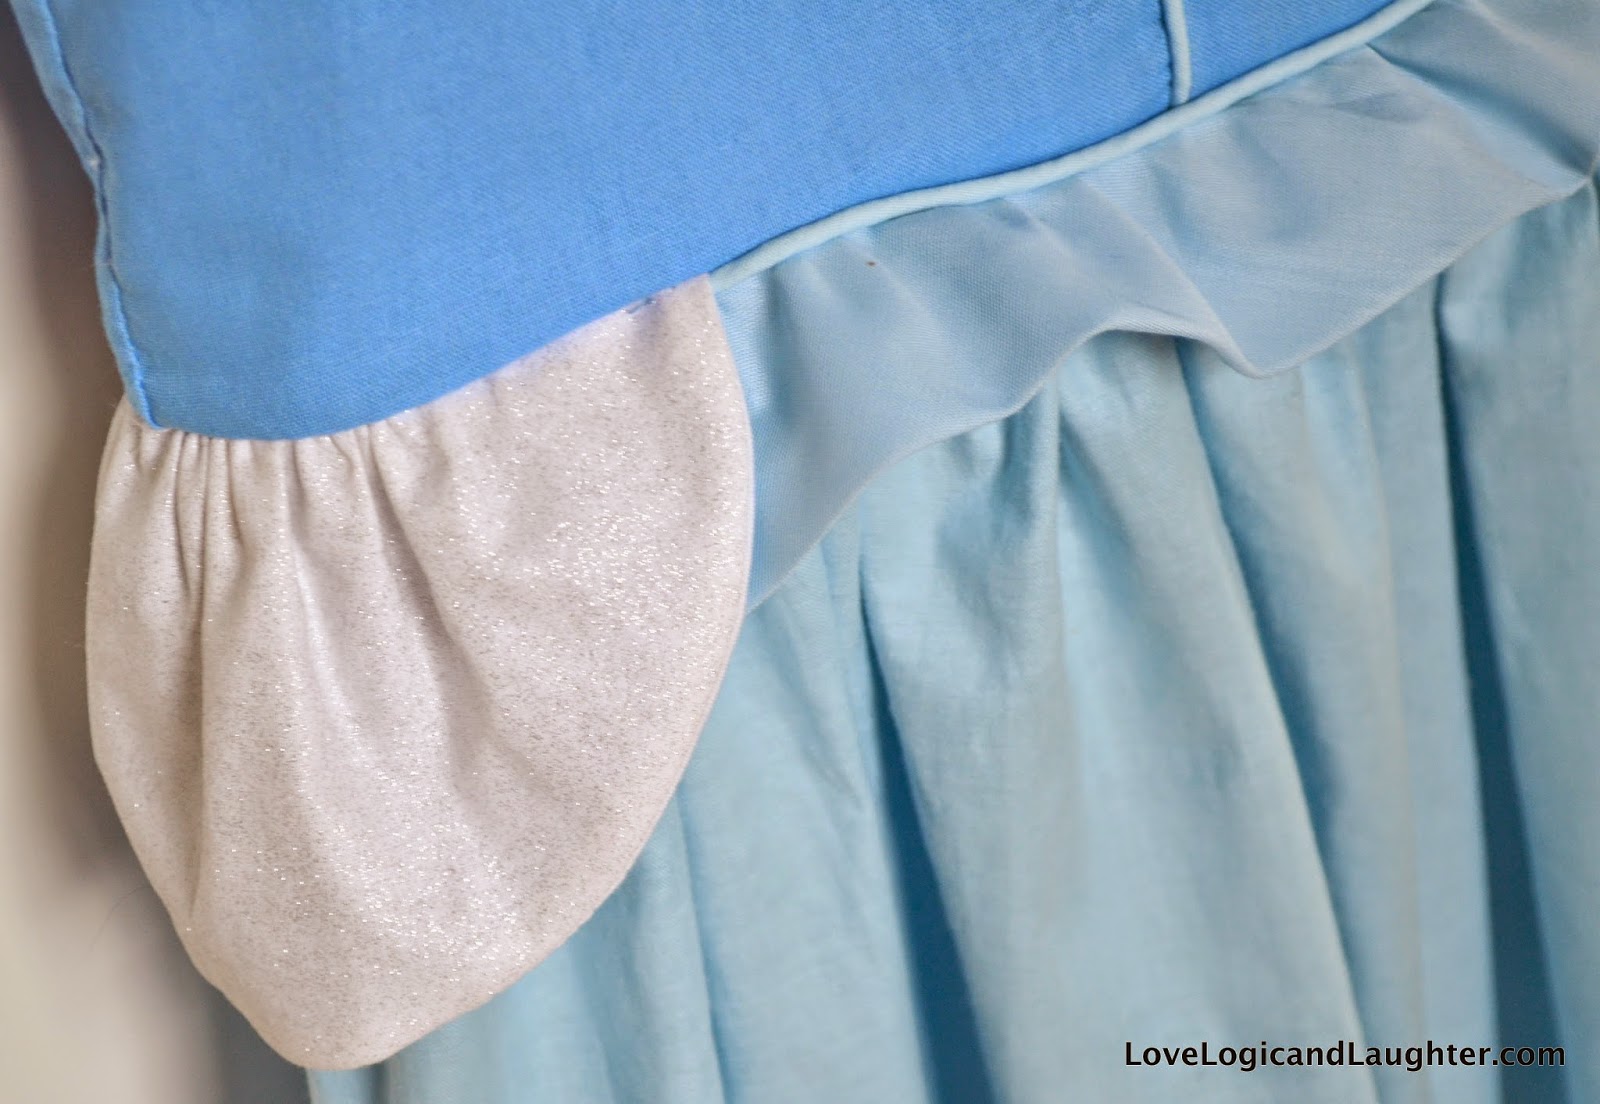
I made the white ruffles much smaller than Cinderella’s. I didn’t want them to be cumbersome and I was trying to make the dress as lightweight and comfortable as possible. You could easily make these bigger. I made these the same way I made the flutter sleeves. 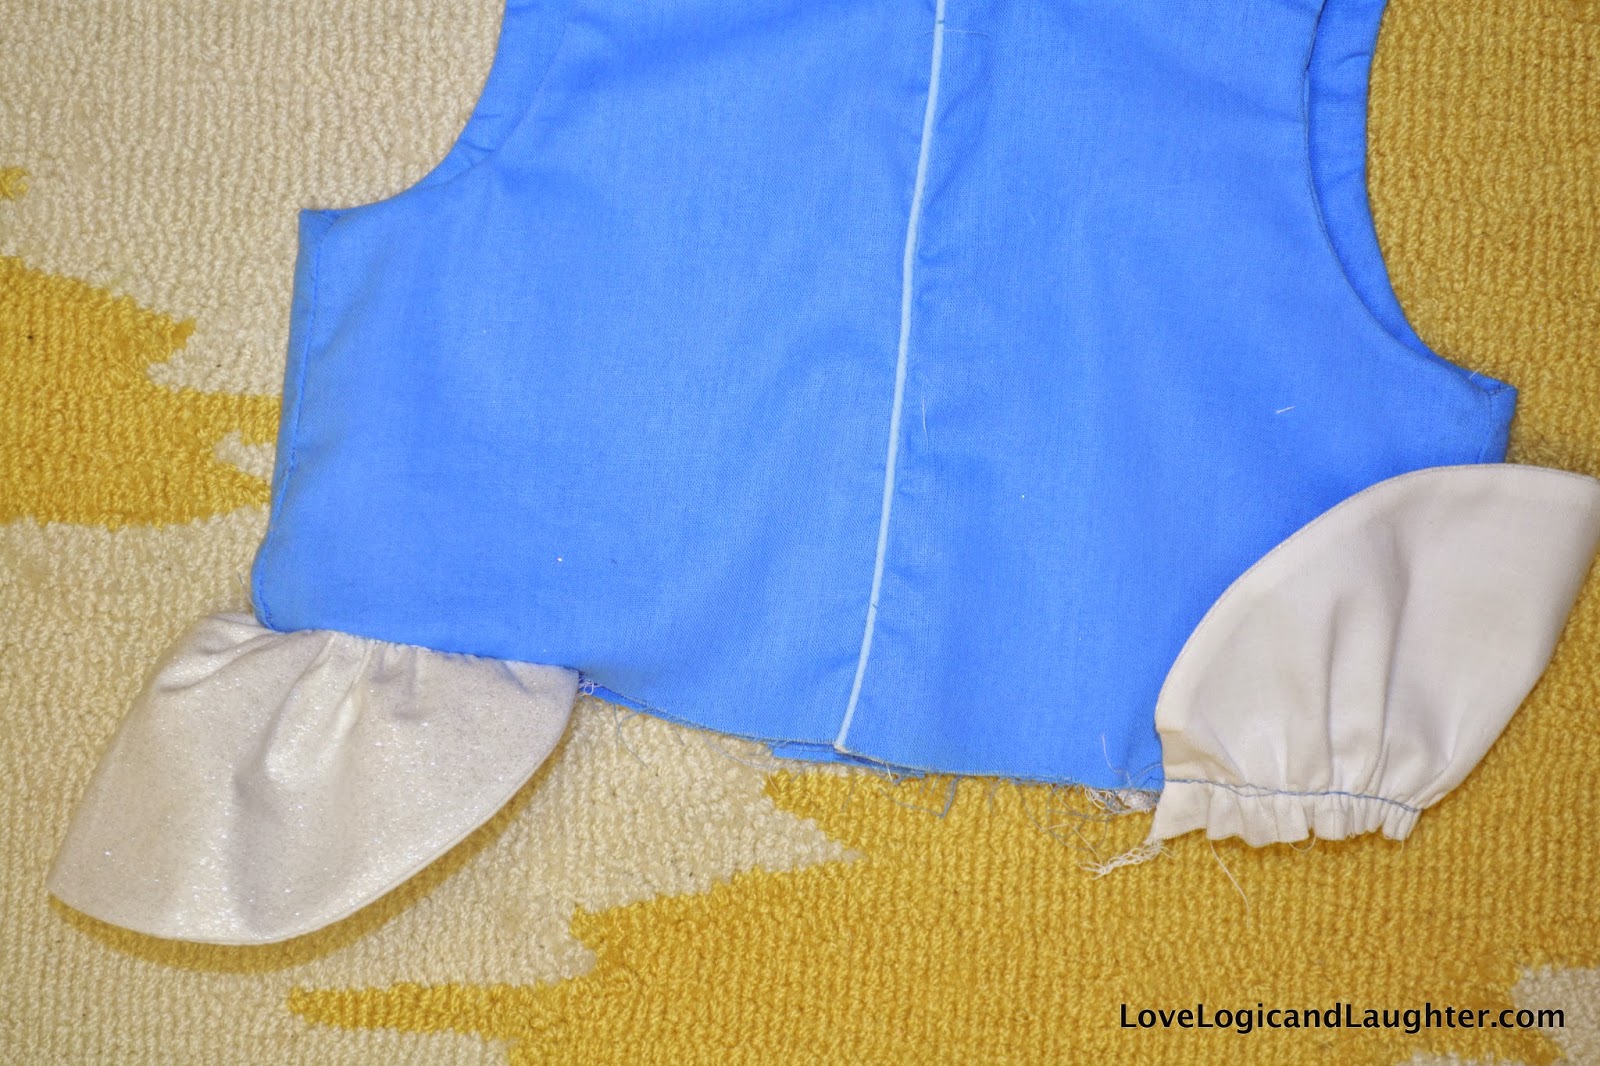
Ruffles:
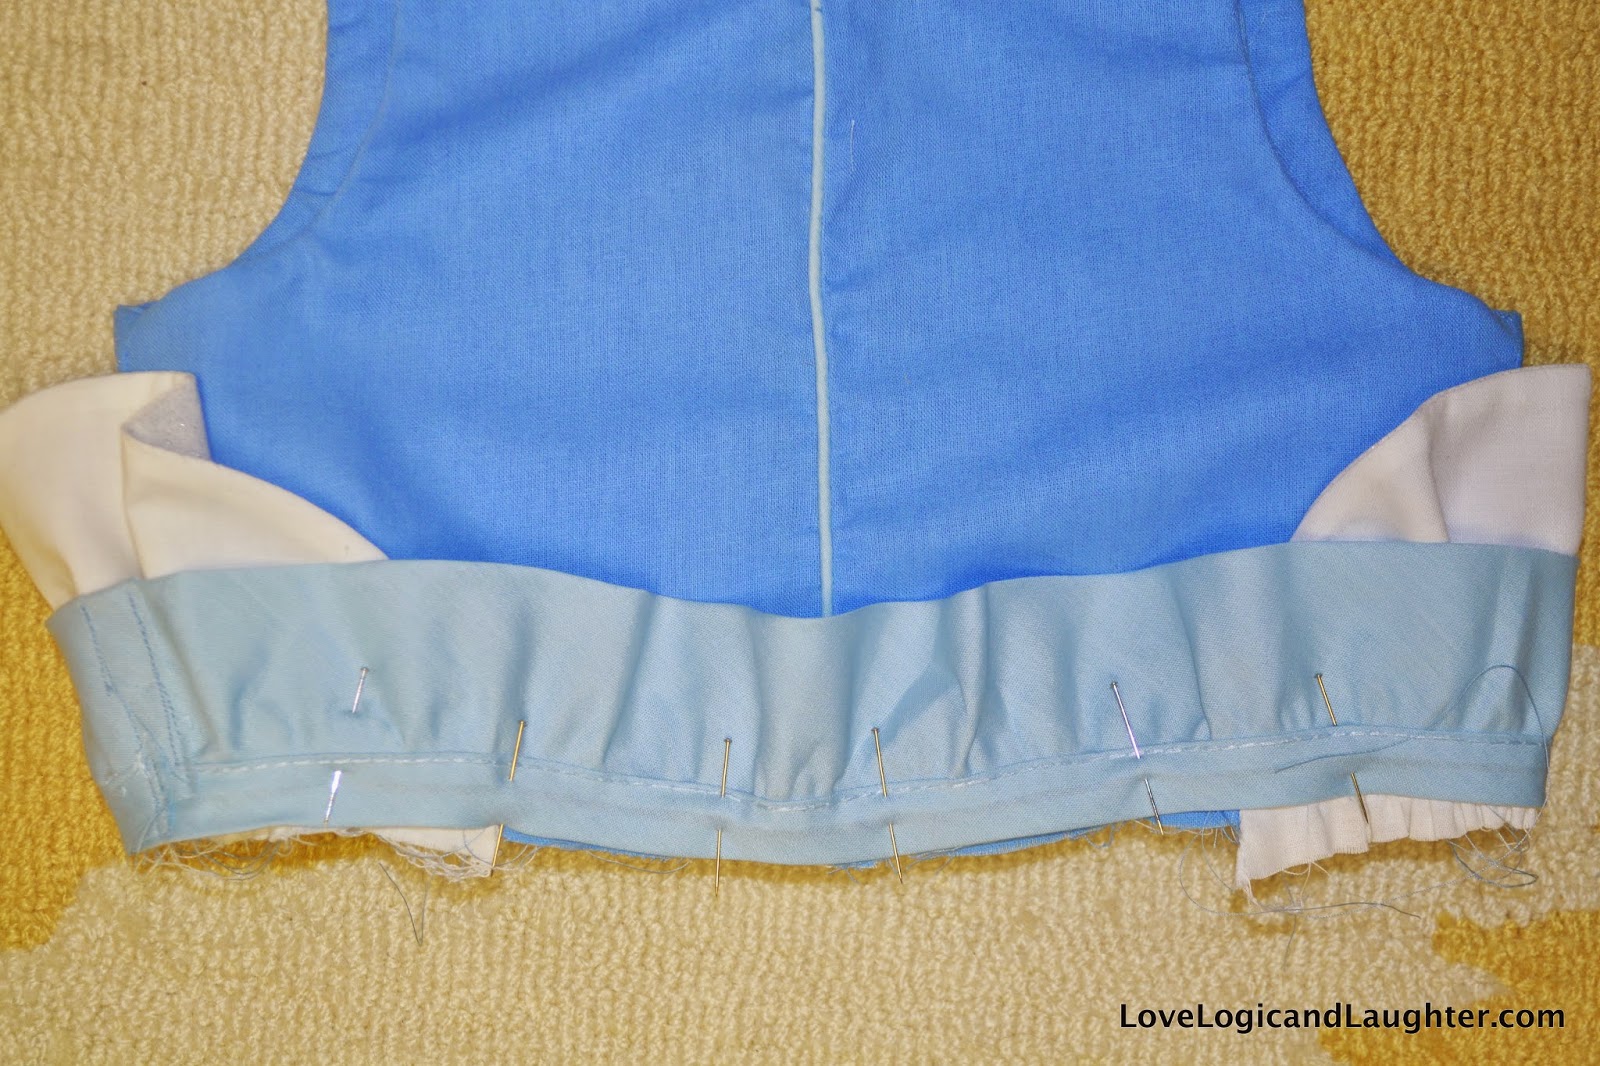
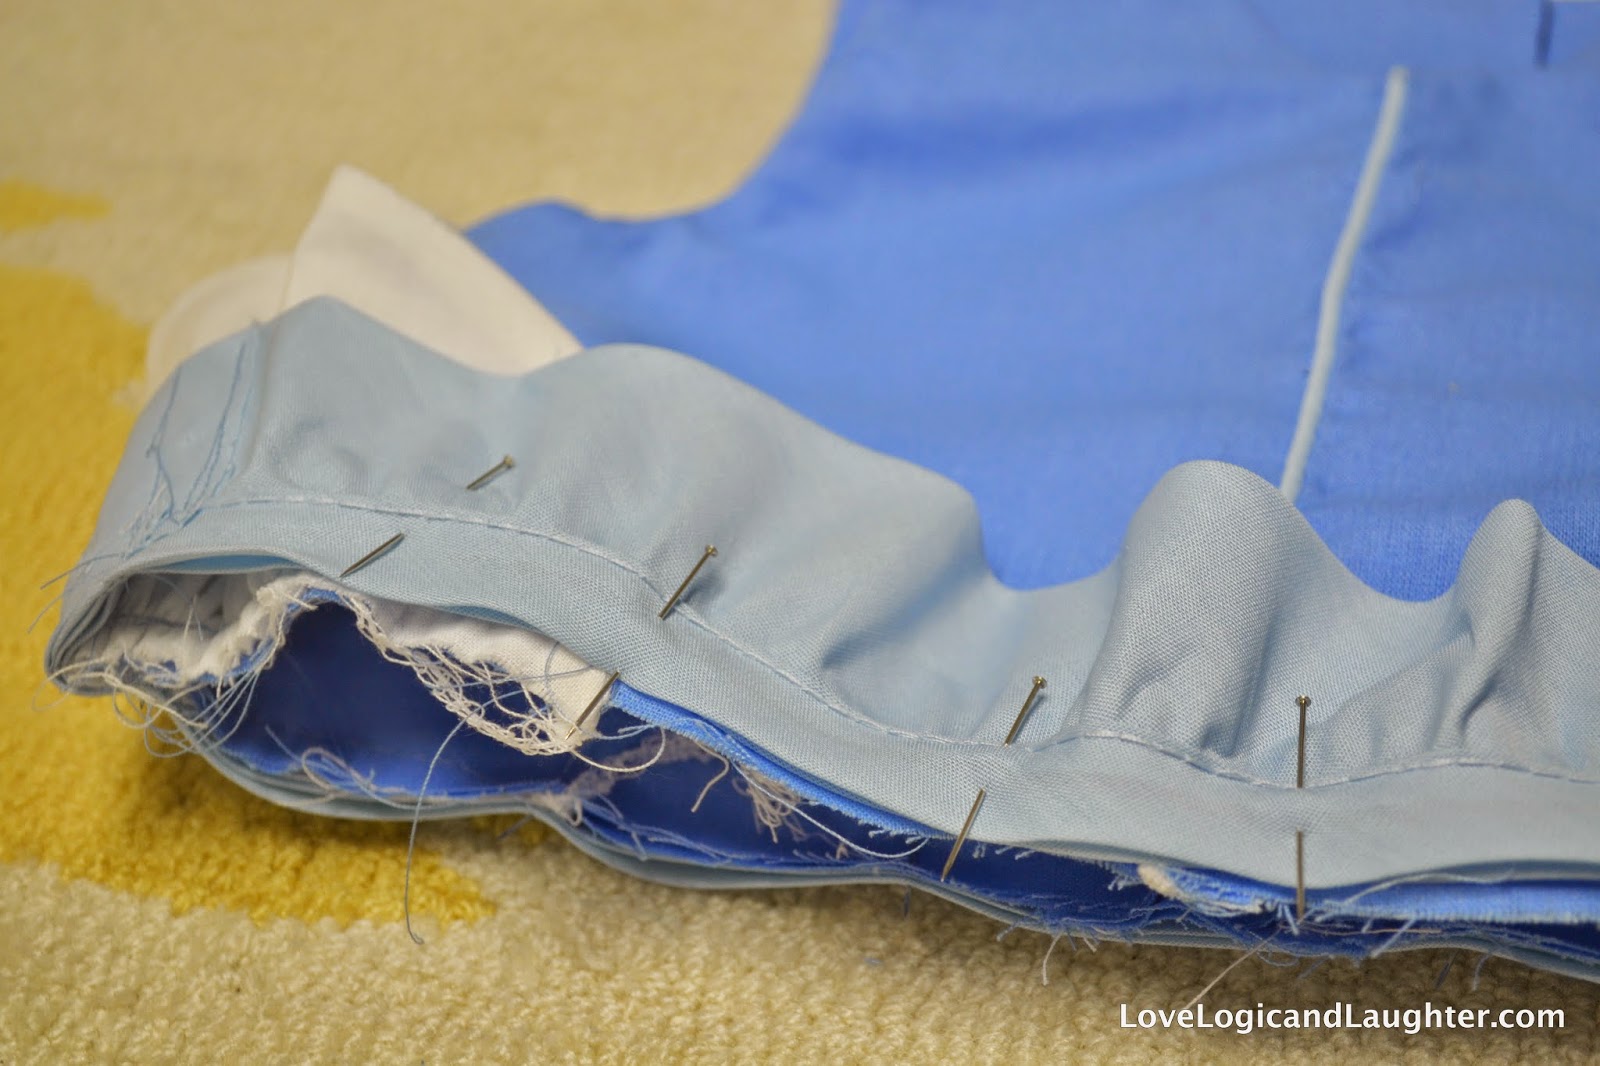
I added a small blue ruffle around the waist so that it looked more like a princess dress. In the ribbon area of Jo-Ann Fabrics I found the pre-made blue ruffle, but you could also make your own and add it the waist.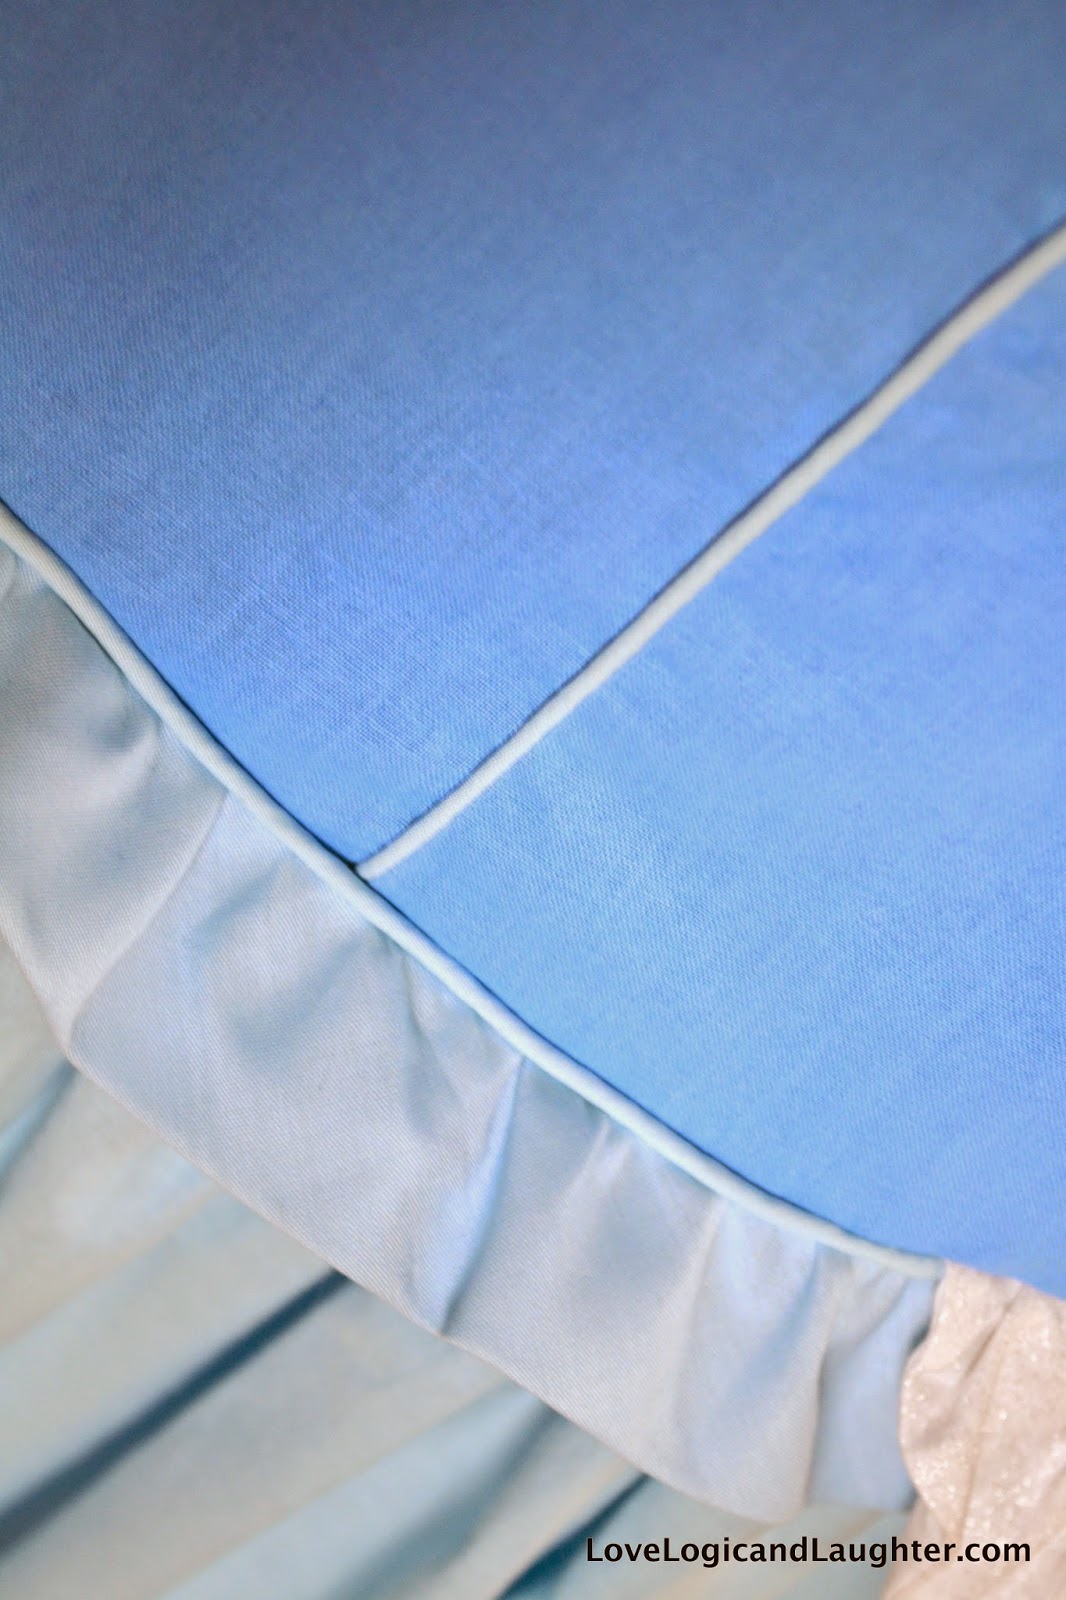
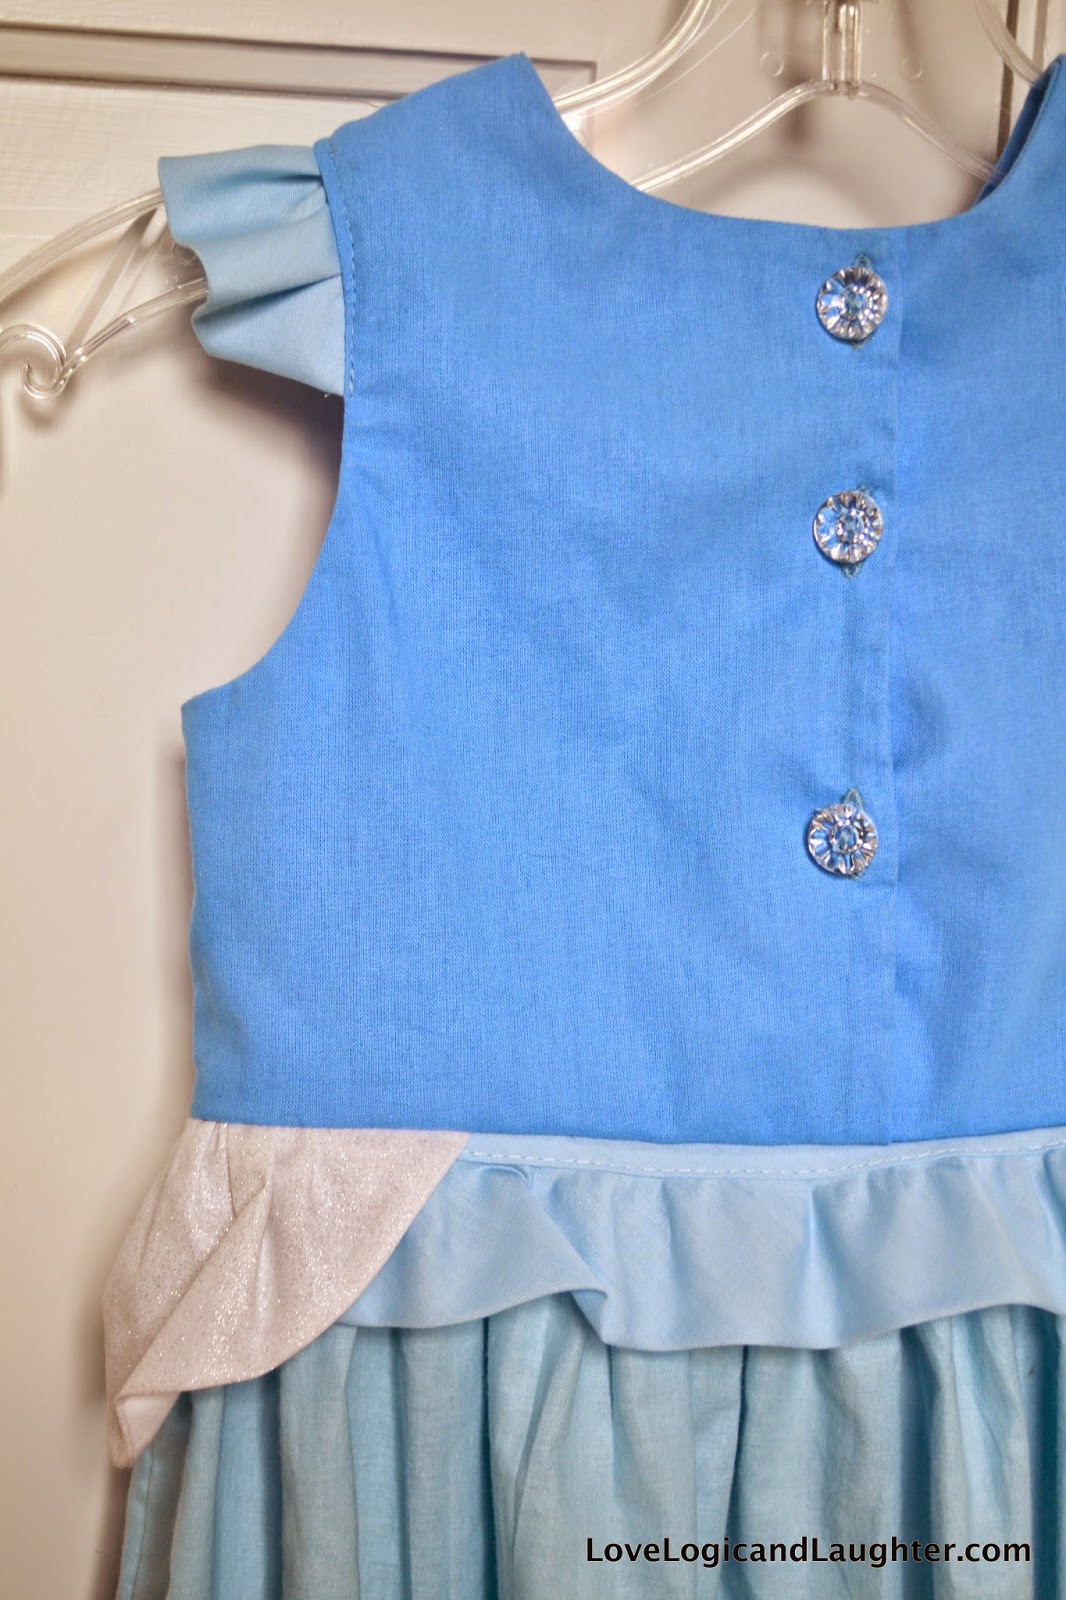
Here are a couple photos of how I layered the fabrics onto the bodice before adding the skirt: