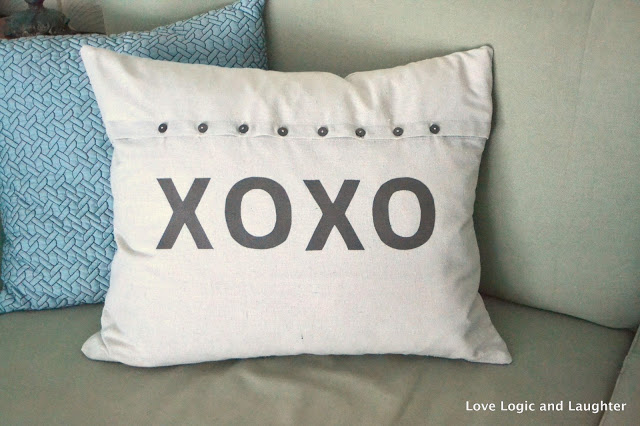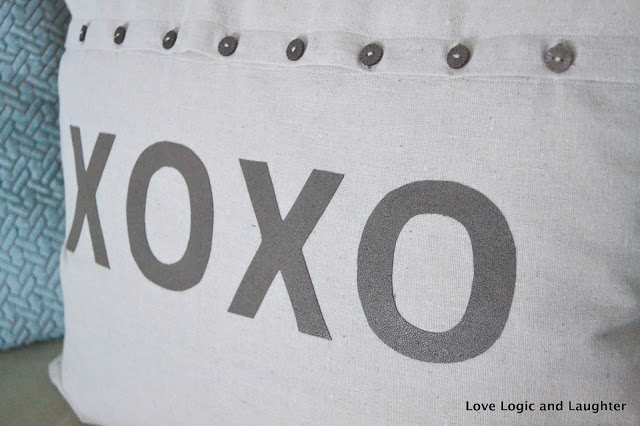
This tutorial could work for any season. I will link the XOXO template that I made for you to download, but you could easily make your own template (maybe a reindeer for Christmas or a shamrock for St Patty’s Day?).
I used a pillow form bought at IKEA. We already had it and it wasn’t being used. If you don’t have any extra pillow forms laying around than I would go to Ross’s or T.J. Maxx and find the cheapest (but comfortable) pillow they have and recover it.
For more pictures of the finished pillow click here: Valentine Pillow
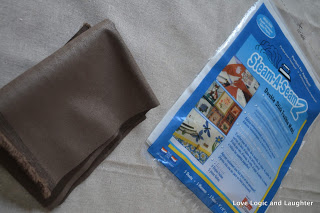 Supplies:
For my pillow I needed:
- 3/4 yard for pillow case
- 1/4 yard for XOXO Embellishment
- half a sheet of Steam-A-Seam 2
- Coordinating buttons
- Coordinating thread
XOXO Template:
Click HERE to Download the XO that I used.
If using a pre-made pillow case scroll down to the ****** for the how-to on just adding the XOXO.
There are no exact measurements for this – hence the reason it is not a pattern, just a tutorial.
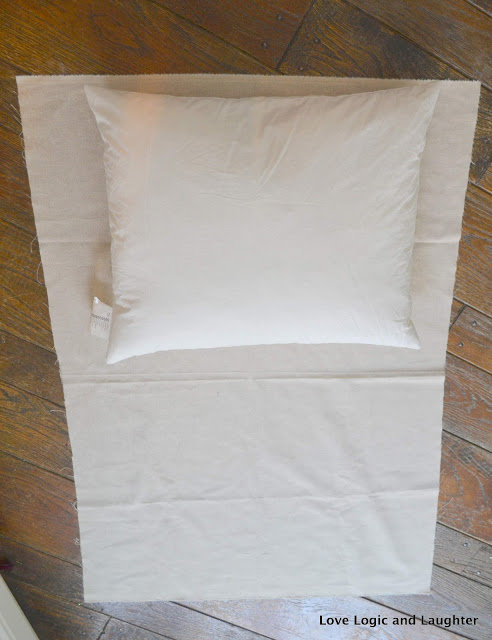
I first laid my pillow form onto my fabric. I had 3/4 yard from another project left over – so that is what I used. 3/4 of a yard was perfect for my pillow.
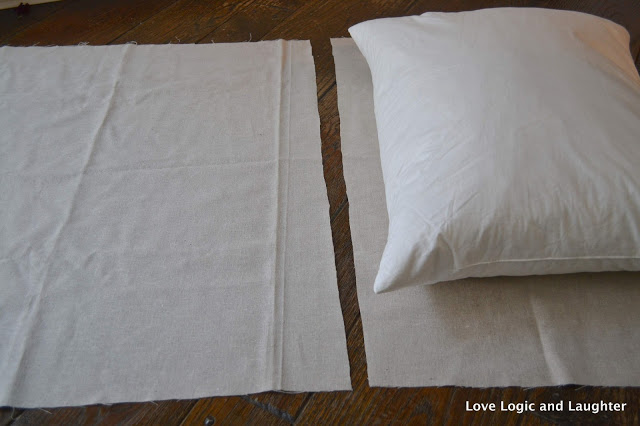
I cut my fabric so that I would have enough for the back of the pillow case.
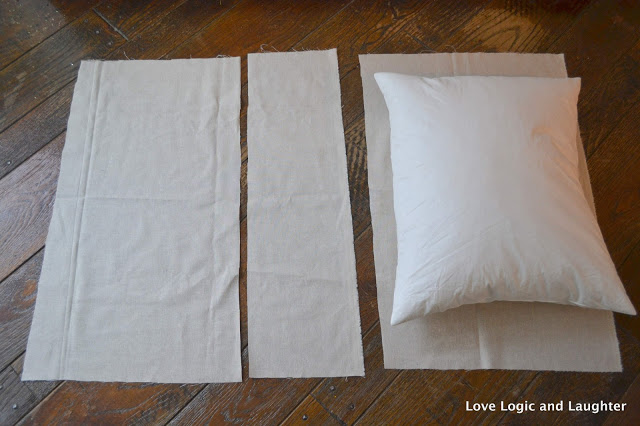
I then cut the other side (the front) as shown above. This will be the front with the buttons.
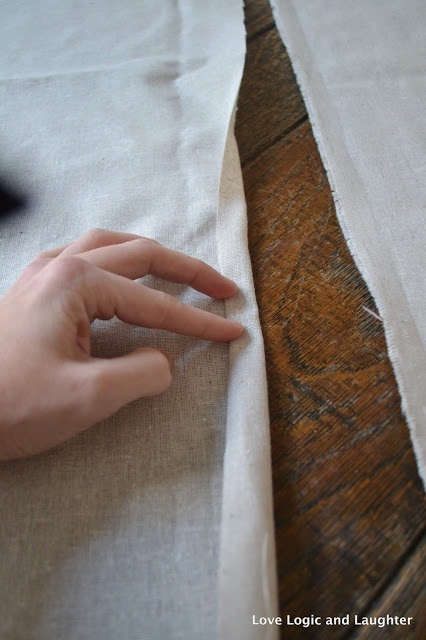
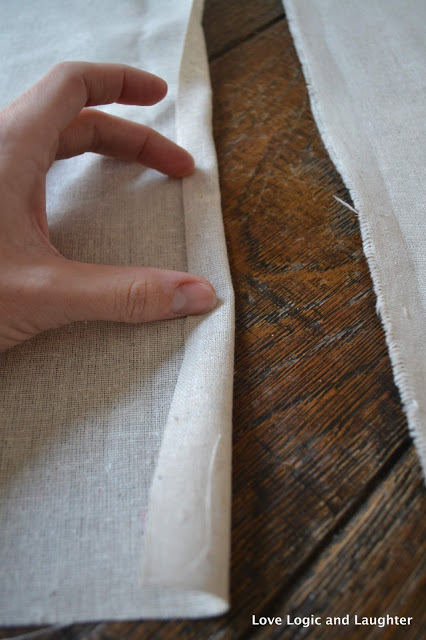
I folded, pressed and then sewed my edges that would be the flap for the pillow (where the buttons will be sewn).
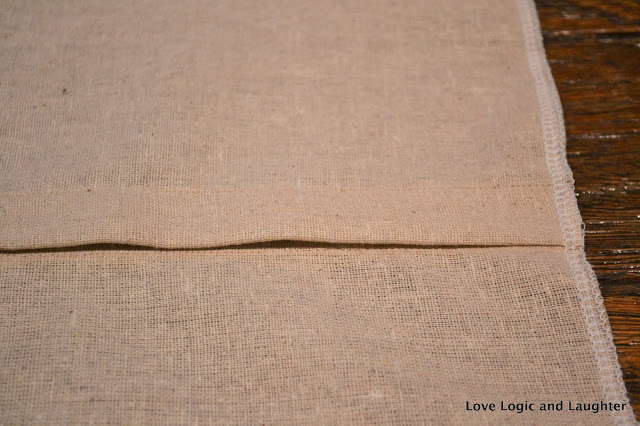 You can see the edges that were folded over twice, pressed and then sewn.
 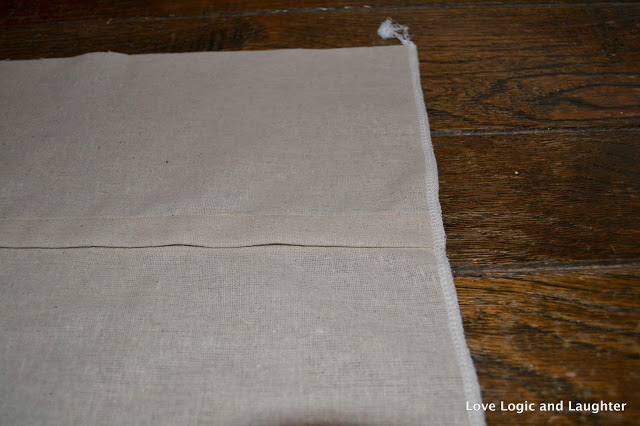 I also serged the pieces together to make the whole front.
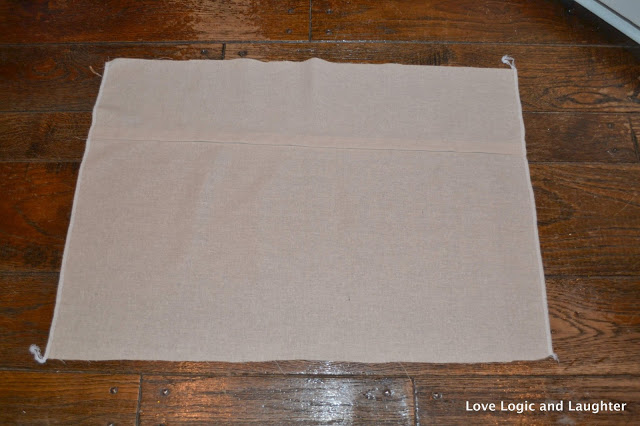
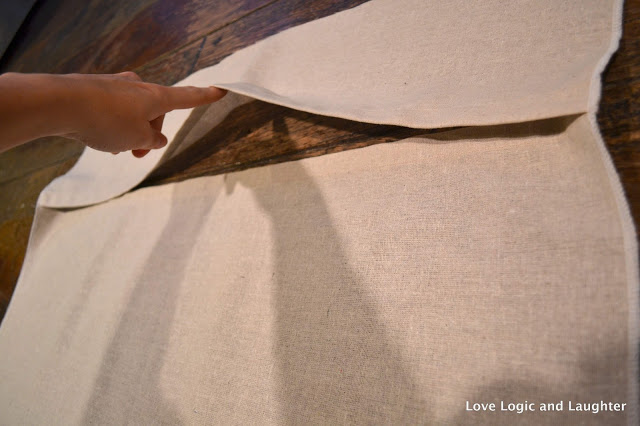
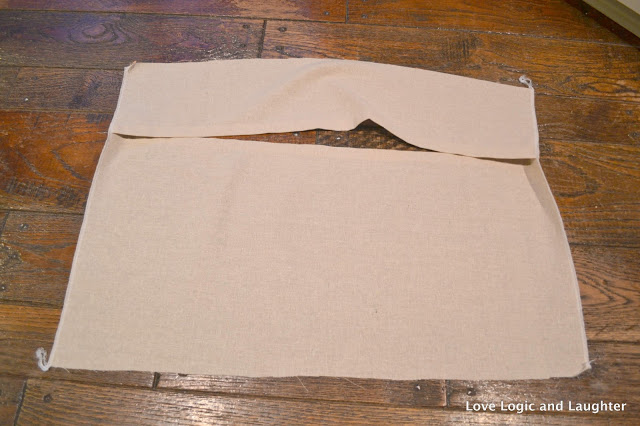
This is the front of the pillow (above).
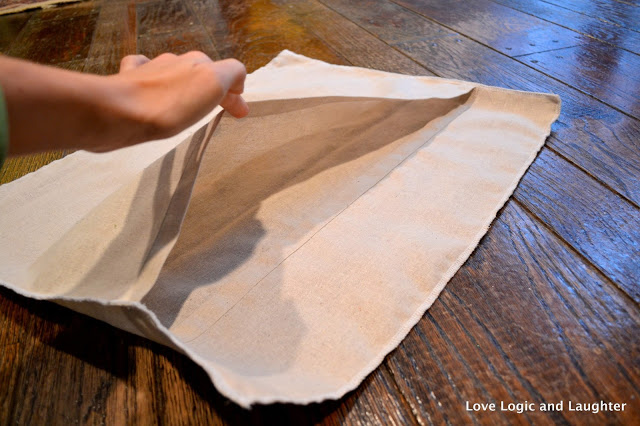
I then serged the front to the back.
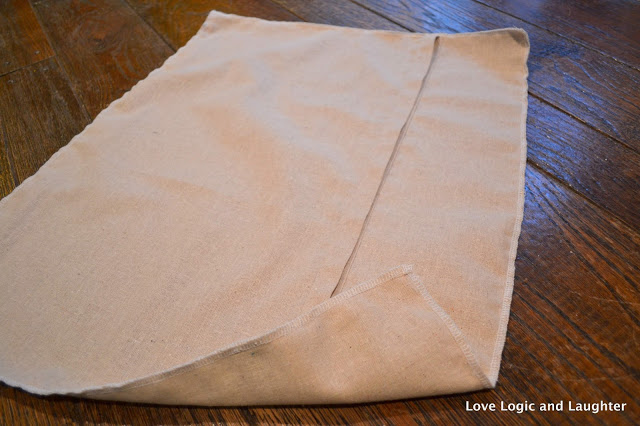
I reinforced my serged edge with a regular stitch.
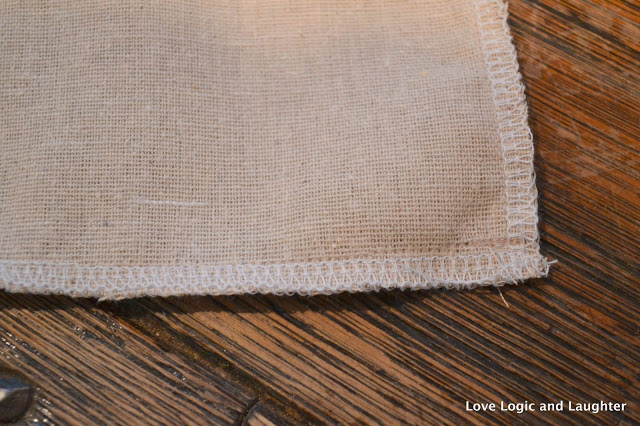
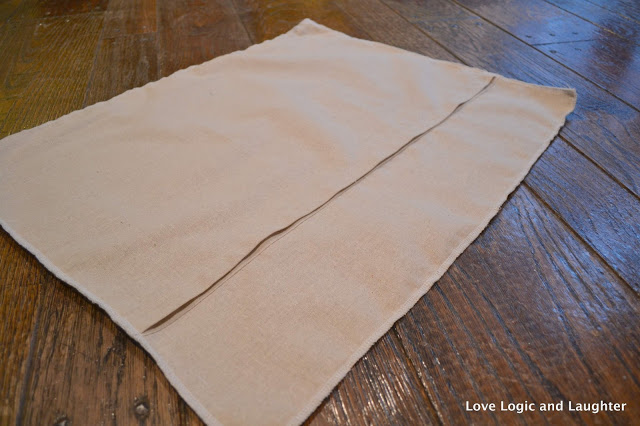

The above two pictures are the finished pillow case right side in (before I turned it right side out).
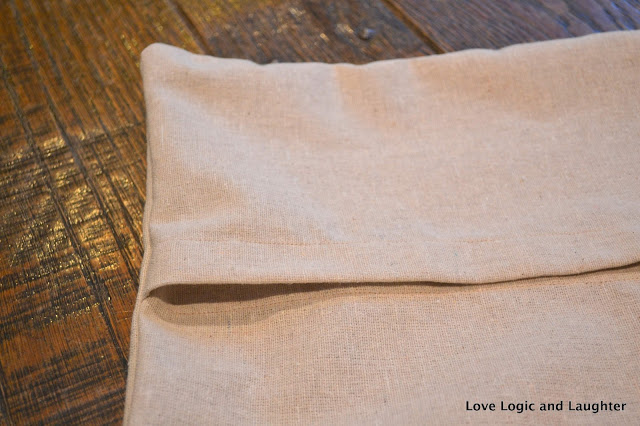
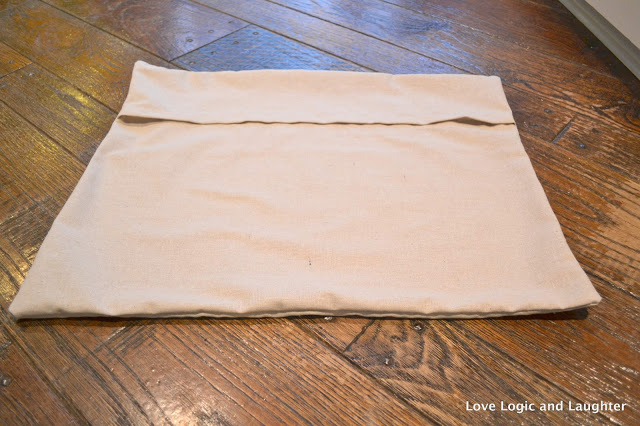
The two pictures above show the pillow case turned right side out. Just need to add the buttons to finish the pillow case.
*************** IF USING A PRE-MADE PILLOW CASE START HERE *****************
You are essentially going to follow the directions on the Steam-A-Seam package, but here are some of my pictures to help you along.
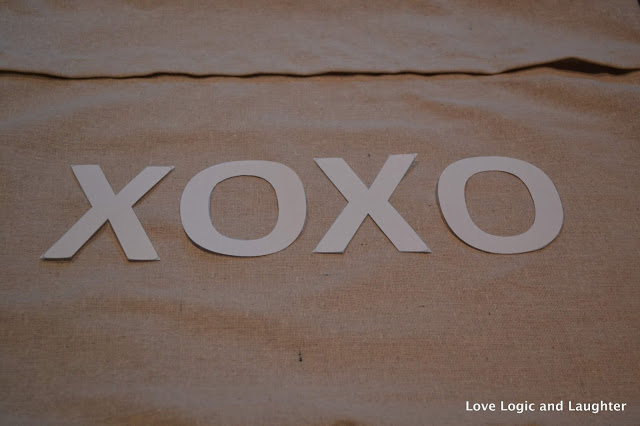
I then cut out my X’s and O’s on regular paper to test the sizing and placement.
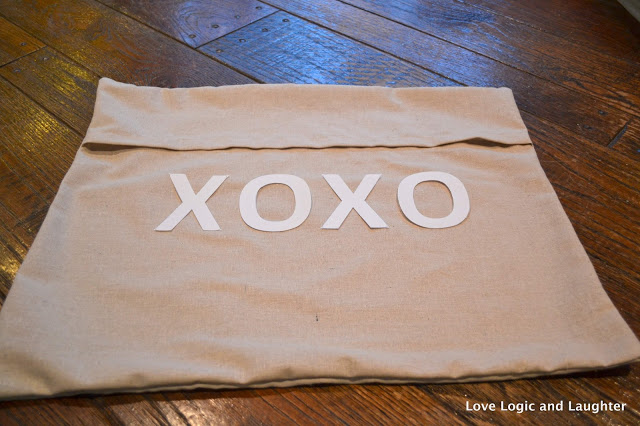
Once I was happy with the sizing and placement, I cut out a piece of Steam -A -Seam 2 that would fit my XOXO.
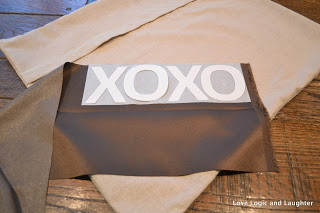
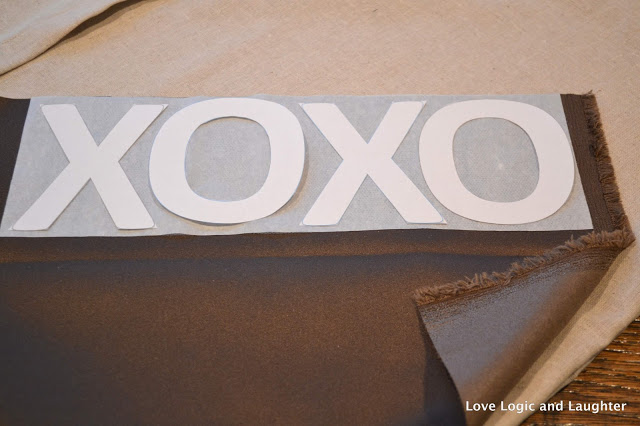
I followed the directions on the Steam-A-Seam 2 packaging and ironed one side of the Steam-A-Seam to the wrong side of my XOXO fabric.

I then traced my XOXO to the Steam-A-Seam and cut out my X’s and O’s.
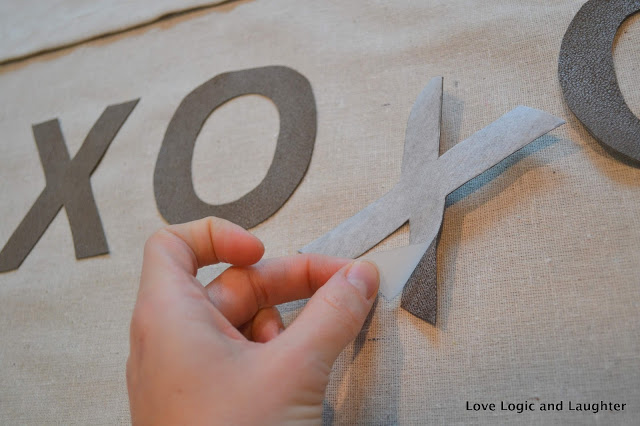
I then peeled off the other side of the Steam-A-Seam and stuck the X’s and O’s to the front of my pillow case.

They can be moved around a bit at this point so make sure you like where they are.
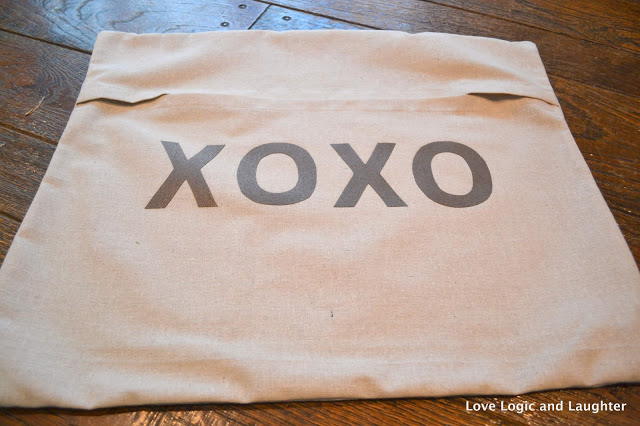
Iron the XOXO onto the pillow case to permanently adhere the two fabrics.

Here it is before adding the buttons.
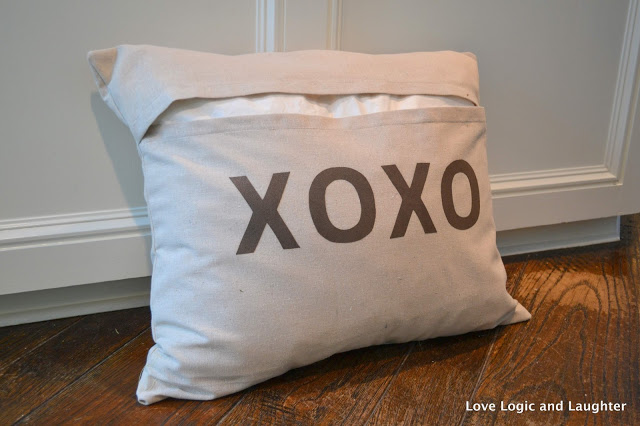

Decide what buttons you want to use – I decided on using several small buttons to add some detail to the pillow. I sewed my button holes and then then added my buttons.

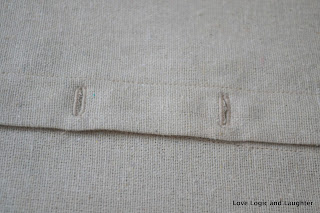
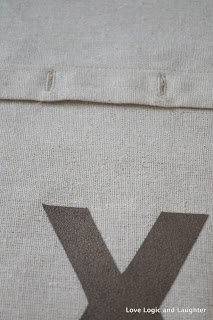
Walla! Finished XOXO pillow! For more pictures of the finished product click here: Valentine Pillow
