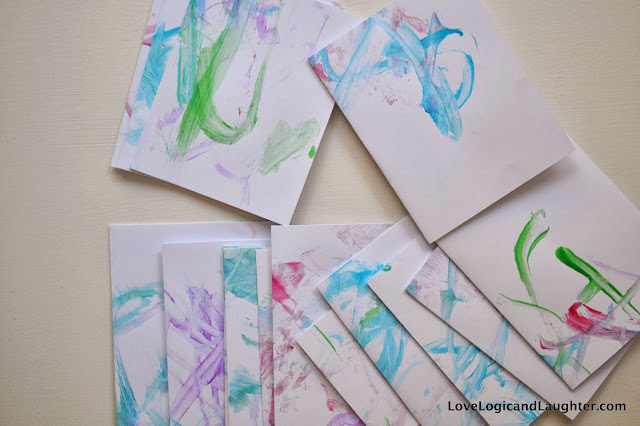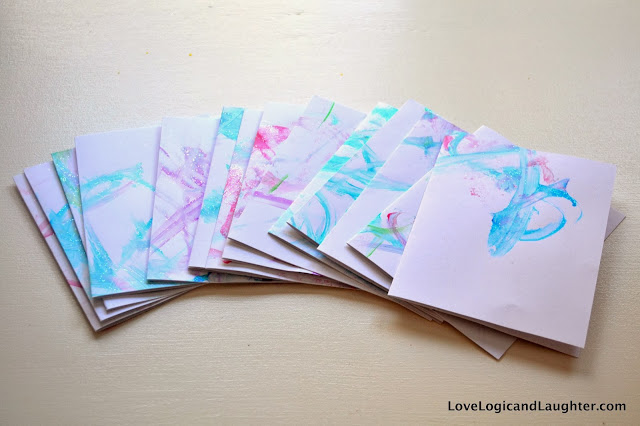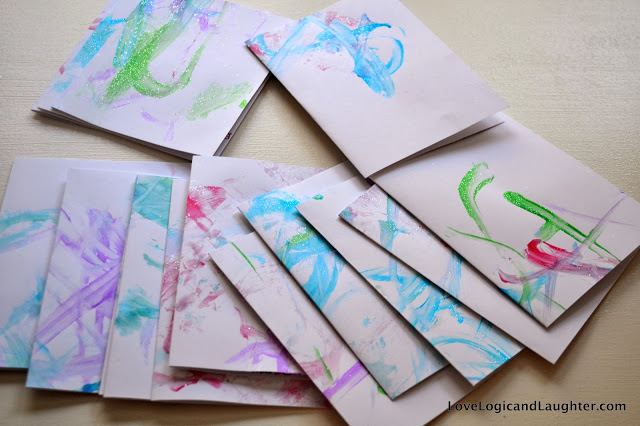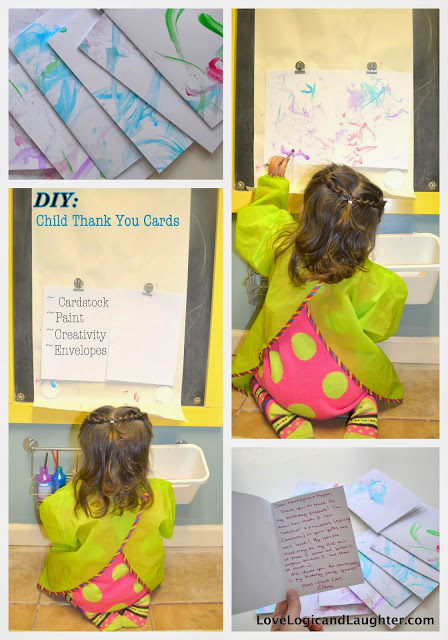
We are blessed to have wonderful family and friends surround us! Eliana was showered with love and presents for her birthday. We wanted to show our appreciation, but Eliana isn’t old enough to write her own thank you cards yet. So we did the next best thing – she decorated the cards and I wrote them!
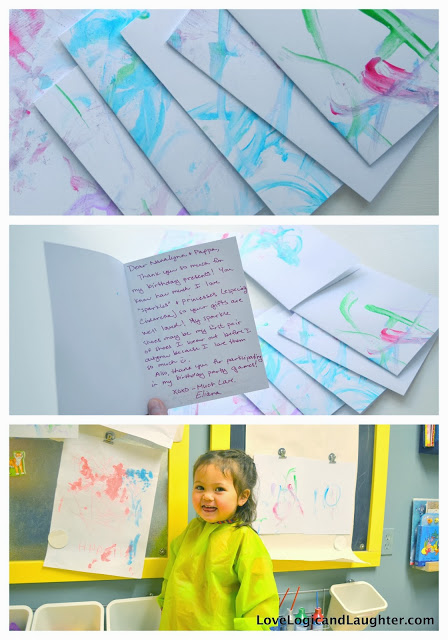
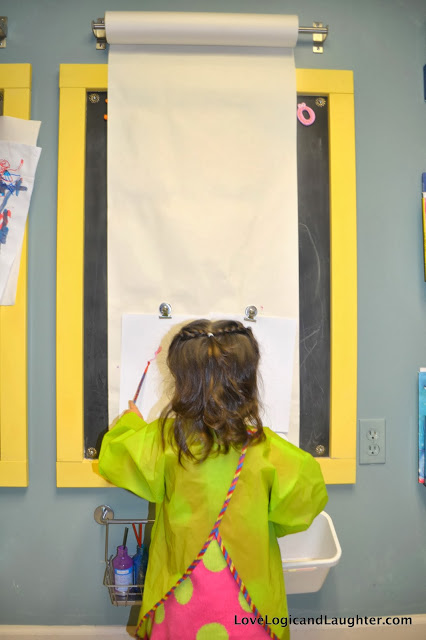
We hung cardstock paper on our magnetic chalkboard, supplied lots of paint and brushes and Eliana used her artistic abilities to create these wonderful pieces of art 🙂
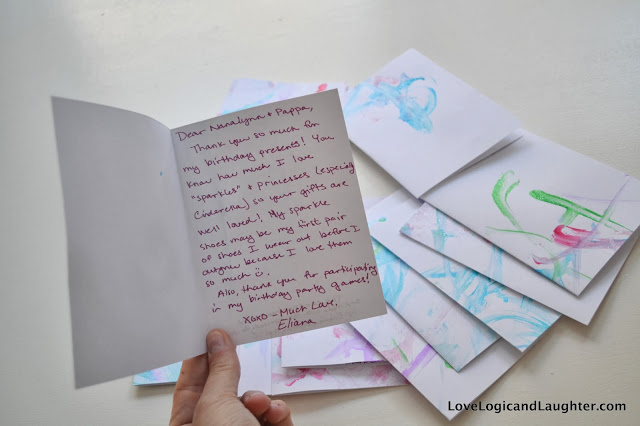
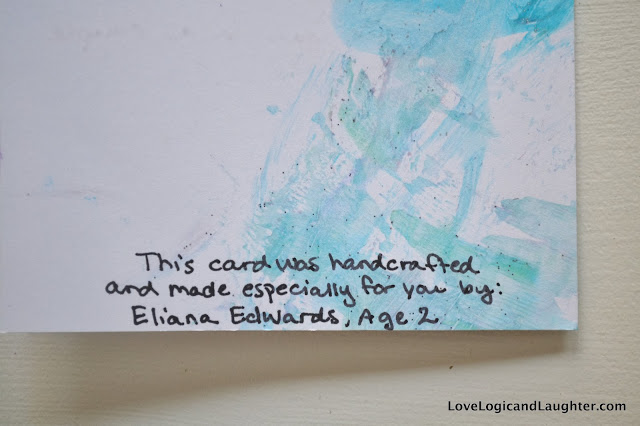
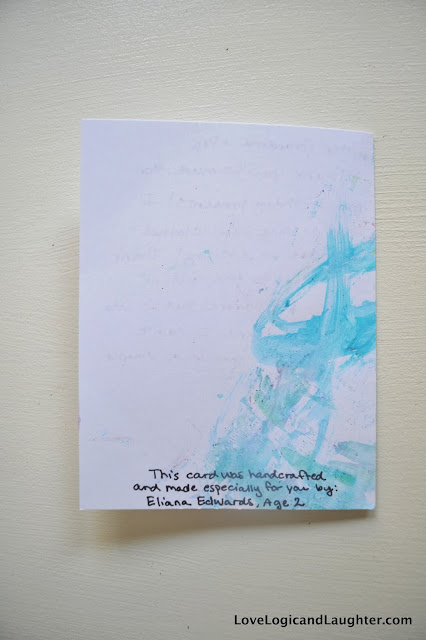
You know how Hallmark has the tiny print on the back of their cards marking their name? Well, we did this:
1. Get Creative: Eliana got into her artistic groovy mindset.
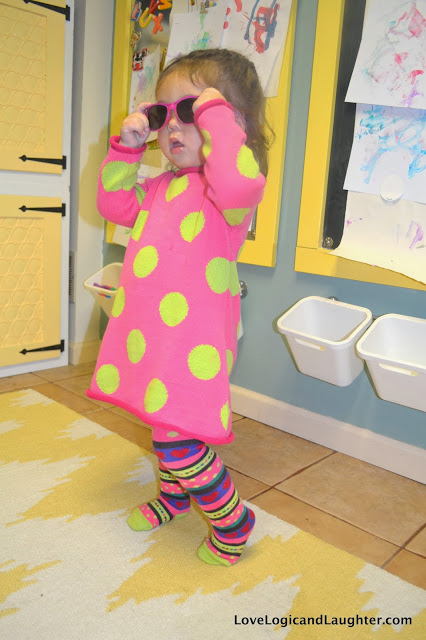
2. Paint white cardstock paper: We used our vertical magnetic chalkboard.
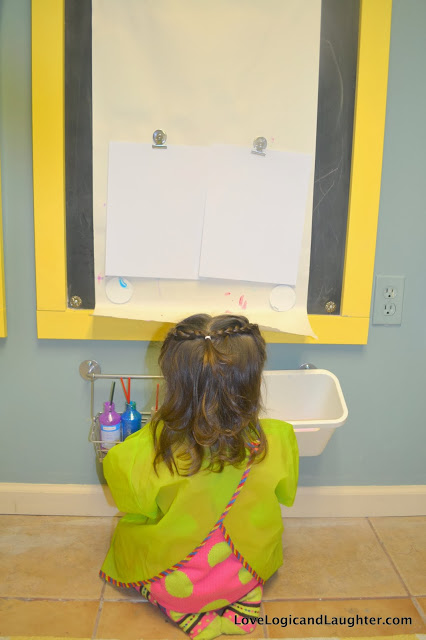
3. Supply lots of glitter paint!
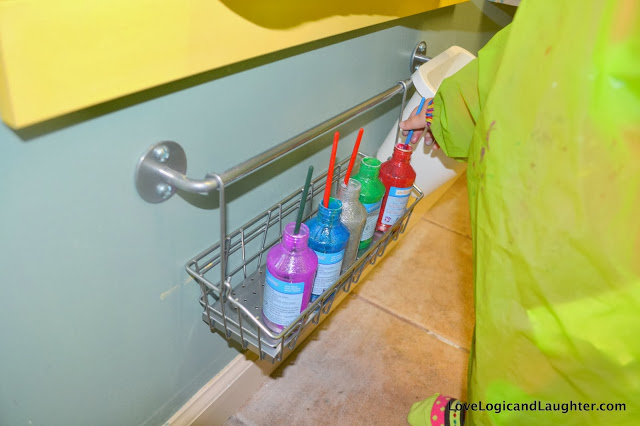
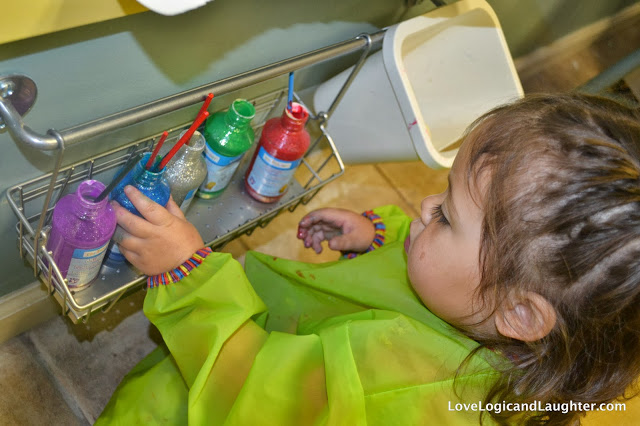
4. Re-supply paper: As soon as the sheets were painted I switched them out for two new sheets. I hung the drying sheets on the other vertical magnetic board – it was soon filled!
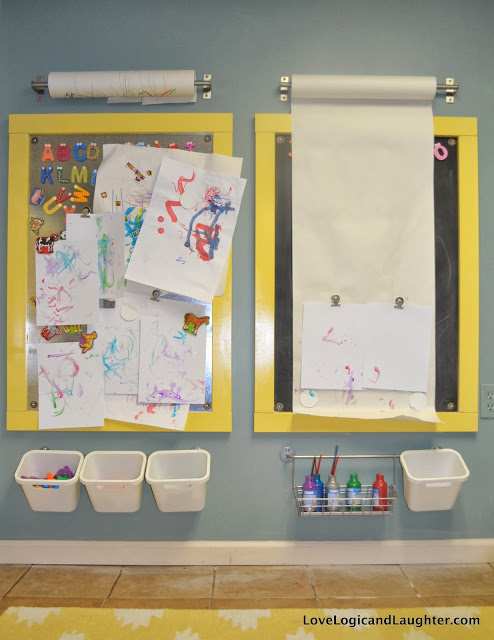
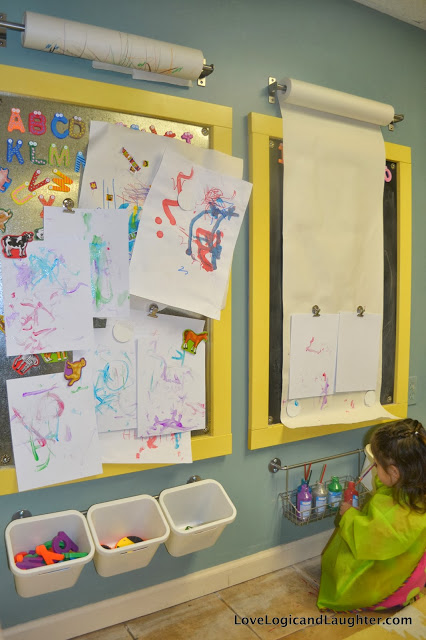
5. Wait for the artwork to dry overnight: I then put it under a rug with some books on top to make sure they weren’t warped.
6. Cut the sheets of paper in half using a paper cutter: I love this thing. I use it all the time!
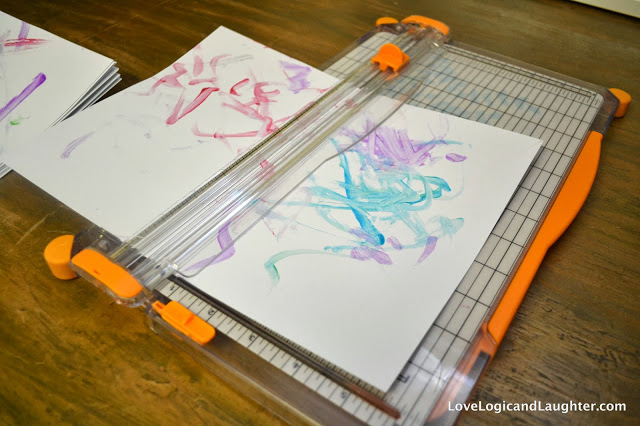
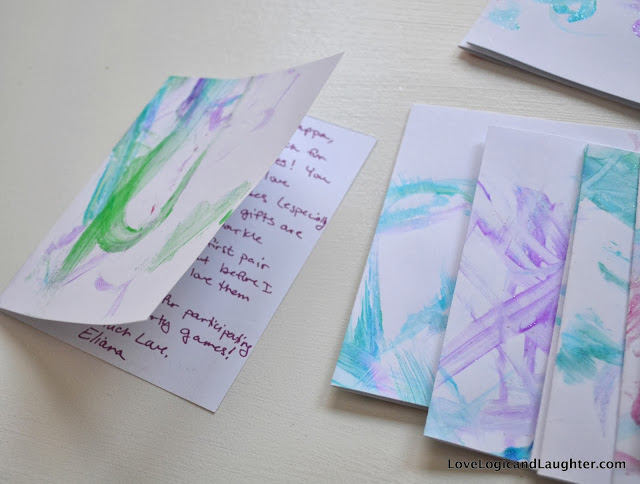
7. Fold the half sheets of paper in half and write a message on the inside.
8. Write “Made With Love” on the back bottom.
8. Place them in store bought envelopes: We got ours at Staples.
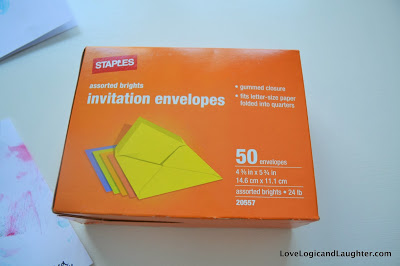
Our addressed envelopes – we chose the “assorted brights” color: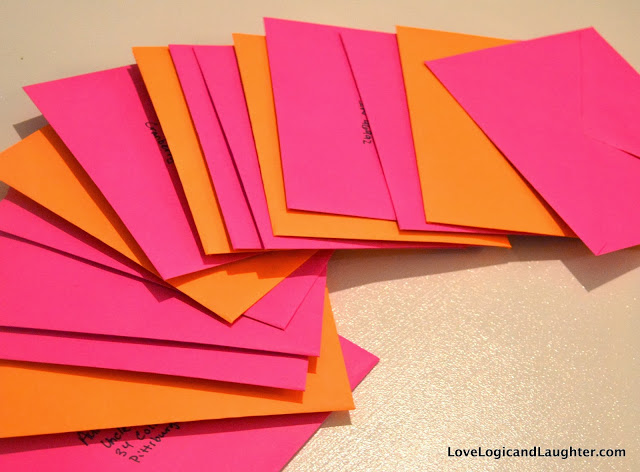
9. Admire your work.
