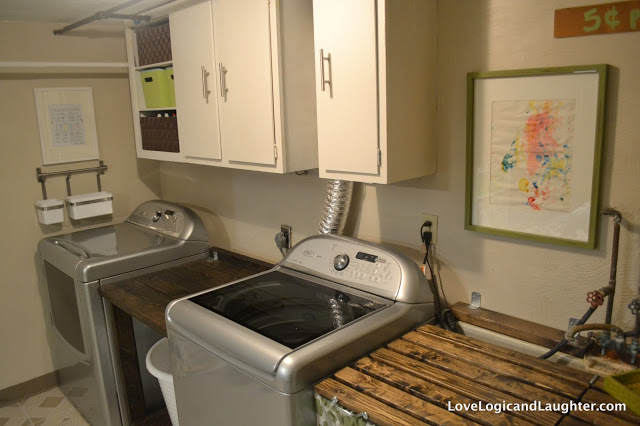
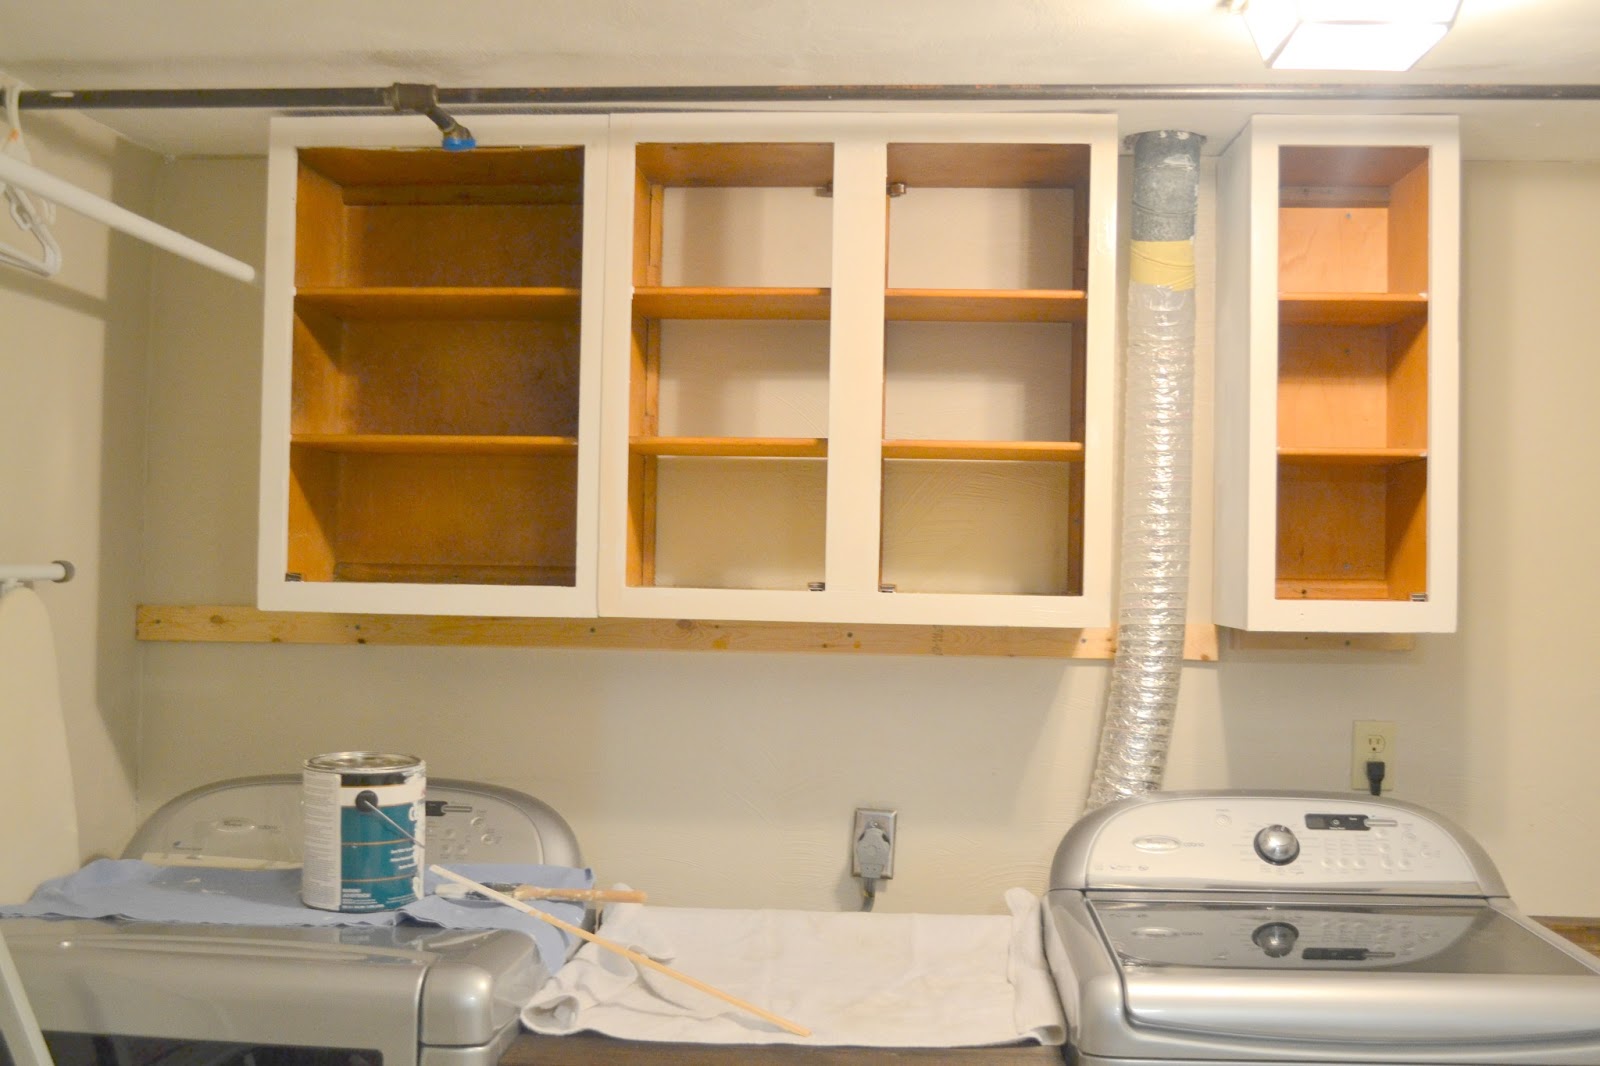
When I first installed these cabinets I left the doors off and thought I would utilize them as open cabinets and add decorative bins.
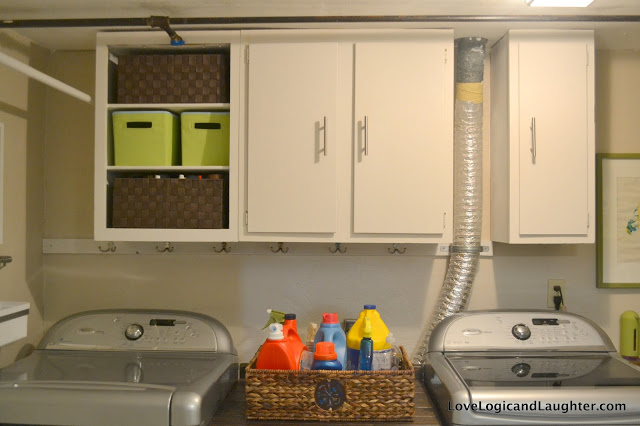
I didn’t realize how hard of a task this would be. After failing to find matching bins both online and locally without having to spend a small fortune I decided I just needed to find a way to make the cabinets doors fit.
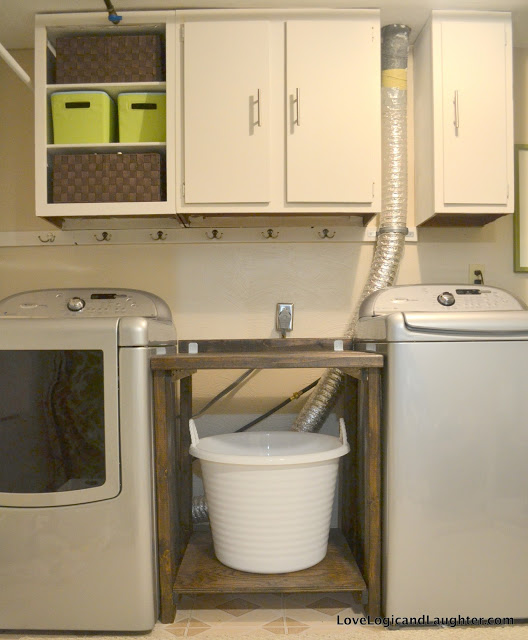
The reason I first thought I would have open cabinets was because of the gas line running through my basement – see the picture below:
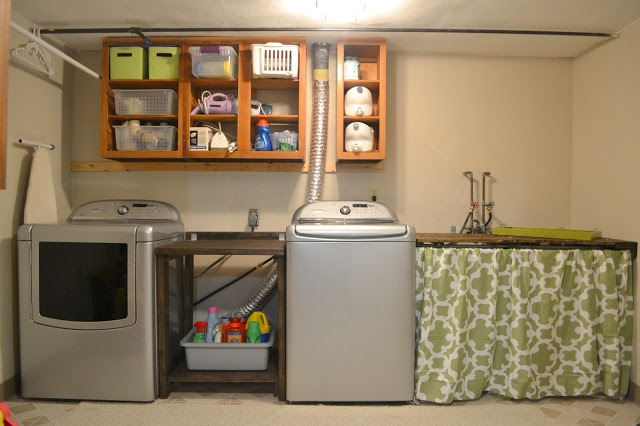
The cabinets doors would hit the gas line after opening only a few inches. But I wasn’t happy with the cluttered look of the open cabinets…
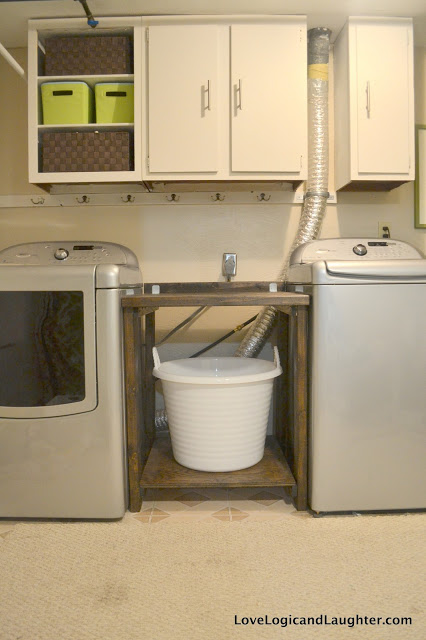
Cabinet doors make it look so much cleaner and organized (even if the cabinets are a mess on the inside) 🙂
Pretty much I had to add a wood piece to the tops of all the cabinets and cut the cabinet doors shorter.
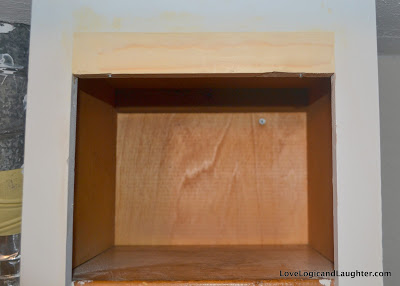
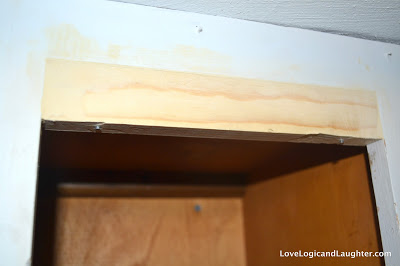
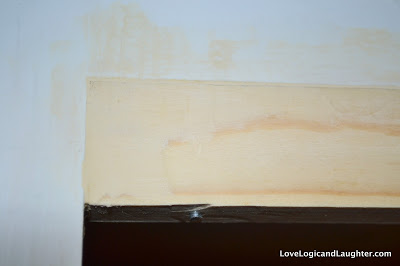
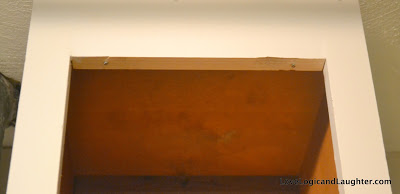
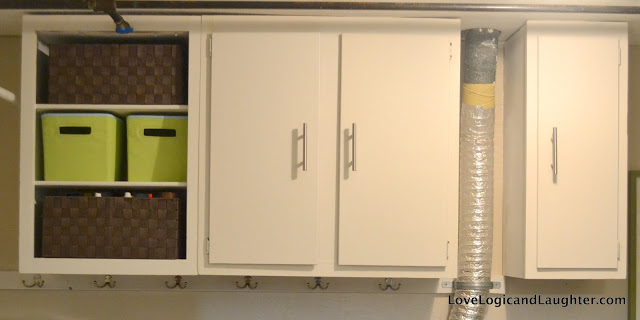
Once puttied sanded and painted you could hardly tell the cabinet frames had changed. I also sanded the tops of the cabinet doors after cutting them shorter so that they had rounded edges like the rest of the sides.

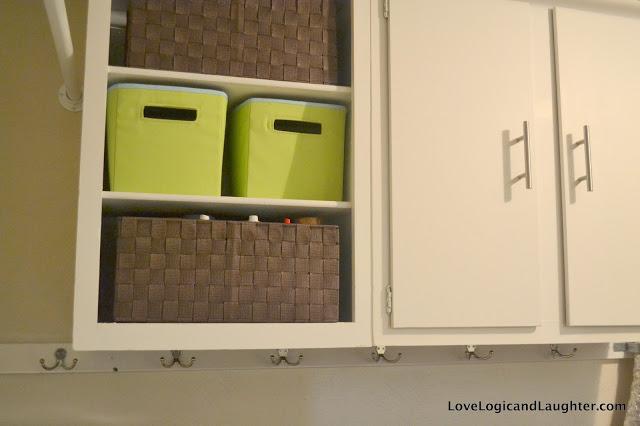
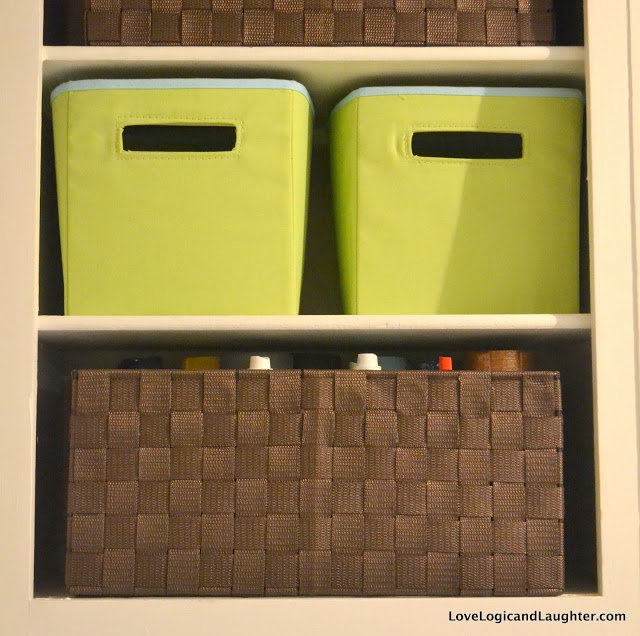
Wallah! Cabinet door fronts on most of the cabinets (the cabinet on the left couldn’t be fixed because of how the gas line extension angle heads toward it. But I did find baskets for this cabinet.
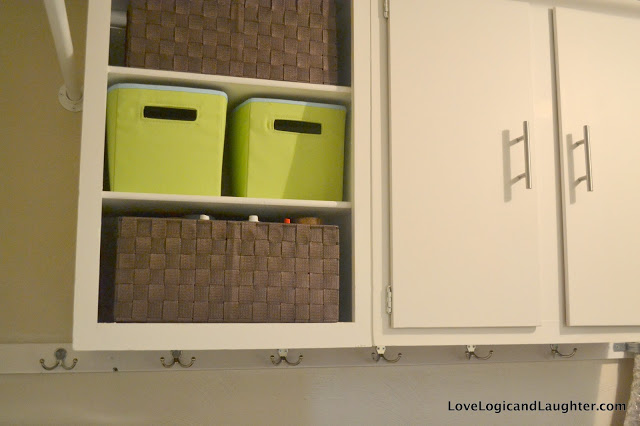
While fixing the cabinets I also painted the wood board below the cabinets to match and hung chrome hooks. They are perfect for drying bras!
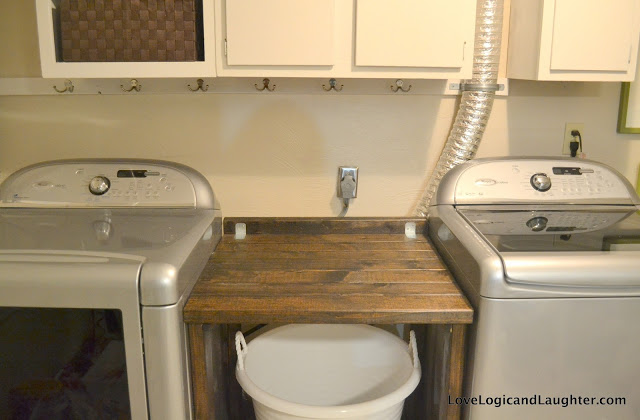
So much happier with my cabinets now!
Links for details on the individual Laundry Room Makeover DIY Projects:
- Installing New/Old Cabinets For Storage
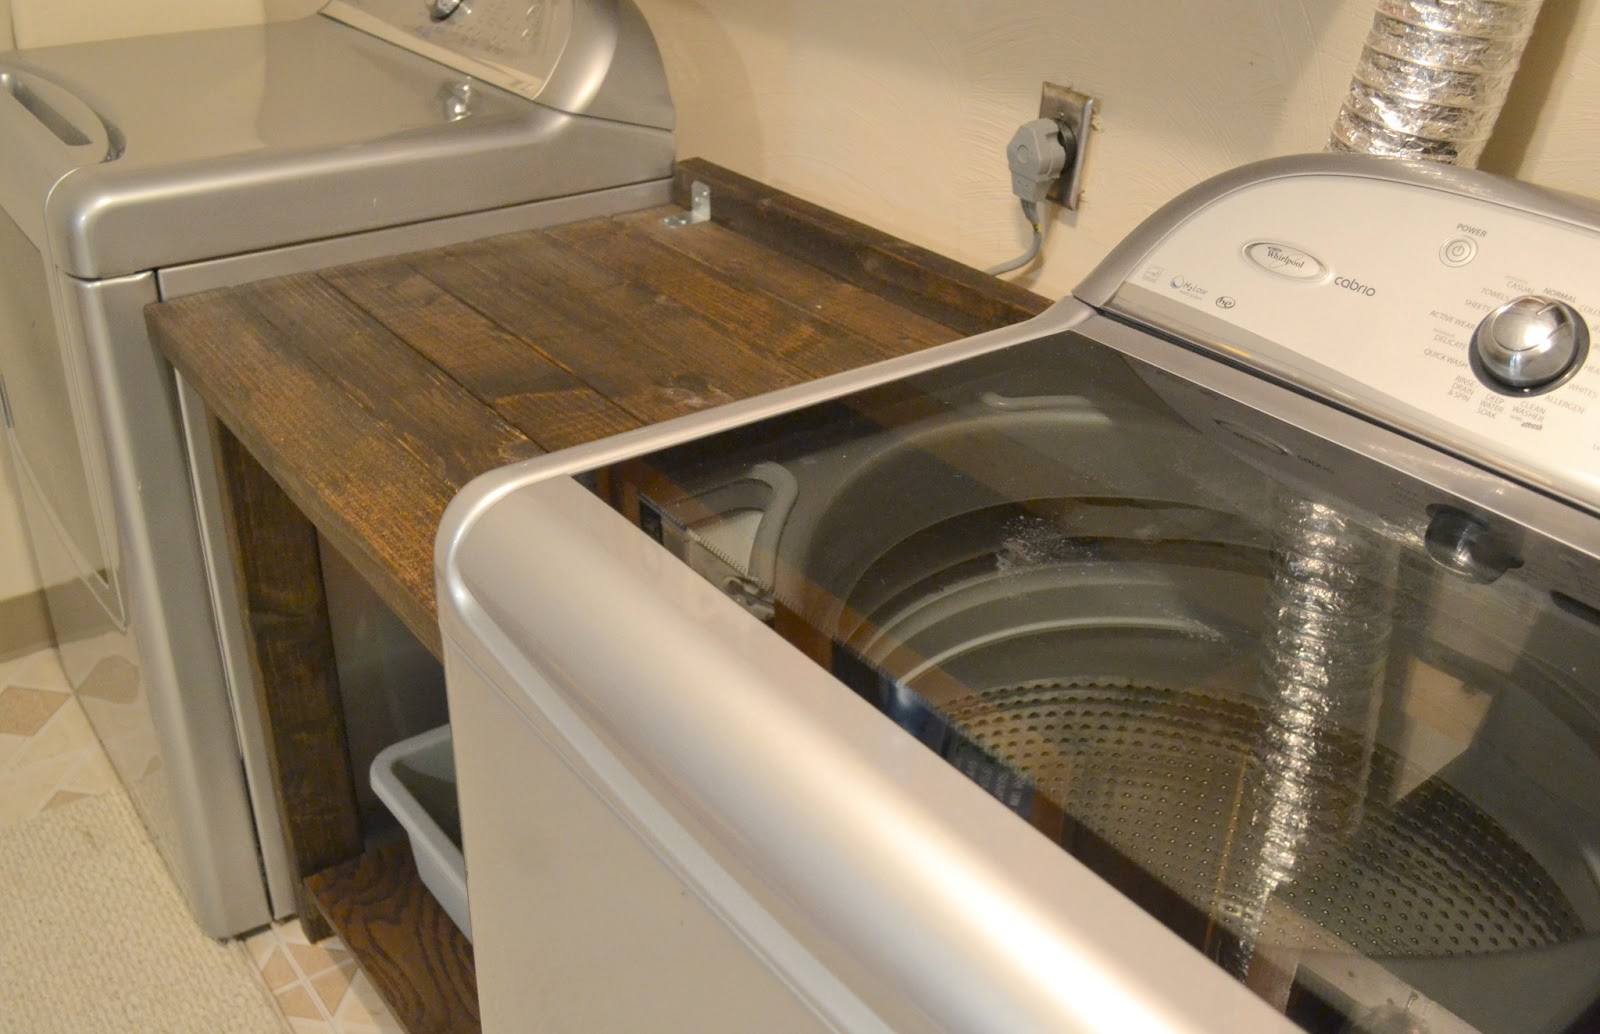
- Even MORE Countertop Space – Building a “cabinet” between the washer and dryer with 2×4’s
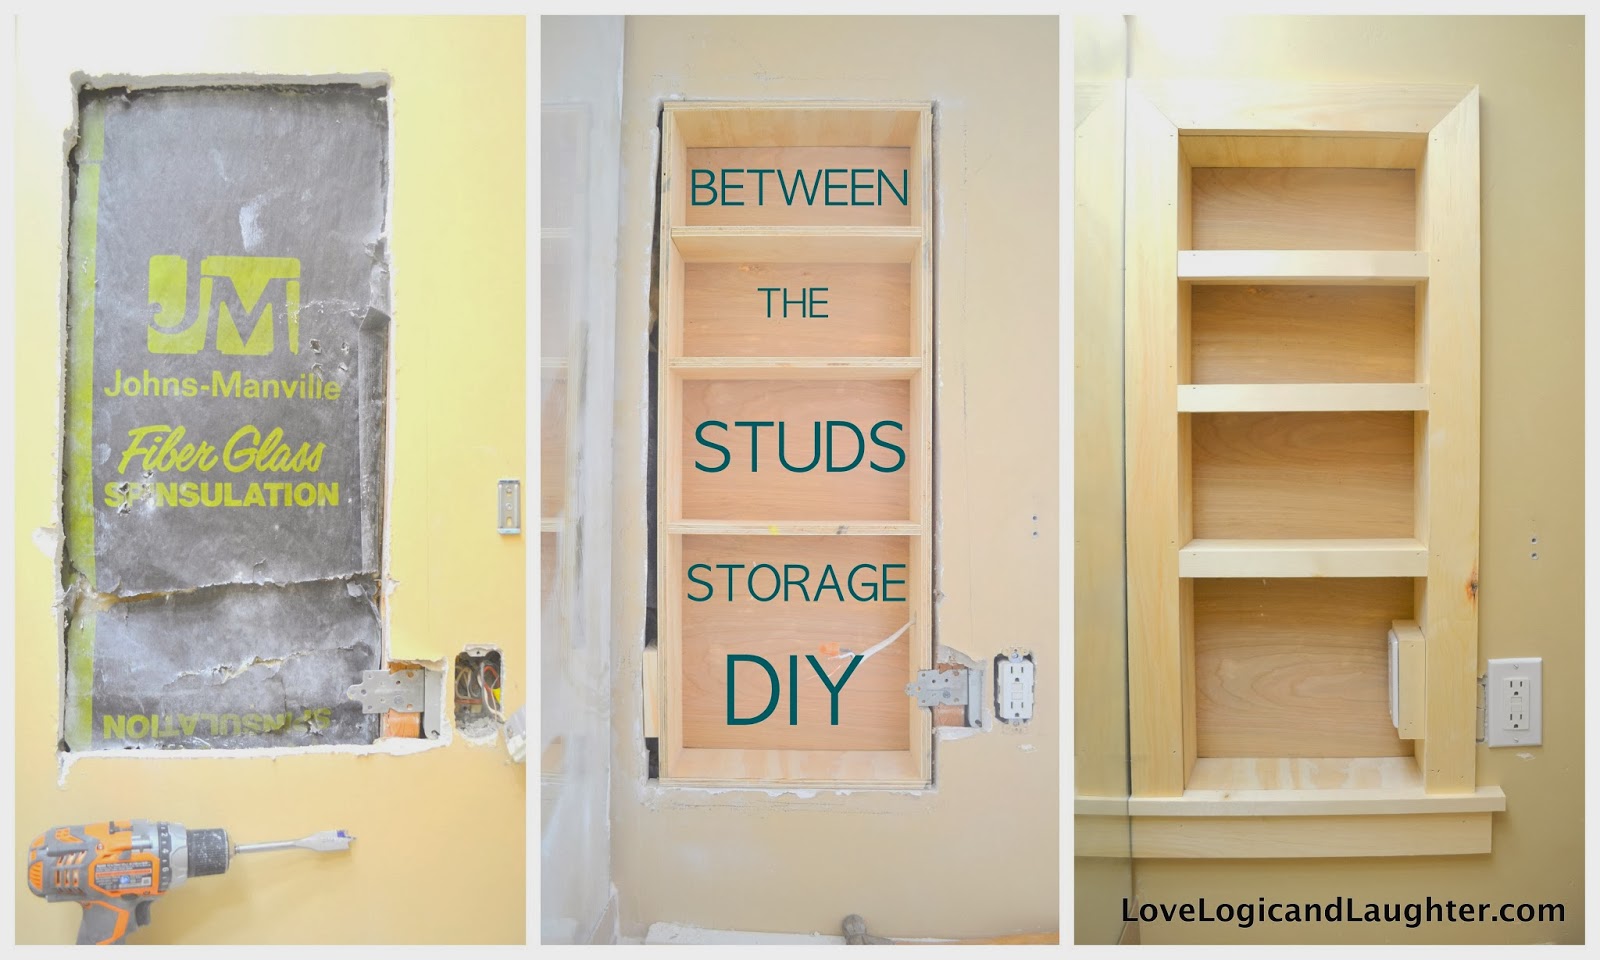
- Built in Corner Shelves – a basement “pantry”

- Built in Shelves for Laundry Baskets

- DIY wall folding drying rack

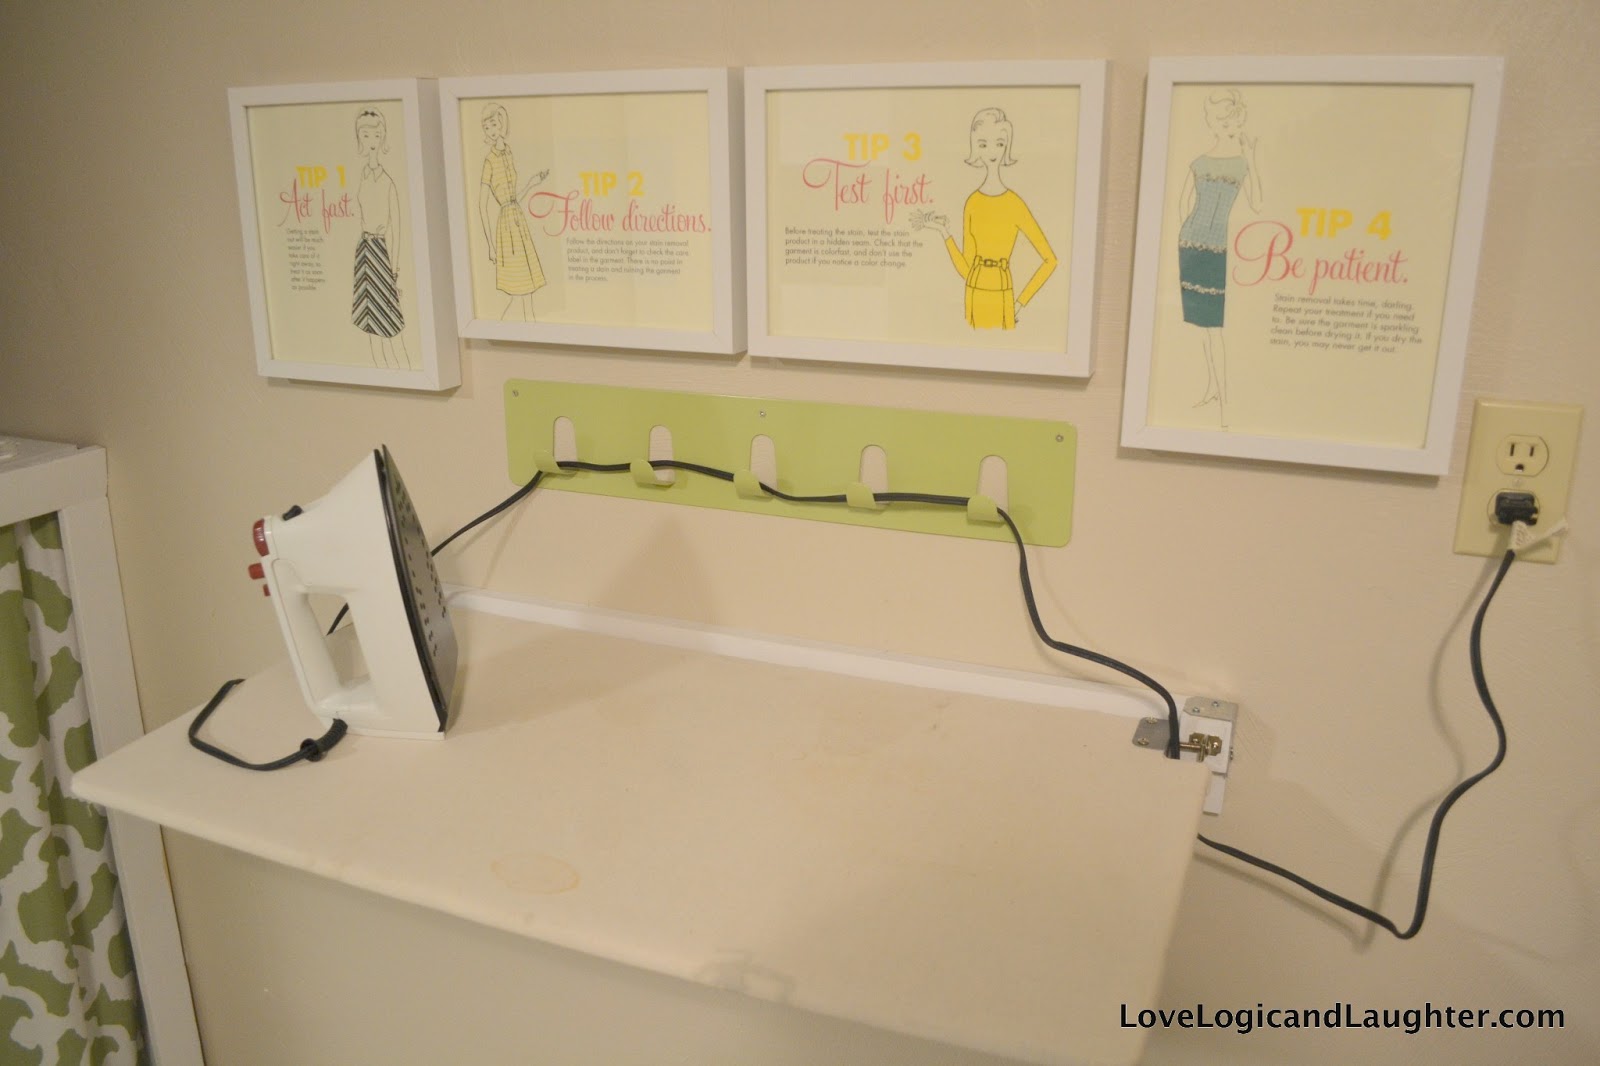
- DIY Fold-Away ironing board
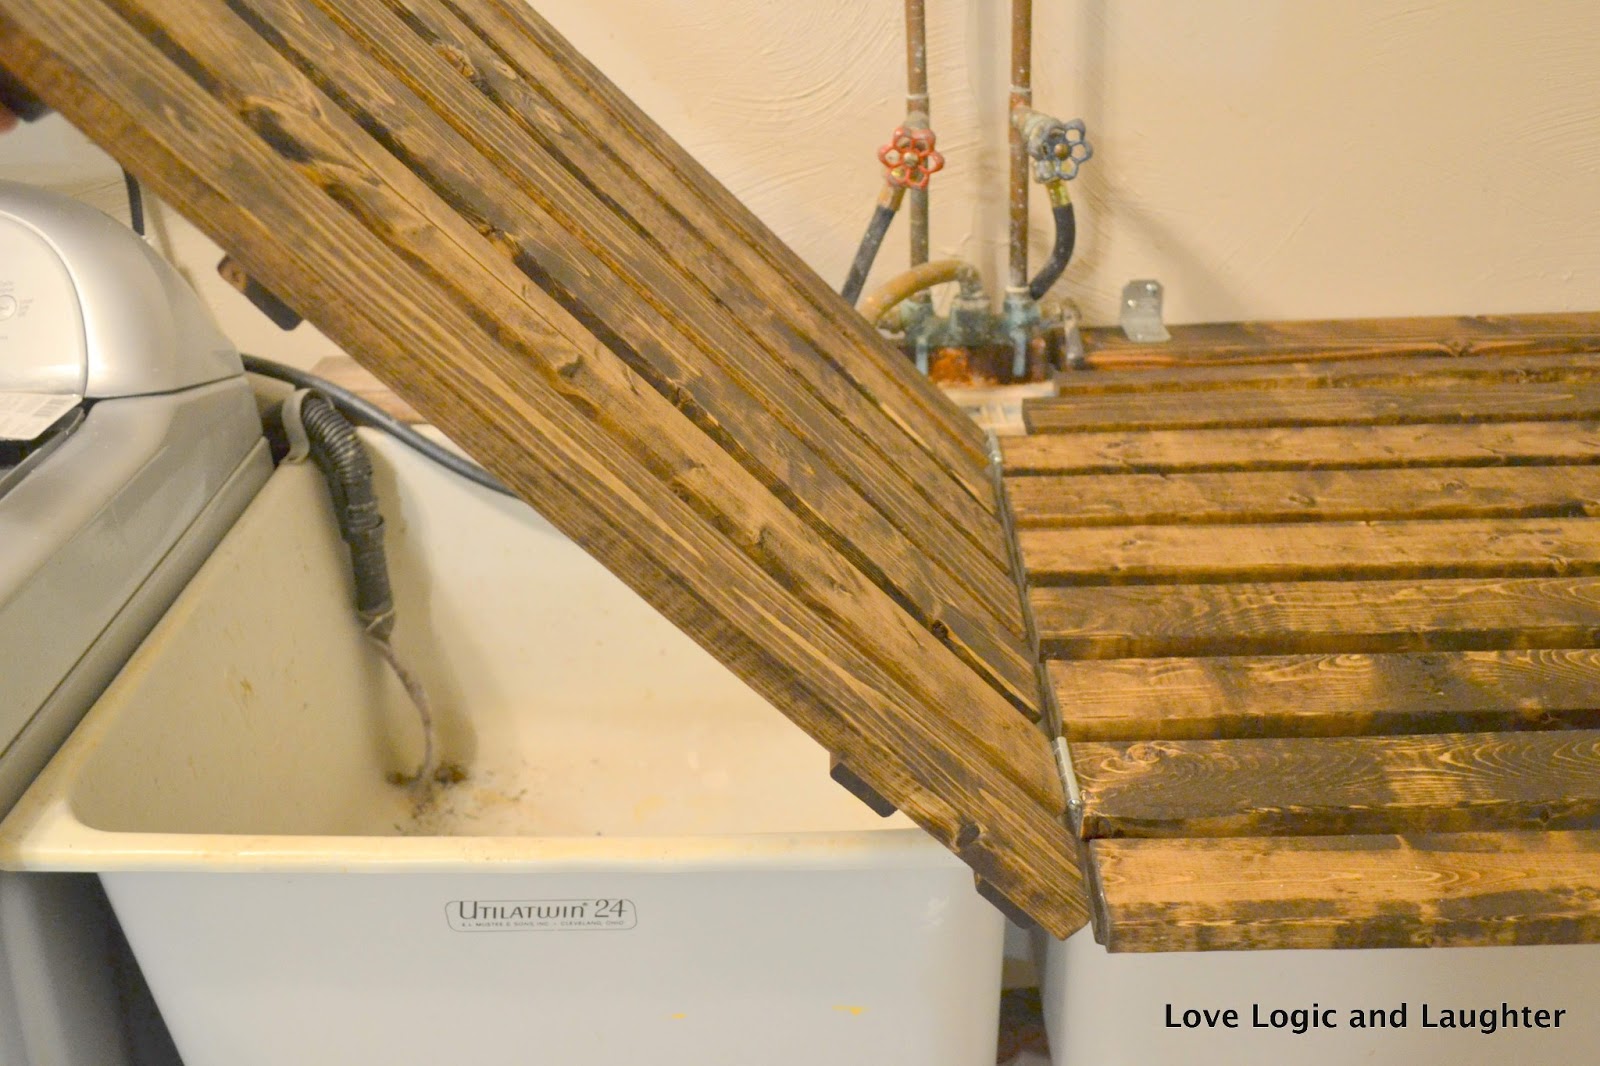
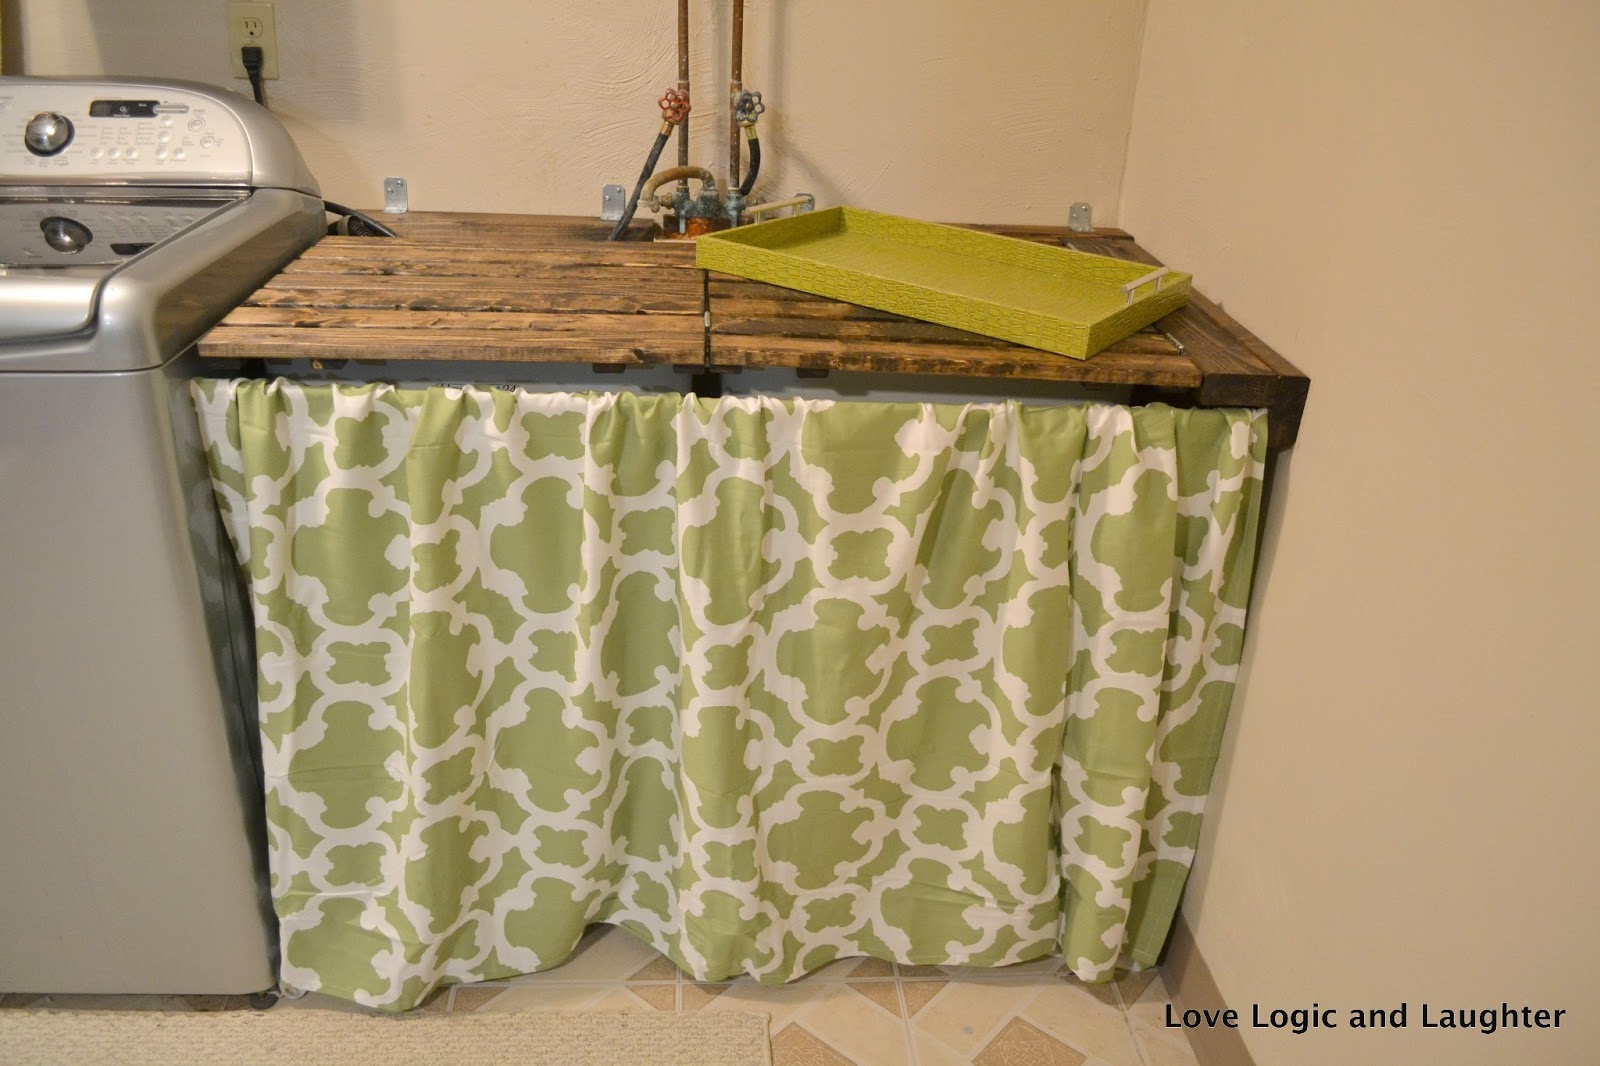
- Utility Sink Cover Tutorial

- Bringing it all together – artwork and details – The Final Reveal!
